Operating instructions
EVS17/07-DS/IU und EVS17/12-DS/IU
Trautmann GmbH & Co. KG -ApparatebauCALIRA
Lerchenfeldstr. 9 87600 Kaufbeuren Tel.08341/9764-0 Fax 08341/67806
Internet: http://www.calira.de Email: info@calira.de
35
Connection to the control panel
Mains connection
Plug the 7-pole flat cable into your control panel. The assignation of the
contacts is according to the following list:
Terminal 1 - Connection
Terminal 2 + Test connection for battery 2
Terminal 3 + Test connection for battery 1
Terminal 4 Control connection for user relay
Terminal 5 Output for charging control
Terminal 6 Output for Tremat signal
Terminal 7 Control connection for pump relay
Insert the 7-pole flat cable into the socket provided on the device (Fig. 2). The
flat cable can only be inserted into the correct socket on the device when in the
correct position. Do not use any force.
Provide the potential equalisation between the device and the mobile home or
the caravan. Use a green/yellow cable with a minimum cross-section of 4 mm².
The potential equalisation does replace the protective conductor in the
mains cable.
Connect the 230 V output of the electric supply to the
mains system of the mobile home or caravan.
Connect the green/yellow cable to the earth circuit!
The 230 V circuit breaker of the electric supply
serves as mains protection, and is connected directly
on the input side to supply socket of the mobile home
or caravan.
not
Fig. 12: Mains connection / potential equalisation
Fig. 13:
230 V output
Disconnect the power cables from the battery
and from the mains before connecting
or disconnecting any cables!
Potential equalization
yellow/green min. 4 mm²
Connect to a conducting part of the
mobile home or the caravan
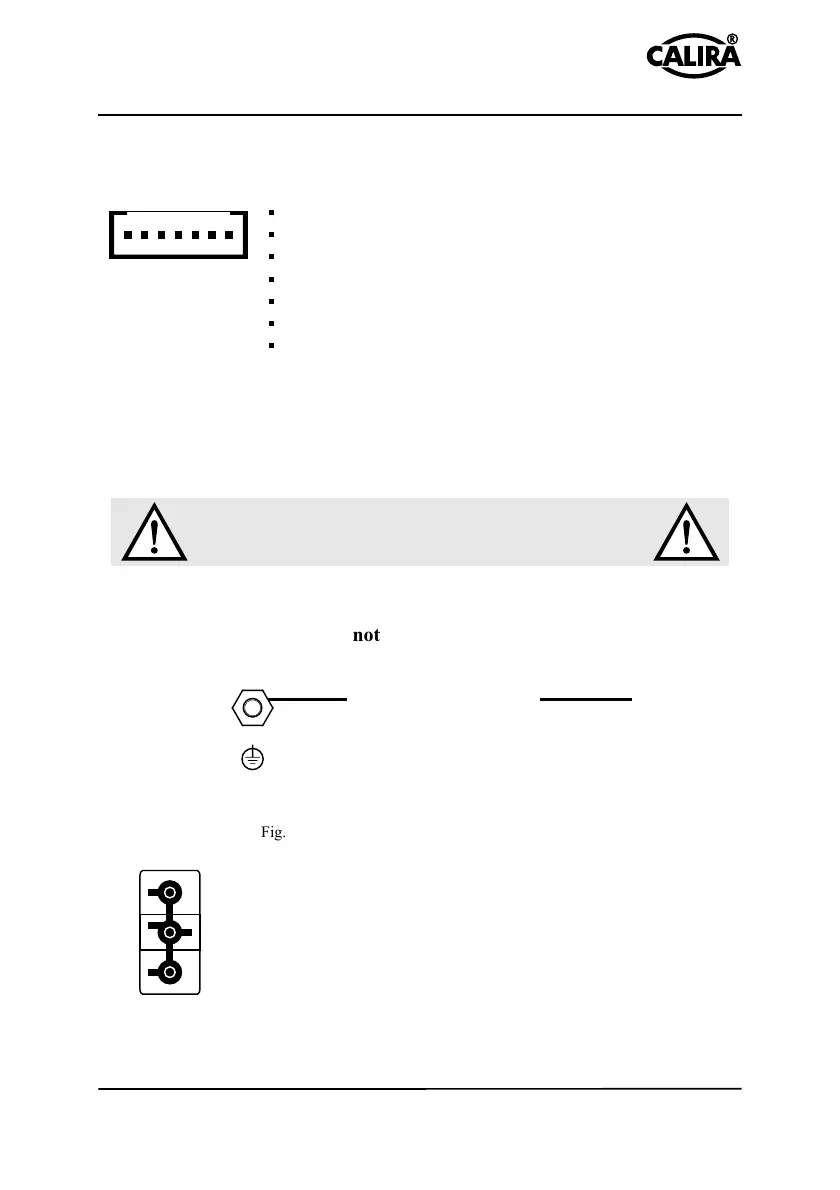
1 2 3 4 5 6 7
to front plate
Fig. 11:
7-pole connector
 Loading...