29
Proprietary Information: Not for use or disclosure except by written agreement with Calix.
© Calix. All Rights Reserved.
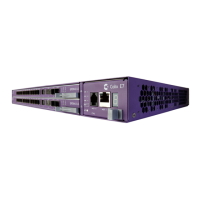
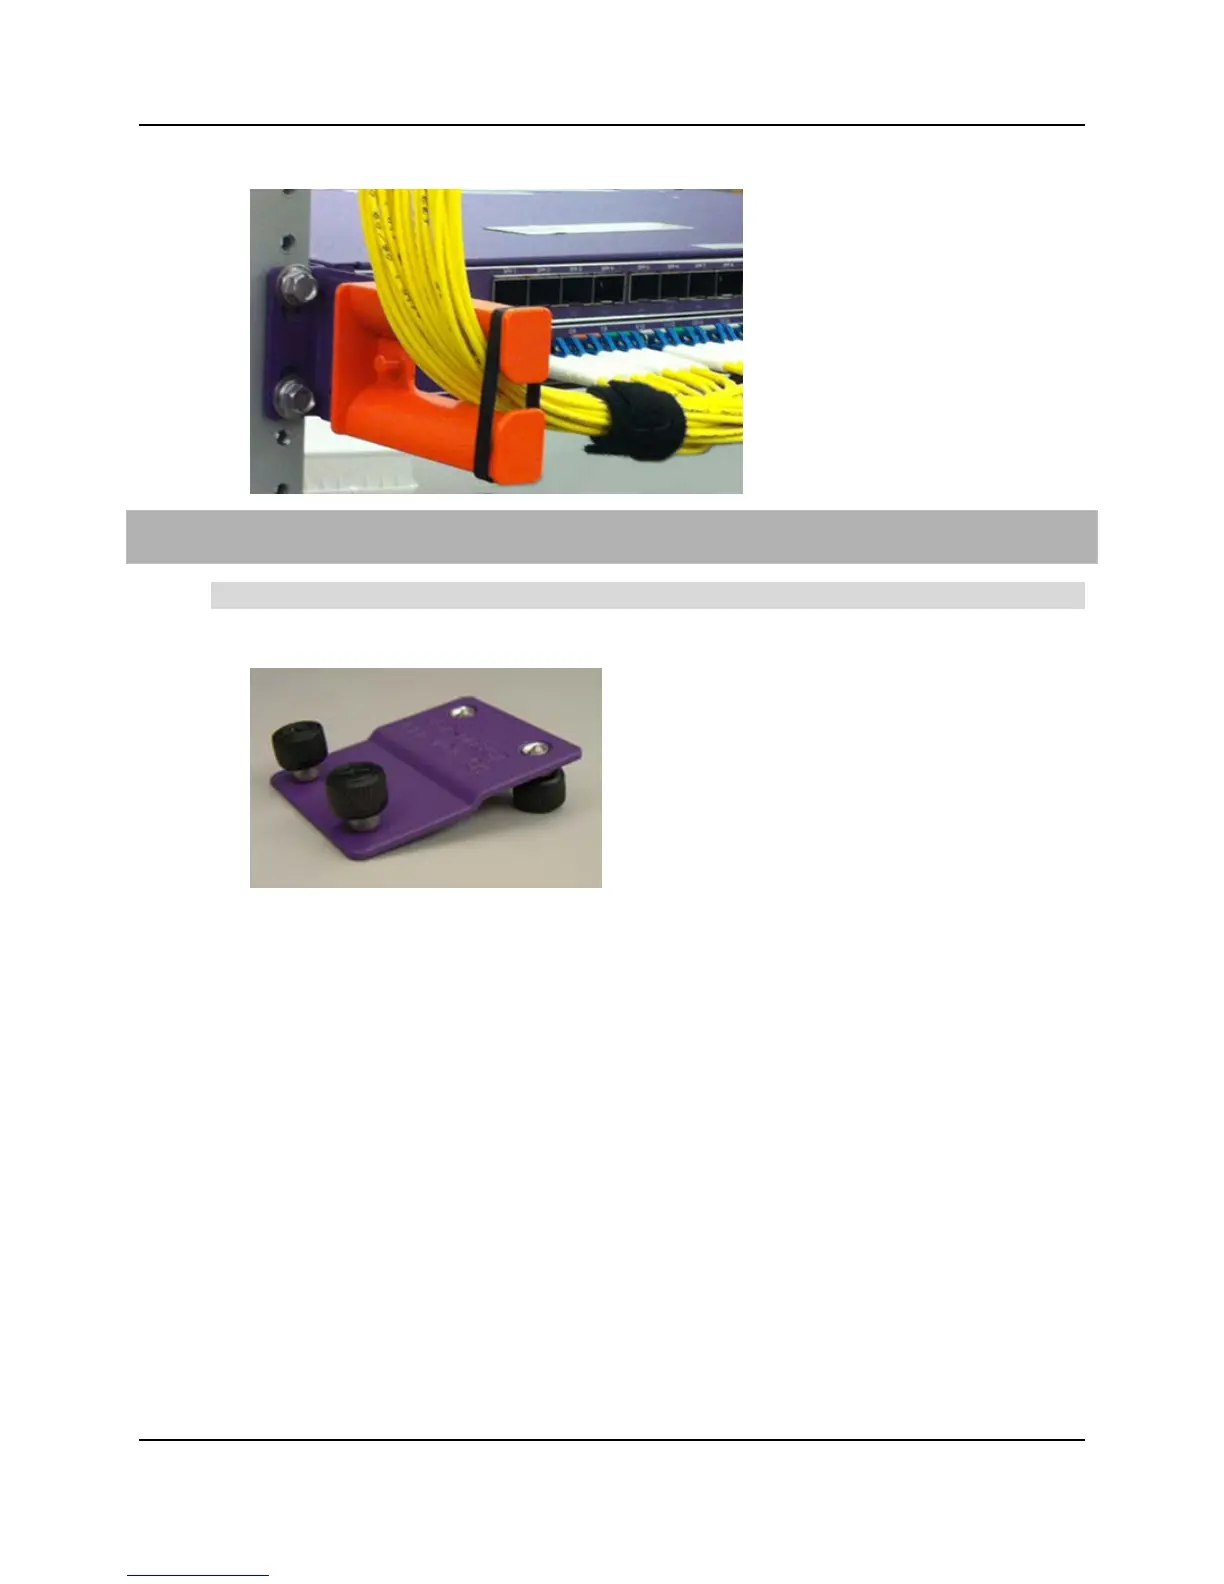
3. Attach the fiber guide assembly to the bracket using the bracket's two captive screws.
To install the fiber guide for E7-2 mid-mounts (horizontal or vertical)
Note: This procedure applies to any 19- or 23-inch rack.
1. Unpack the fiber guide kit, and locate the mid-mounting bracket.
2. On the left side of the E7-2 chassis (oriented horizontally or vertically), align one set of
the bracket's captive screws with the forward mounting holes on chassis, and tighten the
screws to secure the bracket to the chassis.
3. Attach the fiber guide assembly to the bracket using the bracket's remaining set of
captive screws.