36
Proprietary Information: Not for use or disclosure except by written agreement with Calix.
© Calix. All Rights Reserved.
Connecting to the RS-232 Serial Port
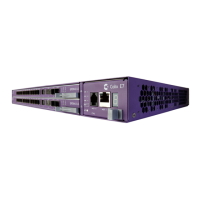
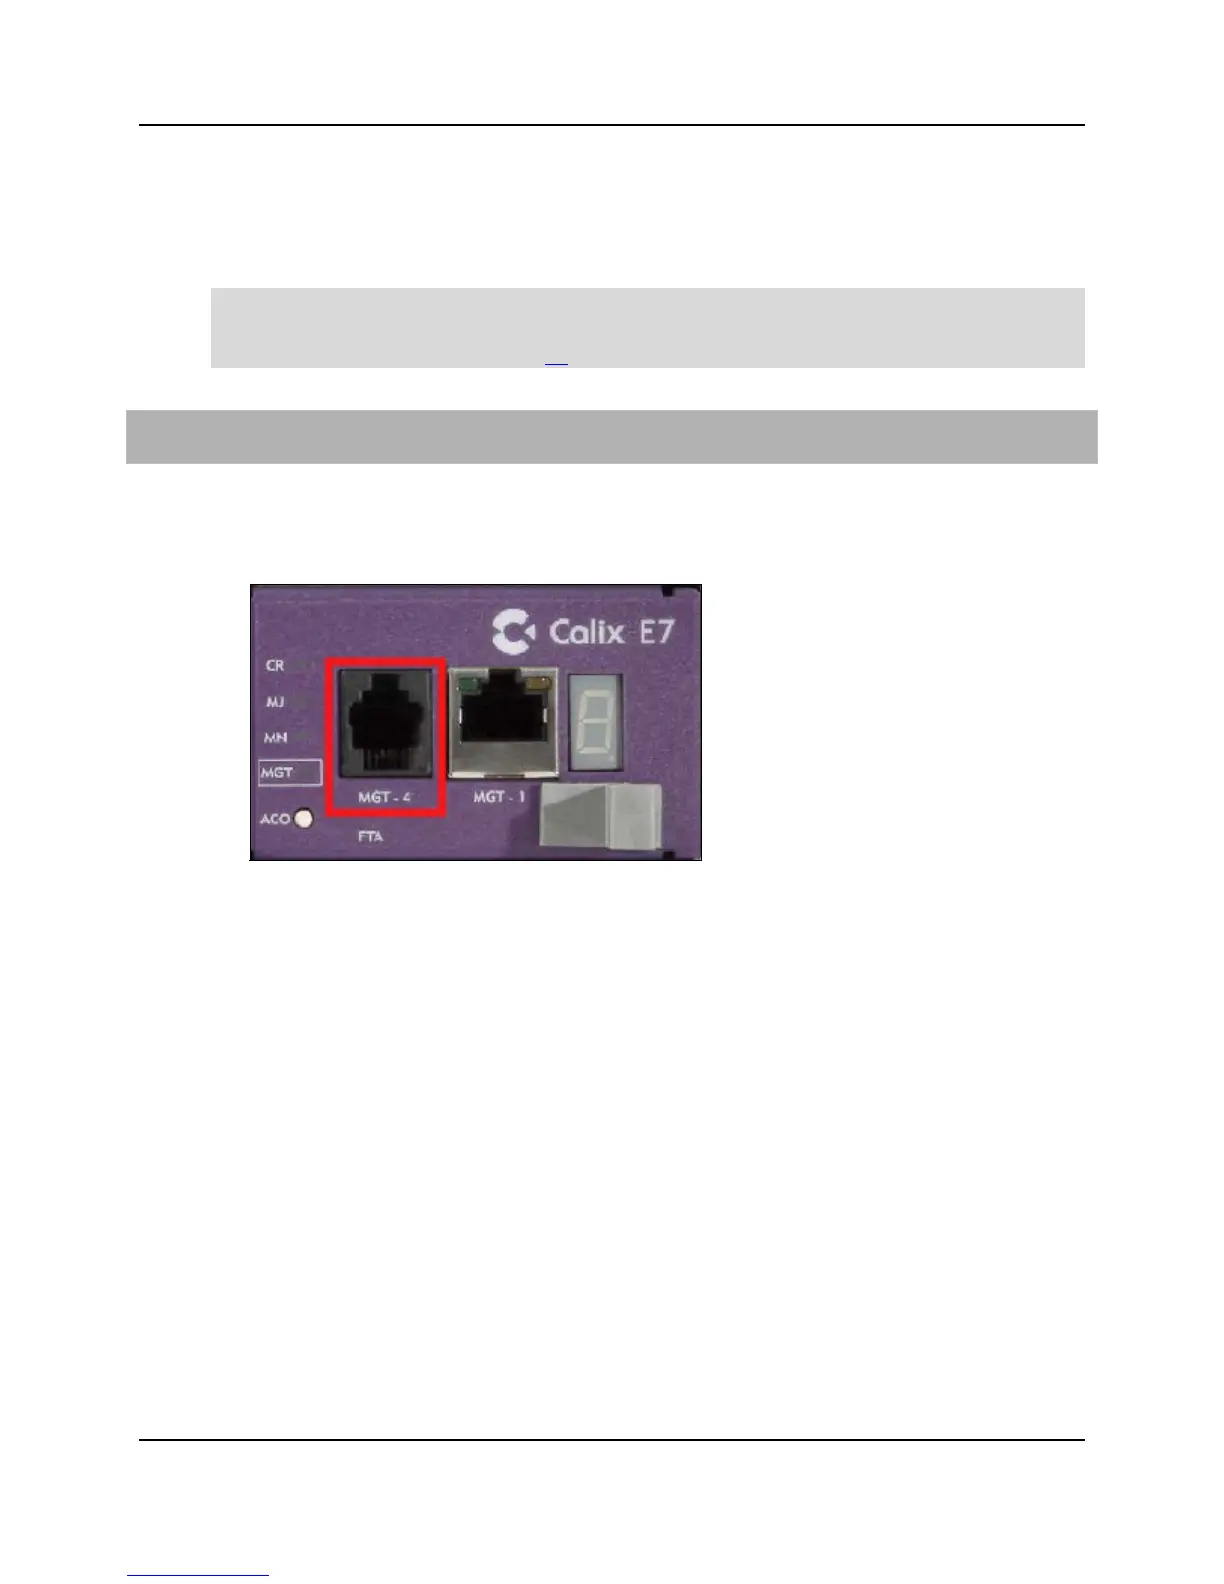
The E7-2 has an RS-232 serial port that you can connect to a PC for console management
connections. The serial port is located on the E7-2 fan module (RJ-11F connector).
Note: Calix provides an optional RS-232 console cable, or you may supply your own cable
with an RJ-11 male connector on one end and a DB-9 female connector on the other end.
See RS-232 Serial Port Pins (on page 57) for more information.
To connect to the RS-232 serial port
1. Get an appropriate RS-232 console cable (DB-9F to RJ-11M) to connect to the E7-2.
2. Connect the cable's RJ-11 end to the E7-2 serial port (labeled MGT-4, located on the
E7-2 fan module).
3. Connect the cable's DB-9 end to your PC.
Use the following settings to establish a console connection from the serial port:
Baud Rate - 38400
Parity - None
Stop Bits - 1
Data Bits - 8
Flow Control - None
For instructions to log in to the E7-2 management interface, refer to the Calix E7 User Guide.