18
Proprietary Information: Not for use or disclosure except by written agreement with Calix.
© Calix. All Rights Reserved.
Installing the E7-2 Chassis
This topic describes how to install the E7-2 chassis into an equipment rack.
Calix offers the following rack mount options:
E7-2 vertical mounting kits for vertical chassis orientation in 19- or 23-inch racks
E7-2 ETSI rack mounting kit to provide a 75 mm forward offset limitation from the rack
mounting rail
To install the E7-2 chassis
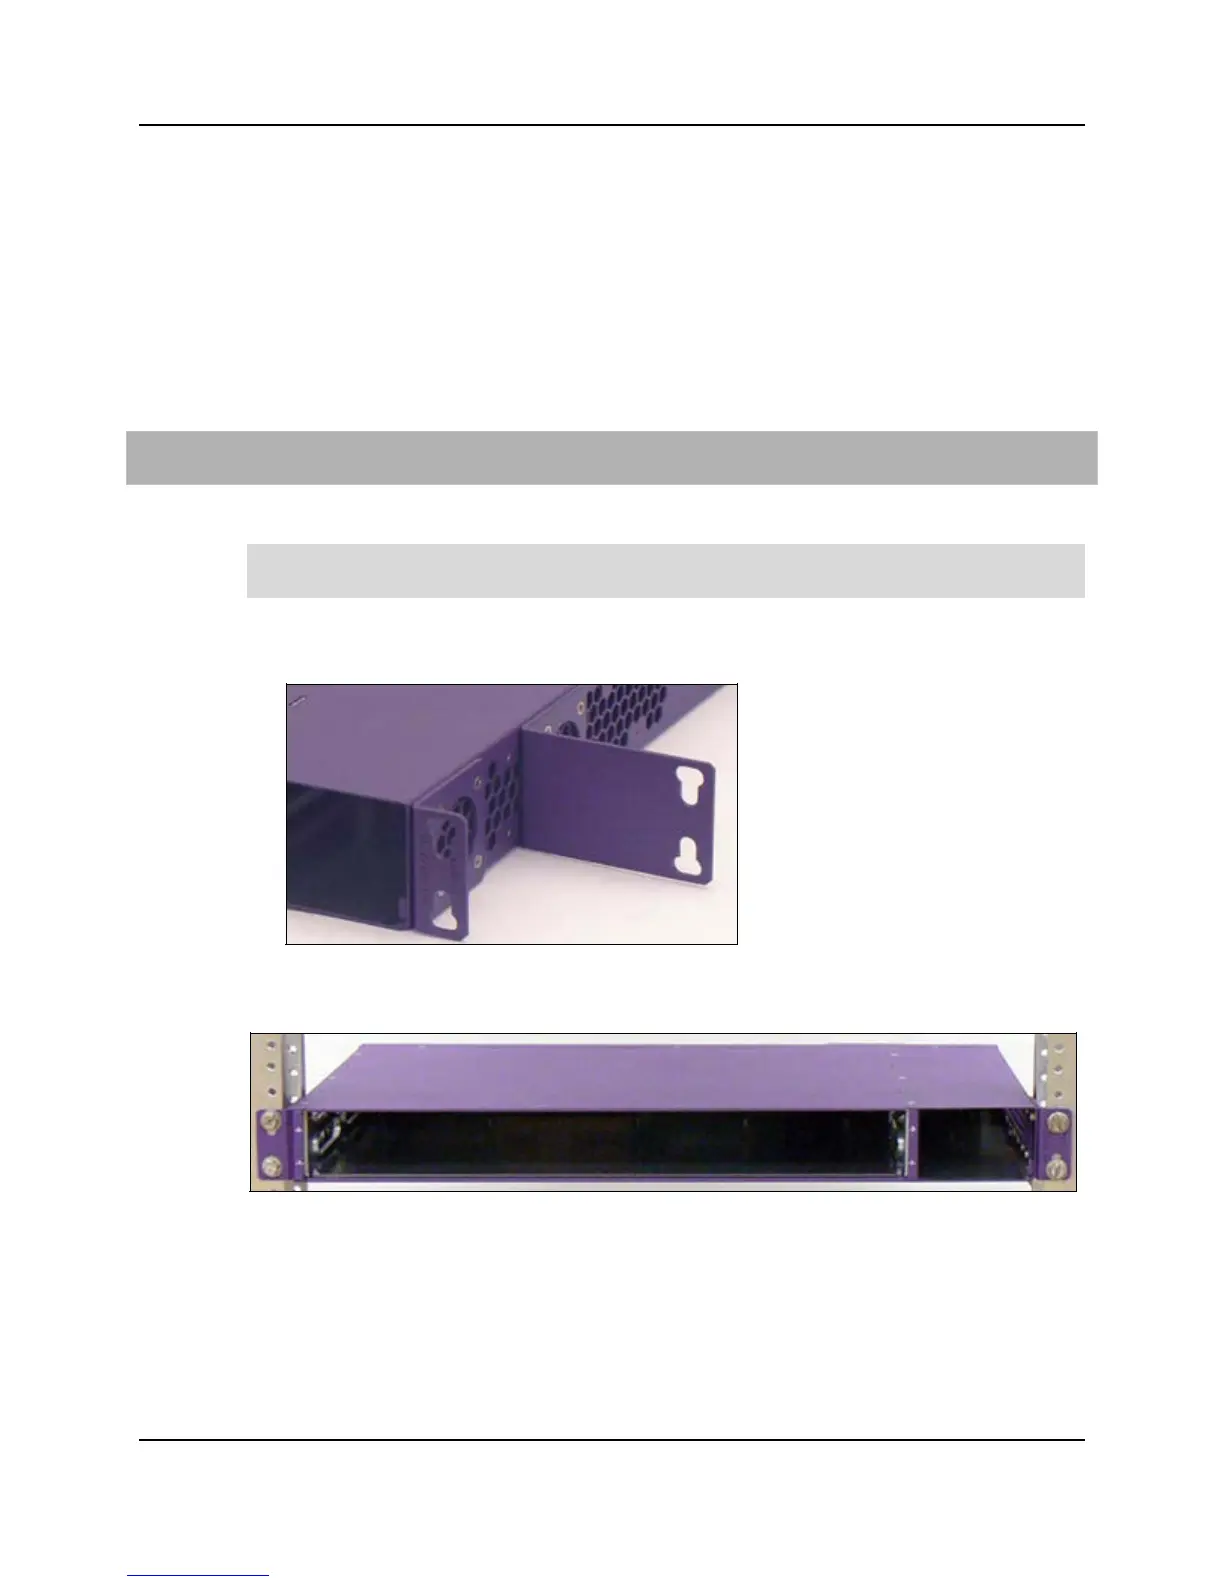
1. Get a pair of mounting ears and (8) flat head screws from the installation kit.
Note: The kit includes two sets of mounting ears, one pair for 19-inch (48.26-cm) racks
and another for 23-inch (58.42-cm) racks.
2. Attach (2) mounting ears to the E7-2 chassis using supplied hardware. You can install the
ears in a flush-mount or projection-mount position as required.
3. Mount the E7-2 chassis onto the equipment rack:
a. Identify the E7-2 mounting location on the rack.
b. Position the E7-2 chassis against the rack at the identified location, aligning its ear
holes with the counterpart holes on the rack.
c. Install (4) mounting screws to secure the unit in place.