28
Proprietary Information: Not for use or disclosure except by written agreement with Calix.
© Calix. All Rights Reserved.
Installing a Fiber Guide
The E7-2 chassis supports a field installed fiber guide option suitable for all E7-2
deployments, including:
Flush mounts, horizontal or vertical
Mid-mounts, horizontal or vertical
ETSI rack mount kit installations (See Installing the E7-2 Chassis (on page 18) for
instructions on installing the ETSI rack mount kit.)
The fiber guide installation kit includes mounting brackets for flush and mid-mount
deployments, and a 1RU fiber guide assembly.
After installing the E7-2 chassis, install the fiber guide as described below. Alternatively, for
flush and mid-mounts you can install the fiber guide while installing the E7-2 chassis.
To install the fiber guide for E7-2 flush mounts (horizontal or vertical)
Note: This procedure applies to any 19- or 23-inch rack.
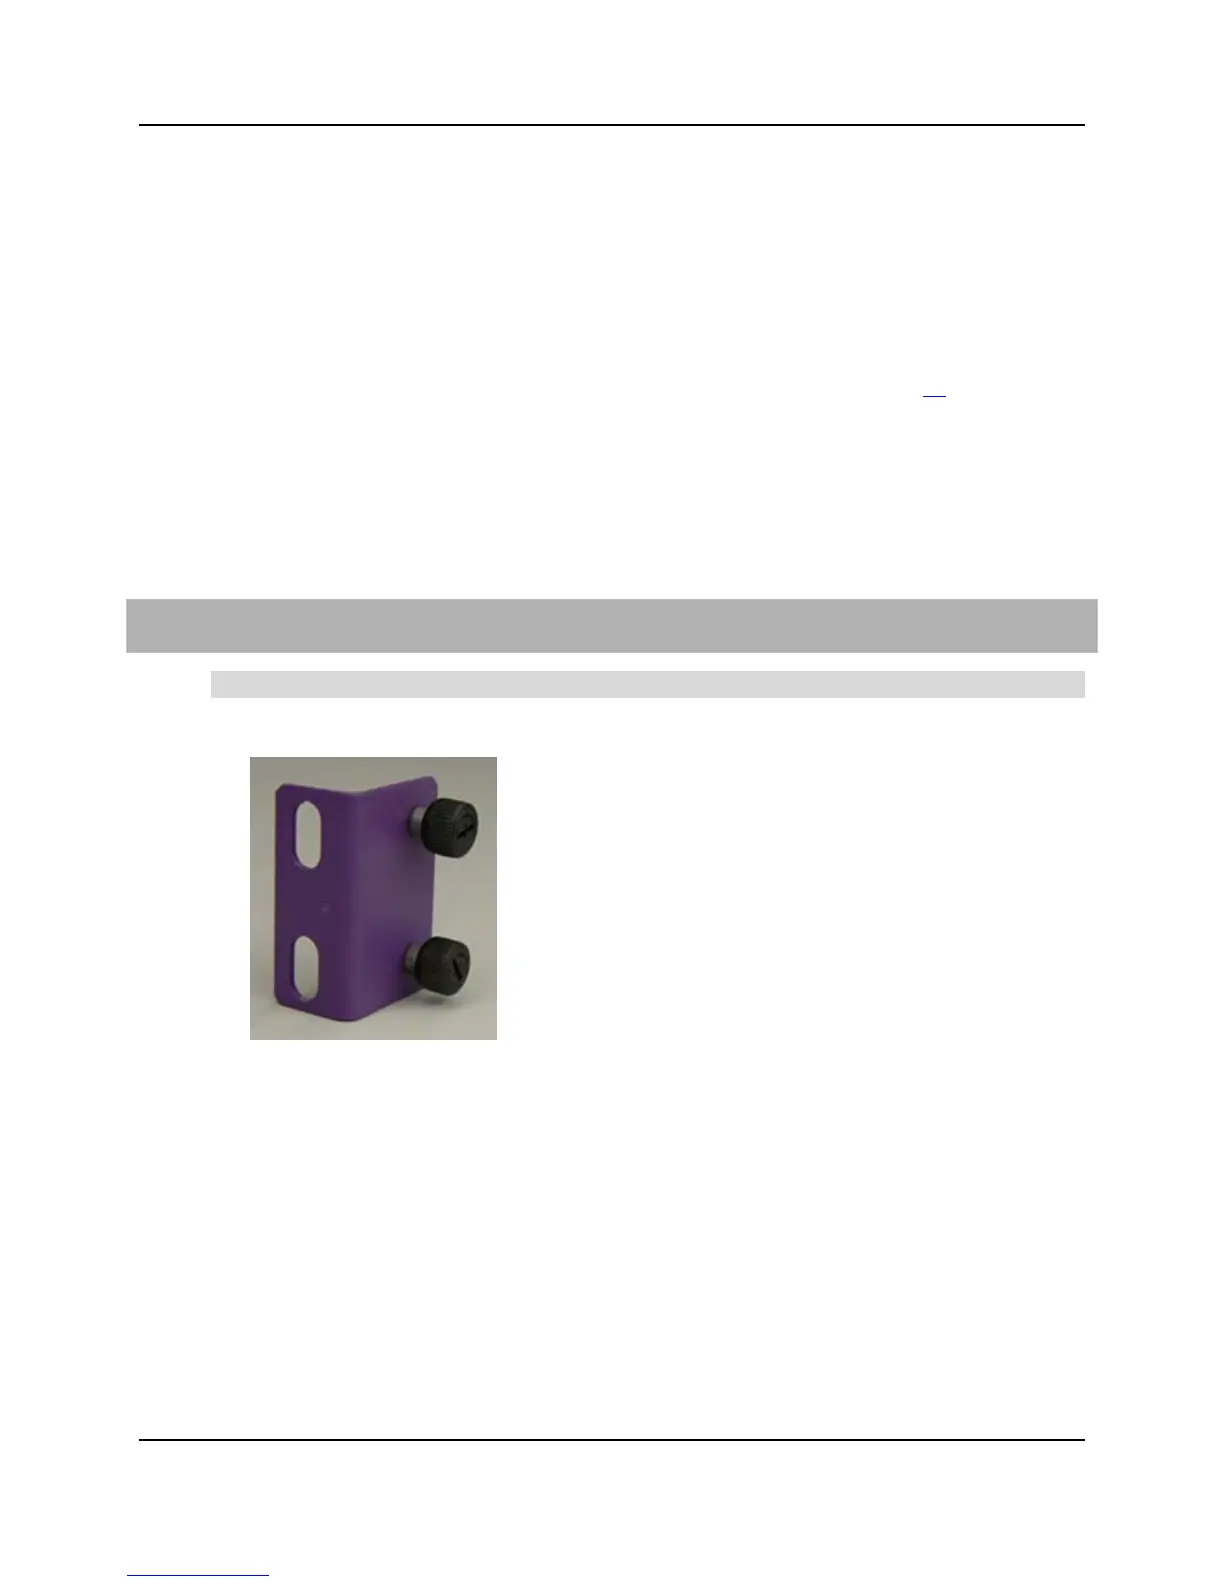
1. Unpack the fiber guide kit, and locate the rack mounting bracket.
2. Install the rack mounting bracket as follows:
a. On the left rack rail or top vertical mounting frame, remove the (2) mounting screws
securing the E7-2 chassis to the rack or frame and hold the chassis in place.
b. Align the bracket's rack mounting holes with the same holes used to mount the E7-2
chassis.
c. Secure the bracket and E7-2 to the rack or frame using the mounting screws removed
in step 2a.