49
Proprietary Information: Not for use or disclosure except by written agreement with Calix.
© Calix. All Rights Reserved.
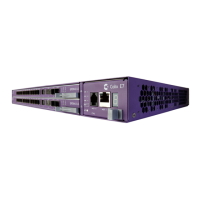
Replacing an E7-2 Line Card
Use the following procedure to replace a damaged or failed E7-2 line card.
ESD ALERT! Beware of electrostatic discharge. Follow standard ESD
precautions. Always wear a grounded ESD wristband to avoid damaging the
electronic equipment.
To replace an E7-2 line card
1. Disconnect all line interface cables (fibers) from the card to replace.
2. If the replacement card will reuse optics modules from the replaced card, remove all
pluggable modules from the card.
3. Remove the line card from the E7-2 shelf as follows:
a. On the card faceplate, pull the ejector lever open into the unlocked position to unseat
the card.
b. Carefully slide the card out of the slot, and place it in protective packaging. Return
the faulty unit to Calix.
4. Insert a replacement line card into the vacant slot. See Installing E7-2 Line Cards (on page
26) for detailed instructions.
Note: If you are not installing a replacement card, or no replacement card is available,
install a Blank card into the vacant slot.
5. Install pluggable transceiver modules into the card and connect fibers as required. See
Connecting the E7-2 Line Interfaces (on page 41) for detailed instructions.