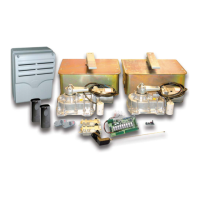
Do you have a question about the CAME ATI KIT and is the answer not in the manual?
Checks for gate piers, gate swing, and dimension C for opening angle.
Details power supply requirements and outdoor cable routing with drip loops.
Wiring accessories with stranded cable and antenna with coaxial cable.
Instructions for welding and attaching fixing brackets, observing measurements A and B.
Details how to attach the rear bracket, adjust its position and its impact on gate movement.
Instructions for attaching the front bracket in the fully closed position, ensuring alignment.
Securely fasten the control panel PCB to the casing using screws.
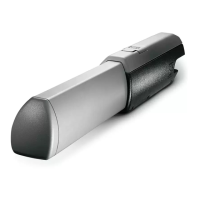
Steps to remove covers to access motor terminals and worm drive.
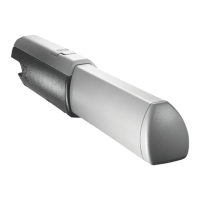
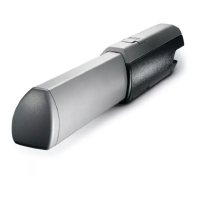
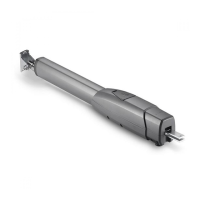
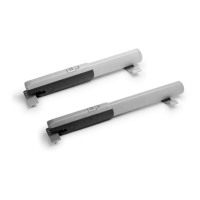
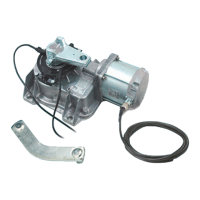
Instructions for installing the motor onto brackets using provided nuts and bolts.
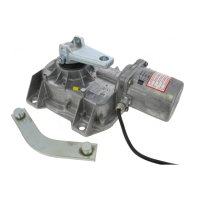
Manually release the reduction gear and adjust the microswitch position.
Ensuring both motors are adequately earthed and wiring diagram for motors.
Guidance on fitting safety beams approximately 15 inches from ground level.
Instructions for inserting the radio frequency card into the control panel socket.
Wiring the tuned antenna to the antenna wiring point.
Steps to reveal the remote diagram, set dipswitches, and program remotes.
Connect protected mains power to the control panel terminals L1+L2.
Connect power, select motor power setting, set dipswitches, and fit wire link.
Pulse terminals to start gate movement and check/change motor direction.
Adjust potentiometers for gate leaf delay, total running time, and sensitivity.
Select automatic closing time and configure safety photocells for re-opening.
Procedure to store remote control codes onto the control board.
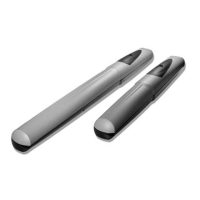
Detailed specifications including dimensions, opening angles, and gate wing weight limits.
Instructions on how to vary motor torque using spade connectors.
Overview of the control panel's features, safety standards, and power specifications.
Diagram illustrating the electrical connections for the control panel and accessories.
Details on adjusting trimmers TL, TCA, and TR2M for various operational times.
Summary of terminal connections for power supply, motors, buttons, and accessories.
Checks for gate piers, gate swing, and dimension C for opening angle.
Details power supply requirements and outdoor cable routing with drip loops.
Wiring accessories with stranded cable and antenna with coaxial cable.
Instructions for welding and attaching fixing brackets, observing measurements A and B.
Details how to attach the rear bracket, adjust its position and its impact on gate movement.
Instructions for attaching the front bracket in the fully closed position, ensuring alignment.
Securely fasten the control panel PCB to the casing using screws.
Steps to remove covers to access motor terminals and worm drive.
Instructions for installing the motor onto brackets using provided nuts and bolts.
Manually release the reduction gear and adjust the microswitch position.
Ensuring both motors are adequately earthed and wiring diagram for motors.
Guidance on fitting safety beams approximately 15 inches from ground level.
Instructions for inserting the radio frequency card into the control panel socket.
Wiring the tuned antenna to the antenna wiring point.
Steps to reveal the remote diagram, set dipswitches, and program remotes.
Connect protected mains power to the control panel terminals L1+L2.
Connect power, select motor power setting, set dipswitches, and fit wire link.
Pulse terminals to start gate movement and check/change motor direction.
Adjust potentiometers for gate leaf delay, total running time, and sensitivity.
Select automatic closing time and configure safety photocells for re-opening.
Procedure to store remote control codes onto the control board.
Detailed specifications including dimensions, opening angles, and gate wing weight limits.
Instructions on how to vary motor torque using spade connectors.
Overview of the control panel's features, safety standards, and power specifications.
Diagram illustrating the electrical connections for the control panel and accessories.
Details on adjusting trimmers TL, TCA, and TR2M for various operational times.
Summary of terminal connections for power supply, motors, buttons, and accessories.
| Brand | CAME |
|---|---|
| Model | ATI KIT |
| Category | Gate Opener |
| Language | English |