


K
Kevin KingJul 27, 2025
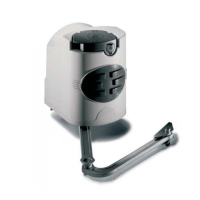
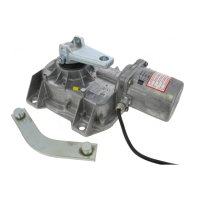
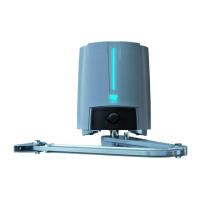
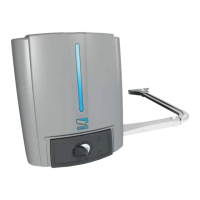
Why won't my CAME Gate Opener respond to the remote control?
- TTom RobinsonJul 27, 2025
If your CAME Gate Opener isn't responding to the remote control, here are a few things to check: 1. Ensure the AF frequency card is installed in the control panel, as the absence of this card can prevent remote control operation. 2. Verify that the remote control has been properly programmed into the control panel. 3. Check the remote control's code settings to ensure they are correct. 4. Confirm that the “Operator Present” function (DIP switch 1) is deactivated, as it can disable radio remote controls. 5. Make sure the correct frequency card is installed for the remote control being used.