Manual
7
INITIAL OPERATION
Attach the mains desk adapter to an easily accessible shockproof socket.
Connect DC connection linen of mains desk adapter with printer (female connector 21).
Turn on the DC-switch at the rear of the printer.
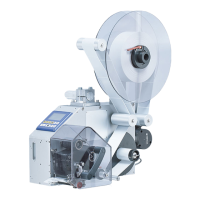
Load label material and also transfer ribbon (if required).
Press and hold feed key as long as status LED is orange and ready LED flashes red. Release feed
key and the measuring procedure is started.
Note: In order to separate printer completely from power line, remove mains plug from shockproof
socket.
INSTALLATION
Note: Before initial operation the operating conditions described at the end of this operating manual
have to be granted.
Please check the printer status immediately after receipt, to be sure that nothing was damaged on the
route of transportation.
After unpacking, please check the accessories (see end of page) that come with the package, and
store them immediately.
Note:
Keep the original packaging for possible later deliveries
Put the printer onto a suitable ground, avoiding exposure to bright sunlight.
Please avoid high humidity and dust environment and make sure that the printer is not used in dump
or wet area.
Our printers are exclusive for printing on labels, continuous paper and similar materials.
Operate the printer only with the original cable with safety contact.
Note: When servicing or repairing, the DC switch has to be turned off and the cable disconnected
from shockproof socket.
Connect the power line at the rear of the printer (see illustration below).
Connect the interface cable (RS-232) at the rear of the printer and lock it.
Make a connection to the computer at a free interface.
You can operate the printer via printer driver or via our label design software.
While creating connexions you have to switch off all devices (printer, PC, etc.) that you want to
connect. If you want to remove connexions you have to switch off the devices, tool.
Caution:
Not open mains desk adapter in order to avoid electrical shock!
Accessories
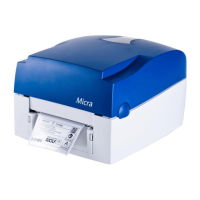
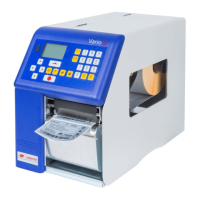
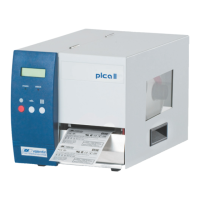
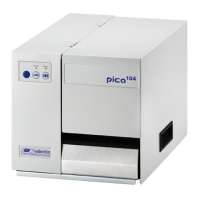
1. Label printer 09. Empty roll core
2. Connecting cable (110V and 230V) 10. Label roll sample
3. Switching power adapter 11. Transfer ribbon sample
4. Parallel interface cable 12. Quick start guide
5. Serial interface cable (optional) 13. CD with manuals and printer driver
6. USB cable
7. Label roll core
8. Transfer ribbon rewinder/unwinder