16
cdvigroup.com
CTV900A
2-Door Controller
INSTALLATION MANUAL
DIP SWITCH SETTINGS
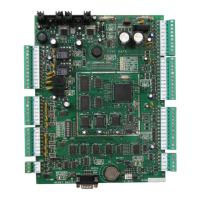
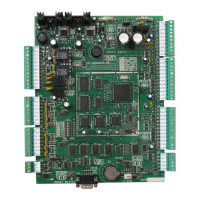
You will found a set of eight dip switches on the lower left hand side of the controller. These dip switches are
used to set certain modes in the controller as described below. Changes to the dip switch settings will only be
applied when the controller is powered up or if you press the “Reset Switch” located on the lower left hand side
of the controller.
DEF/RUN DIP SWITCH
Set the dip switch to the o (Run) position for normal operation. If you wish to reset the controller to
its default settings, set the dip switch to the on (Def) position, then power up the controller or press
the “Reset Switch” on the lower left hand side of the controller. Default setting is o (Run).
9.6K/19.2K DIP SWITCH
Select the appropriate communications baud rate between the access control server and the network
of controllers. Set the dip switch to the on position for 9.6K or set the dip switch to the o position
for 19.2K. Default setting is o (19.2K). Verify that the CAA360A Converter has also been set
accordingly.
CONTROLLER ADDRESS ASSIGNMENT
Each site can manage up to 256 controllers. The 256 controllers are divided into four controller loops
of up to 64 controllers each. Using the table on page 17, set the dip switches to the desired controller
address. Each of these loops is assigned to a specic COM port. Controllers connected to the selected
COM port will be assigned to a specic address. The access control server (Centaur Software) will
recognize these dip switch settings. For more detailed information, please refer to the Centaur
Software Manual.