CEBORA S.p.A. 9
3.302.002 03/08/00
Correct?
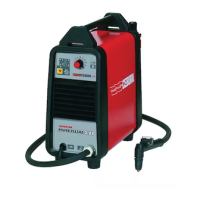
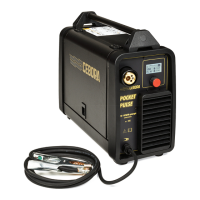
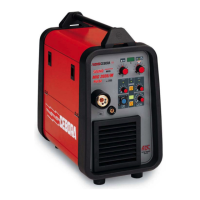
q Turn the gas setting knob (H) to a pressure, as read on the pressure gauge (G), suited to the
type of torch being used (see table (S) on operator panel).
q Turn the knob (Z) to a cutting current suited to the thickness of the workpiece (see
Instruction Manual).
♦ Display (X) indicates the programmed cutting current.
NO (see 3.3.3. and 3.3.4.).
YES
WARNING
DURING THE FOLLOWING TESTS, DO NOT POINT THE TORCH AT PEOPLE OR
PARTS OF THE BODY, BUT ALWAYS TOWARDS AN OPEN SPACE OR THE
WORKPIECE.
q Briefly press the torch start button.
♦ Gas flows from the torch for the post-gas time (2 minutes);
The pressure reading on the pressure gauge (G) remains constant.
NO (see 3.3.4. and 3.3.11).
YES
q Press the torch button to light the pilot arc.
♦ Pilot arc starts for a maximum duration of two seconds (pre-gas).
NO (see 3.3.5., 3.3.6., and 3.3.7.).
YES
q Move the torch near the workpiece and press the torch start button.
♦ Begin cutting. Adjust the knob (Z) to the current level suited to the kind of
cutting.
♦ On the operator panel, the displays indicate the cutting current and nozzle
diameter of the torch, and only the LEDs for the type of torch (T) and (U) are lit.
NO (see 3.3.8. and 3.3.9.).
YES
q Release the torch start button.
♦ The arc shuts off immediately. Gas continues to flow out for two minutes (one
minute with torch CP200) to cool the torch (post-gas).
NO (see 3.3.10.).
YES
REGULAR OPERATION.