Sect. 3 - Installation and Operator’s Controls of the Bench Saw
•
CEDIMA
®
• Technical Documentation • All rights reserved as per DIN 34 • „Subject to modifications due to progressive development“ •
Page 19
Bench Saw CTS•81, L, XL
Operating Manual 70 9998 0329 / UK 003
Attention: Check the blade holder and
saw blade for proper condition!
The contact area between the blade holder as-
sembly and the diamond saw blade must be kept
in a clean condition to ensure that the blade can
be mounted properly.
Never use damaged or untrue saw blades or bla-
des with missing diamond segments.
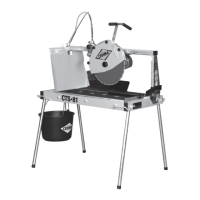
4. Install the diamond saw blade on the suppor-
ting flange, ensuring the correct sense of ro-
tation (fig. 3.12). The sense of rotation of the
cutting shaft is marked by an arrow on the
blade guard (fig. 3.13).
Fig. 3.12 Sense-of-rotation arrow on the blade
Sense-of-rota-
tion arrow
Fig. 3.13 Sense-of-rotation arrow on the blade guard
Sense-of-rotati-
on arrow
Note:
Determine the correct sense of rotation!
If the arrow on the diamond saw blade is not visi-
ble, the cutting direction of the saw blade can be
determined in the following way: a “tail” forms
behind each diamond particle during cutting and
the diamond particle is always at the front in re-
lation to the direction of rotation (fig. 3.14).
Fig. 3.14 Tails forming behind the diamonds
DiamondTail
Segment
Sense of rotation
of the blade
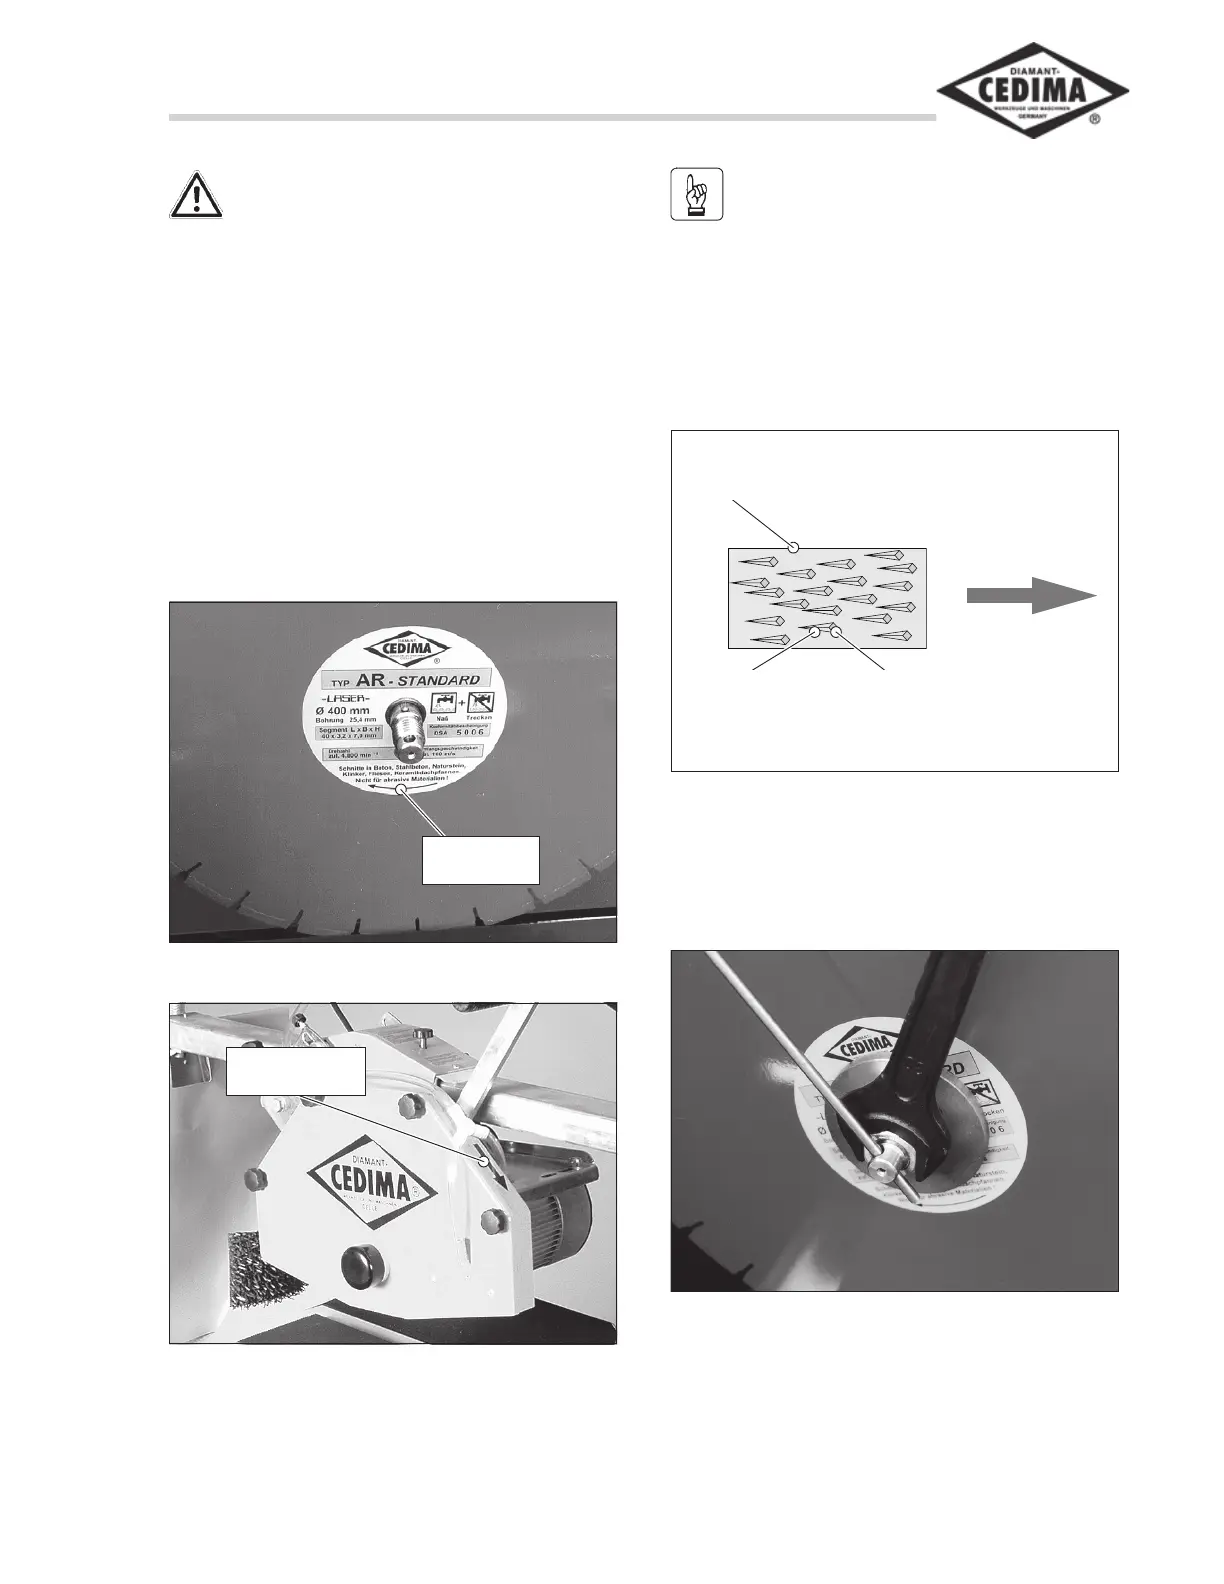
5. Install the blade clamping flange.
6. Firmly re-tighten the cutting shaft nut (fig.
3.15).
Fig. 3.15 Locking the saw blade using the mandrel and
spanner
7. Lightly turn the installed saw blade by hand
and check the blade for true running.
8. Mount the blade guard.