8
NOTE
Do not select and hold the arrow buttons. Select and release and then select and release
again, repeating until the axes stall.
2.5 Select “Zero.”
2.6 Select “Home.”
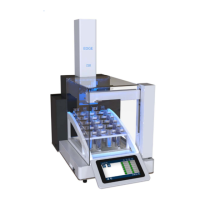
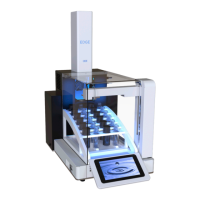
3. Verify the Autosampler Calibration.
CAUTION
When verifying the autosampler calibration, always select “Load,” “Collect” and “Unload” in
that order without skipping a function. If there are problems verifying the autosampler
calibration, repeat step 2.
3.1 Place a Q-Cup and collection vial in position 4.
NOTE
Position 4 is used to verify the calibration. Moving the Q-Cup to and from this location
requires the most distance traveled for all axes and is therefore the best test for the
calibration.
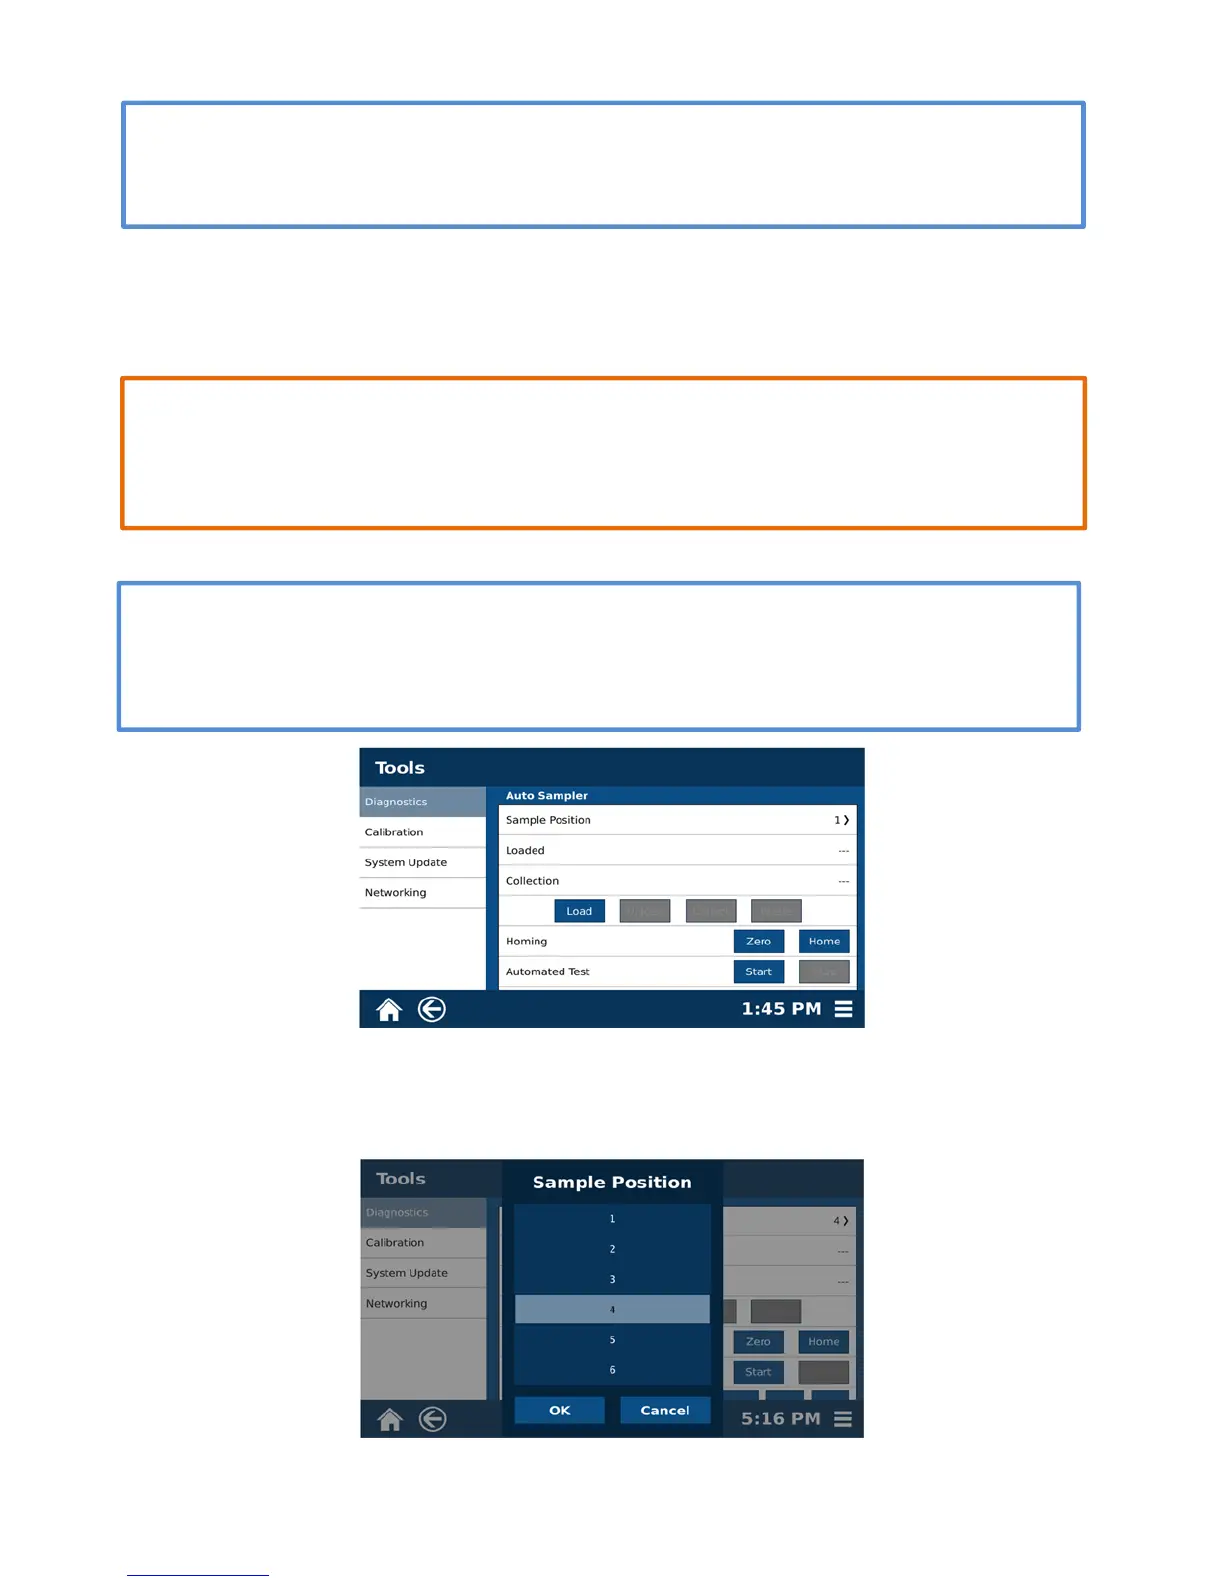
3.2 Select “Menu,” “Tools,” and “Autosampler.” Then select “1” from Sample Position to display
the sample position menu. (Scroll to view the entire Sample Position.)