28
Software Setup
NOTE
The magnet will not begin shimming until the temperature has stabilized, which could take up to 6 hours.
The magnet will then take an additional 0.5-8 hours to complete the Shimming process.
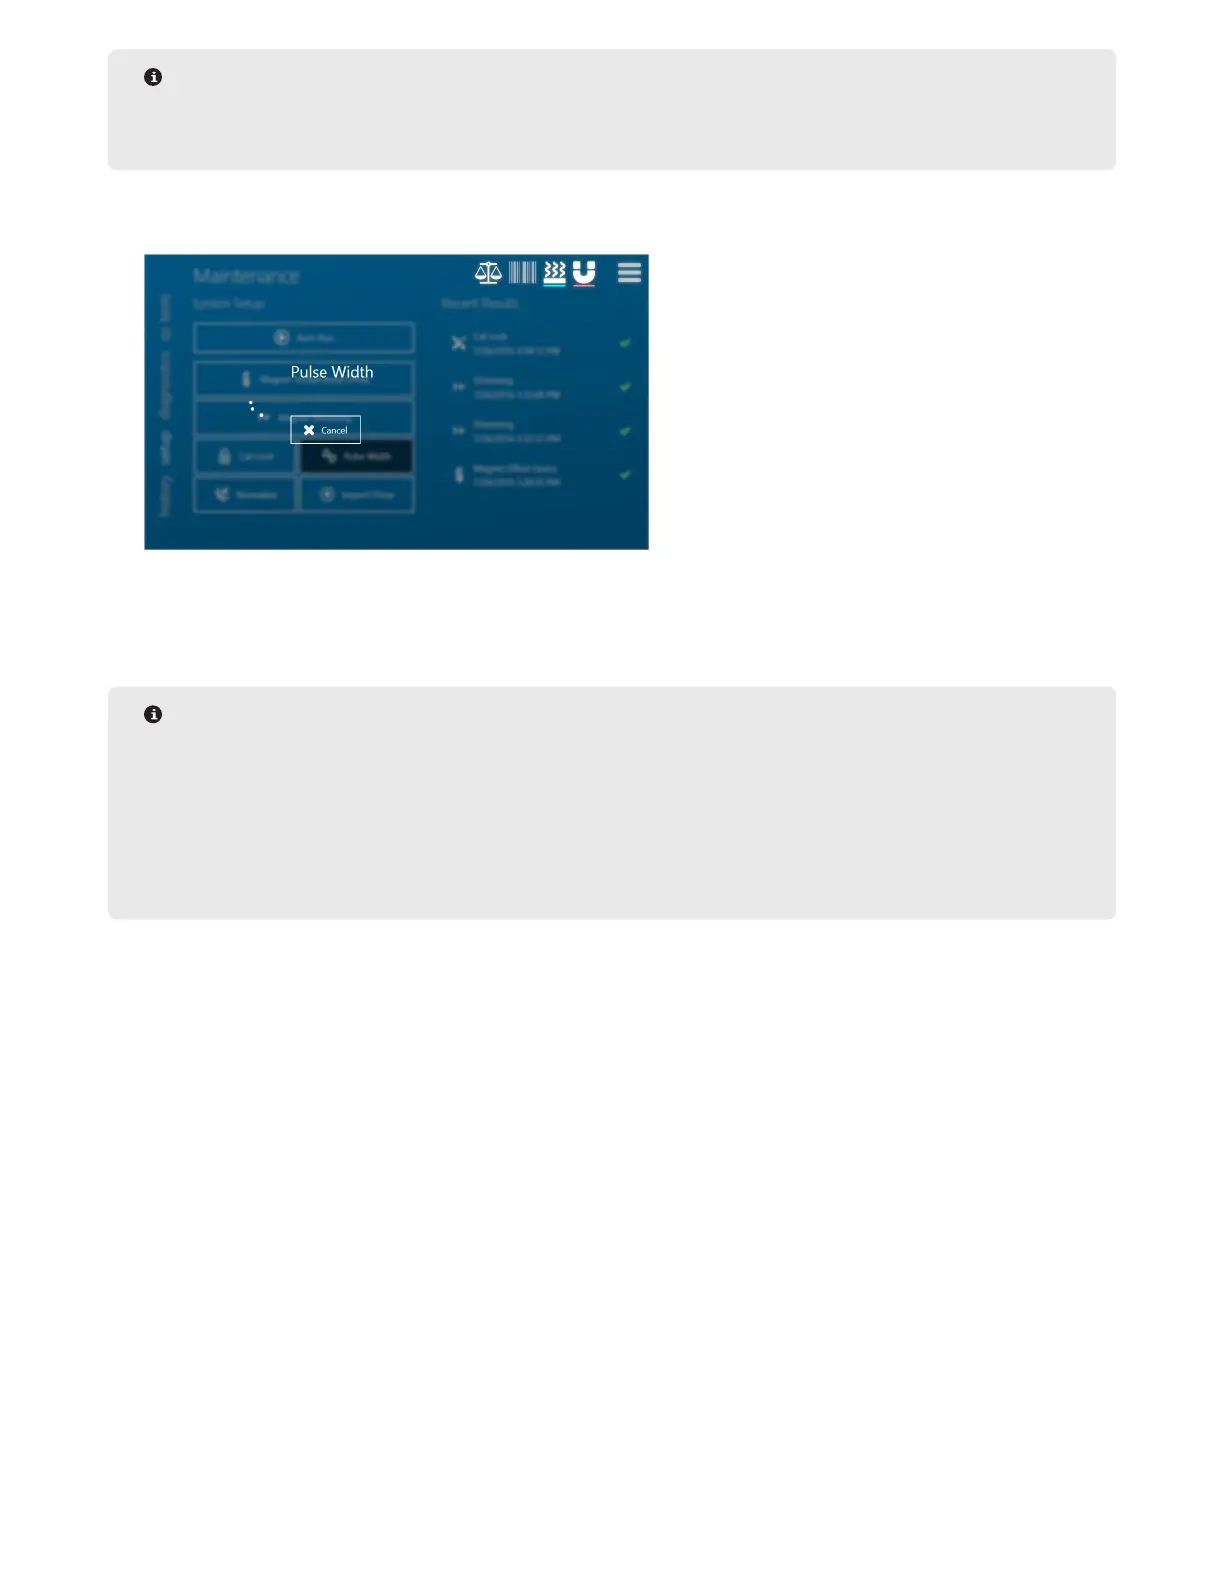
10. Once the magnet shimming is complete, the Pulse Width will begin. The Pulse Width test will take 8-10 min-
utes to fully complete.
11. The nal step is System Normalization. The Oil standard will need to be rst removed from the ORACLE, then
after approximately 20 minutes the system will request the Normalization Standard. Place the Normalization
Standard in the magnet and press Ok. System Normalization takes over 1 hour to complete.
NOTE
Before placing the Normalization standard in the magnet, inspect the glass swirl for any bubbles trapped
between the oil. If bubbles are present, gently shake and rotate the tube until the bubbles are removed.
Normalization will go through 4 separate stages, with each stage noted. The rst two stages require
the magnet to be empty of any tubes, and the temperature conditioning and last two stages require the
Normalization tube to be placed in the magnet.
12. Once Auto Run is complete, the data will be logged in the “Recent Results” window on the right side of the
screen.
External Balance (If Applicable)
The external balance is recommended for customers not using a SMART 6 for moisture content. Currently, only
Mettler balances are supported by the ORACLE software. Paired balance settings are congured in the software
and balances prior to shipment. Settings are hard-coded in the ORACLE software and can only be changed in the
balance.
Balance Setup
To connect the external balance,
1. Select the “Main Menu” icon followed by “Instruments”. If “Instruments” icon is grayed out, log out and log in
as a user with “Administrator” privileges.
2. Select “Balance” located on the left side of the screen.
3. Select the “Connect” button. If the balance does not connect, check the cable connections and then proceed
with “Balance Conguration” section below.

 Loading...