29
Software Setup
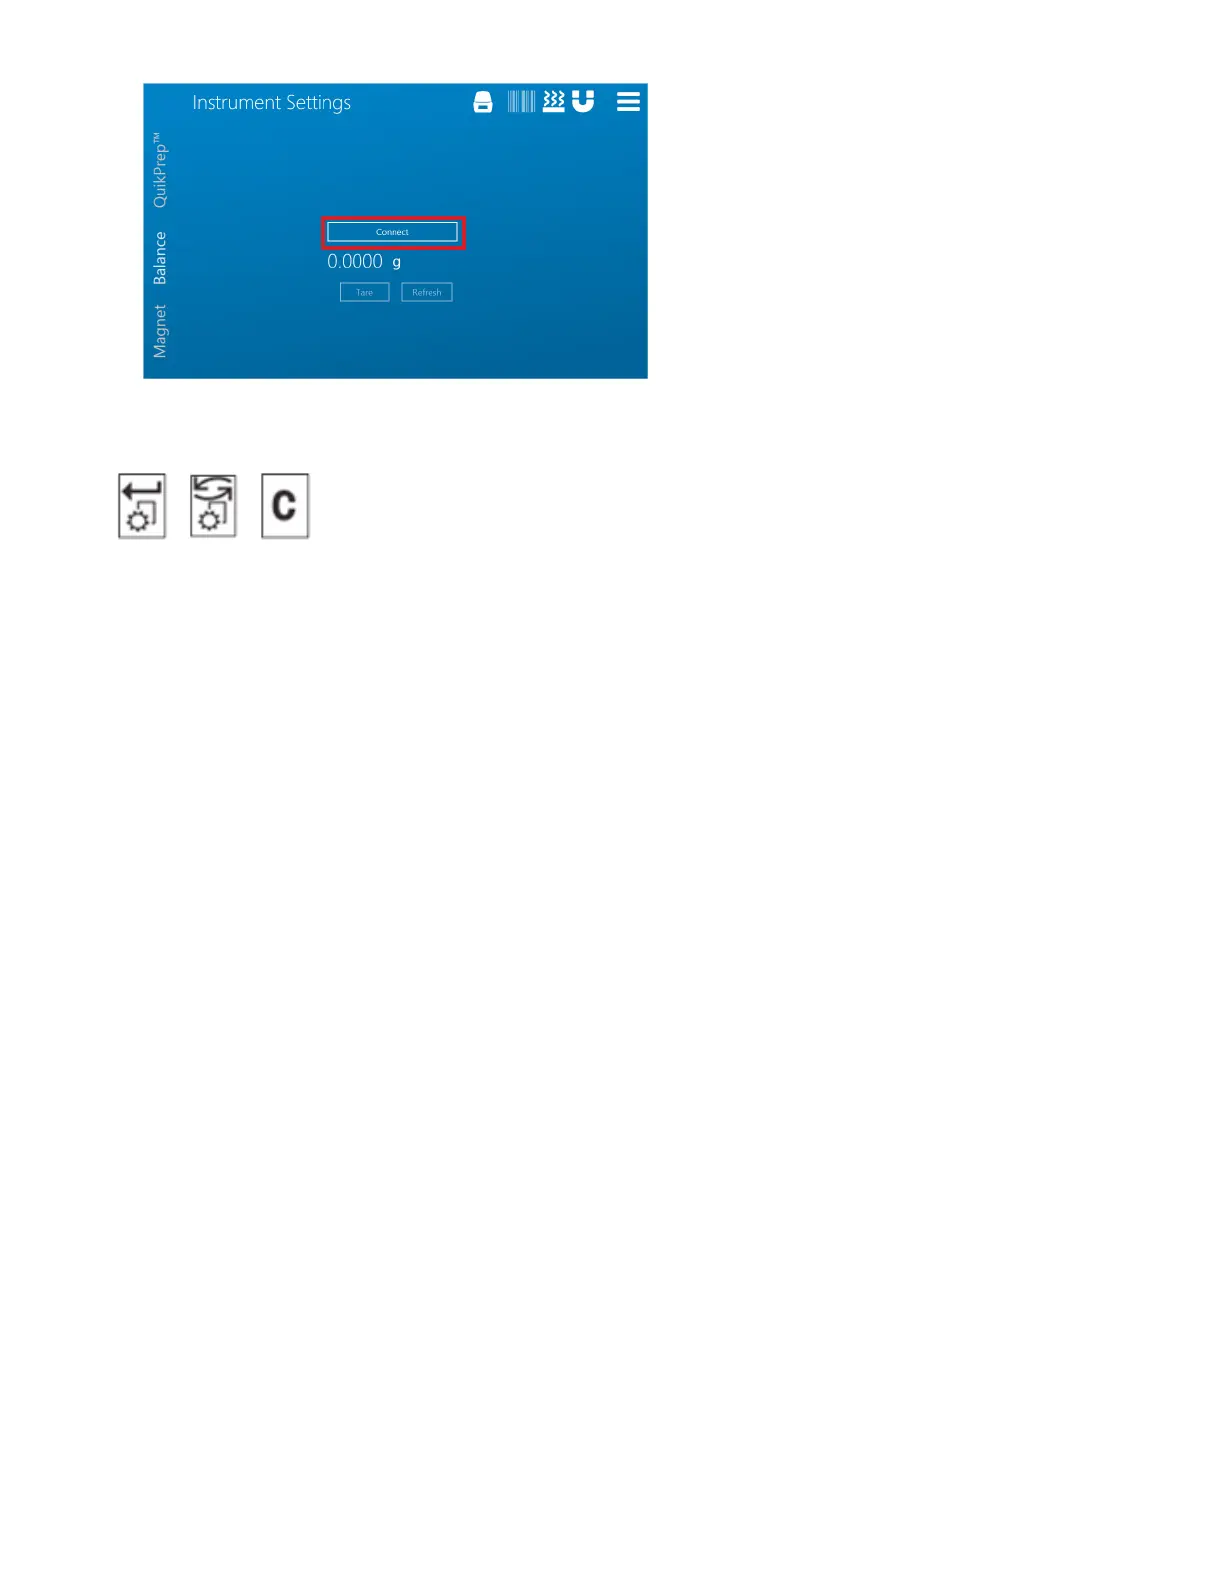
Balance Configuration
Enter Scroll Clear
1. Using the keys on the balance, press and hold the “Menu/Enter” button to access the Main Menu.
2. Press the “Scroll” button twice to access the “Interface” conguration sub-menu.
3. Press the “Enter” button twice to enter the “Interface” conguration sub-menu to nd the “Interface” congura-
tion sub-menu.
4. Conrm or Edit the Interface Conguration settings.
4.1. Press the “Scroll” button to scroll through the available settings.
4.2. Press the “Enter” button to view the current value for the given setting .
4.3. Press the “Scroll” button to edit current value for a given setting (if required).
4.4. Press the “Enter” button to save the changes and return to the Interface conguration sub-
menu current value for a given setting (if required).
5. Press the “Clear/Exit” button twice to exit to the Main Menu.
SMART 6 Connection
This section is for users with a SMART 6 system. If not using a SMART 6 to dry the sample prior to ORACLE
analysis, disregard this section.
SMART 6 Software Connection
1. After following instructions in the SMART 6 manual to set the system up, go to the Main Menu and choose
Settings, then while on the System tab scroll to the bottom until the Trac IP Address option appears.