125
35. Press “6” to activate the Clock screen.
36. Press “1” to toggle and select the desired
date format – “MM/DD/YYYY” or “DD/
MM/YYYY.”
37. Press “2” to enter the appropriate date.
38. Using the numeric keypad, enter the date
based on the selected date format.
39. Press ENTER.
40. Press “3” to toggle and select the desired
time format – “24” or “12” hour.
41. Press “4” to enter the time of day.
42. Using the numeric keypad, enter the time
of day.
43. Press the operation key below PREV
PAGE to return to the Setup screen.
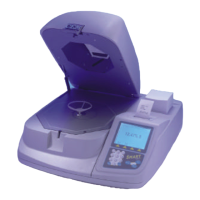
Setup
1. SYSTEM OPTIONS
2. SYSTEM INFORMATION
3. PRINTER
4. COM PORT
5. CONTRAST
6. CLOCK
7. CALIBRATION
8. SECURITY
Press item number to select.
NEXT
PAGE
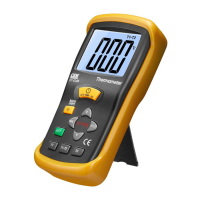
Clock
1. DATE FORMAT: MM/DD/YYYY
2. DATE: XX/XX/XXXX
3. TIME FORMAT: XX HOUR
4. TIME: 00:00
Input date, press ENTER.
Entry 00/00/0000
MAIN PREV
MENU PAGE
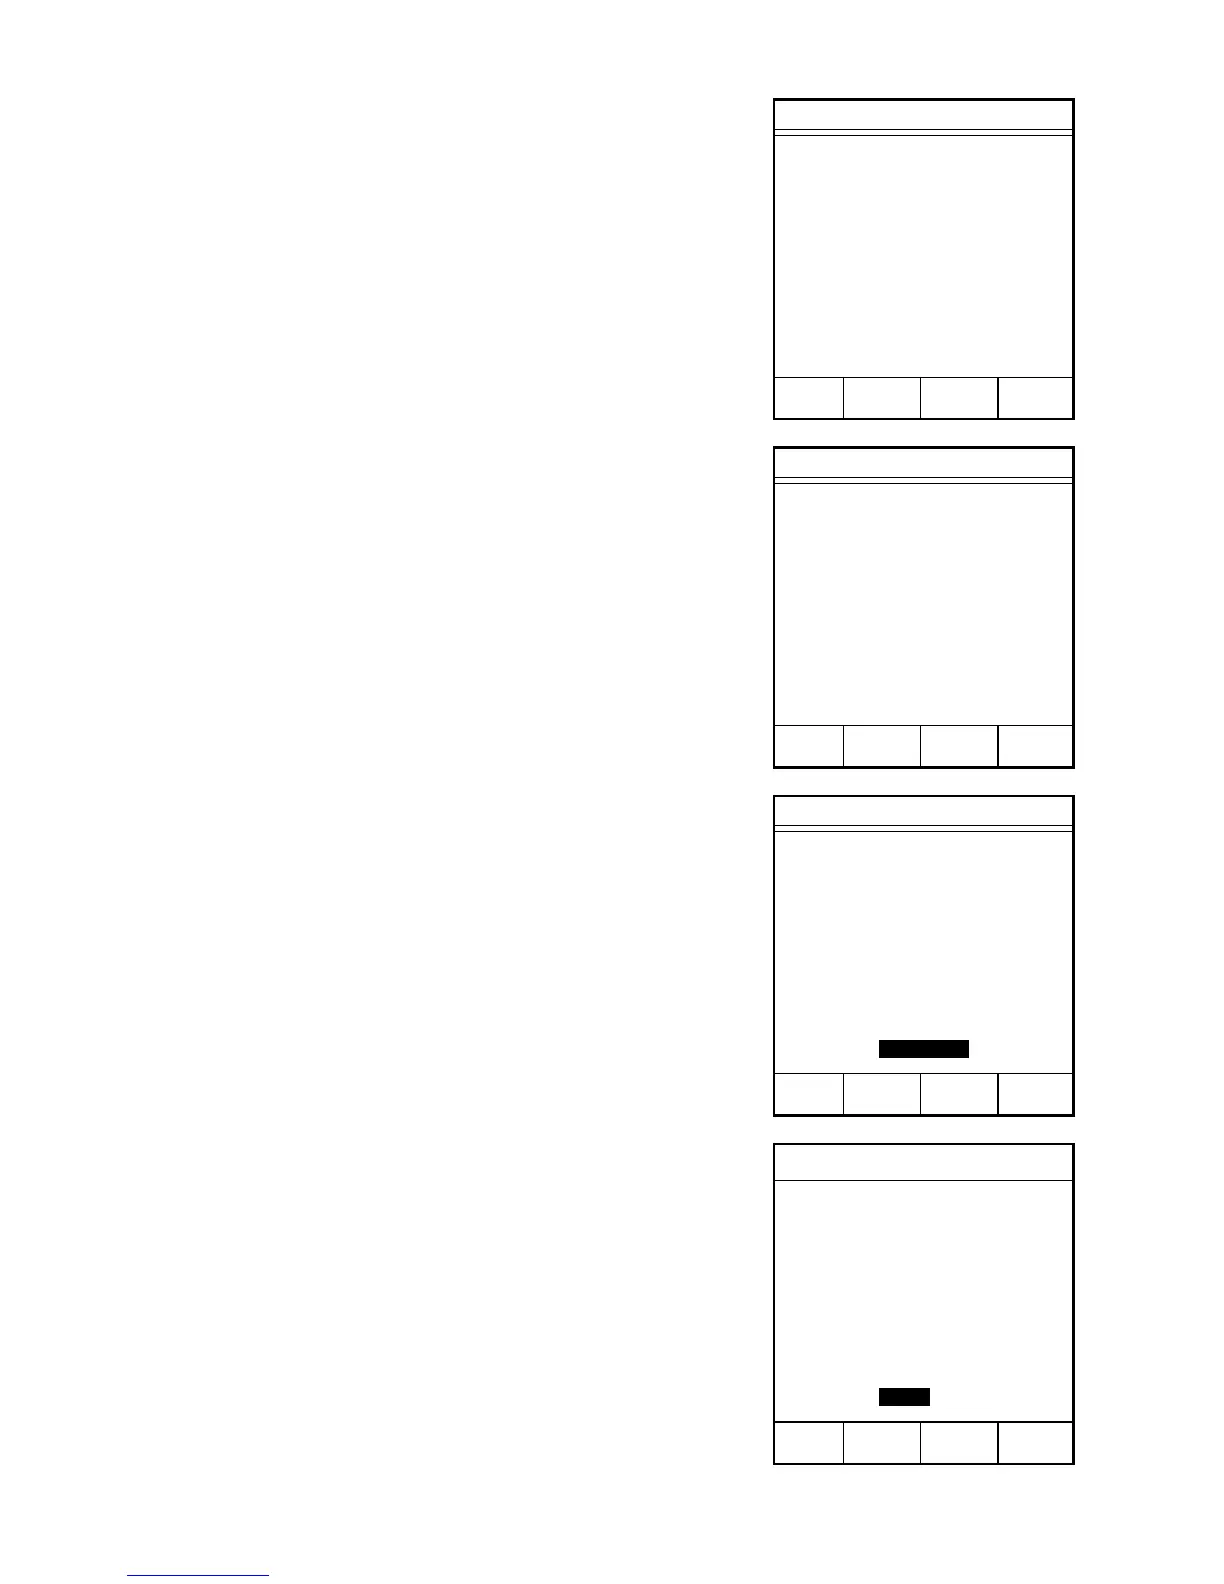
Clock
1. DATE FORMAT: MM/DD/YYYY
2. DATE: XX/XX/XXXX
3. TIME FORMAT: XX HOUR
4. TIME: 00:00
Press item number to select.
MAIN PREV
MENU PAGE
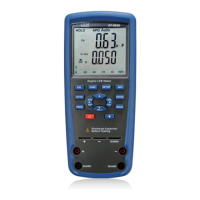
Clock
1. DATE FORMAT: MM/DD/YYYY
2. DATE: XX/XX/XXXX
3. TIME FORMAT: XX HOUR
4. TIME: 00:00
Input time, press ENTER.
Entry 00:00
MAIN PREV
MENU PAGE