UTM-1 Getting Started Guide | 13
Chapter 2
Configuring UTM-1
In This Chapter
Installing UTM-1 in the Rack 13
Connecting Power Cables and Powering On 14
Available Software Images 14
Initial Configuration 14
Using the First Time Configuration Wizard on Gaia 16
Using the First Time Configuration Wizard on SecurePlatform 21
Installing the SmartConsole GUI Clients 24
First Time Login to the Security Management Server 25
Configure and Install the Security Policy 25
Advanced Configuration 28
To configure UTM-1, perform the following steps:
Step 1: Install UTM-1 onto the rack.
Step 2: Connect the cables and power on.
Step 3: Use the First Time Configuration Wizard.
Step 4: Install the SmartConsole GUI clients.
Step 5: Login to SmartDashboard and compare the fingerprint.
Step 6: Configure and install the security policy.
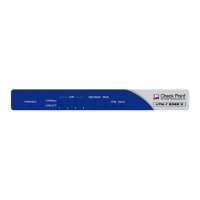
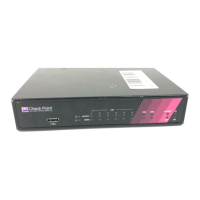
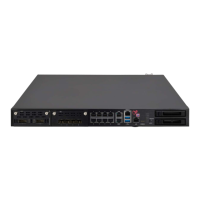
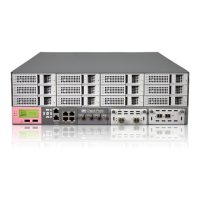
Installing UTM-1 in the Rack
Note - Does not apply to UTM-1 130.
Install the system in the rack with the network ports facing the front of the rack.