• 1 stop bit
• No parity
• None (flow control)
Step 5 Connect power to the switch as described in Wire the Power Source, on page 43.
The PC or terminal displays the bootloader sequence.
Step 6 Press Enter to display the setup prompt.
Step 7 Complete the setup by following the steps in Complete the Setup Program, on page 57.
USB Micro-Type B Console Port
Complete the following steps to access the CLI through the USB Micro Type B console port.
Before you begin
If you are connecting the switch USB-mini console port to a Windows-based PC for the first time, install a
USB driver.
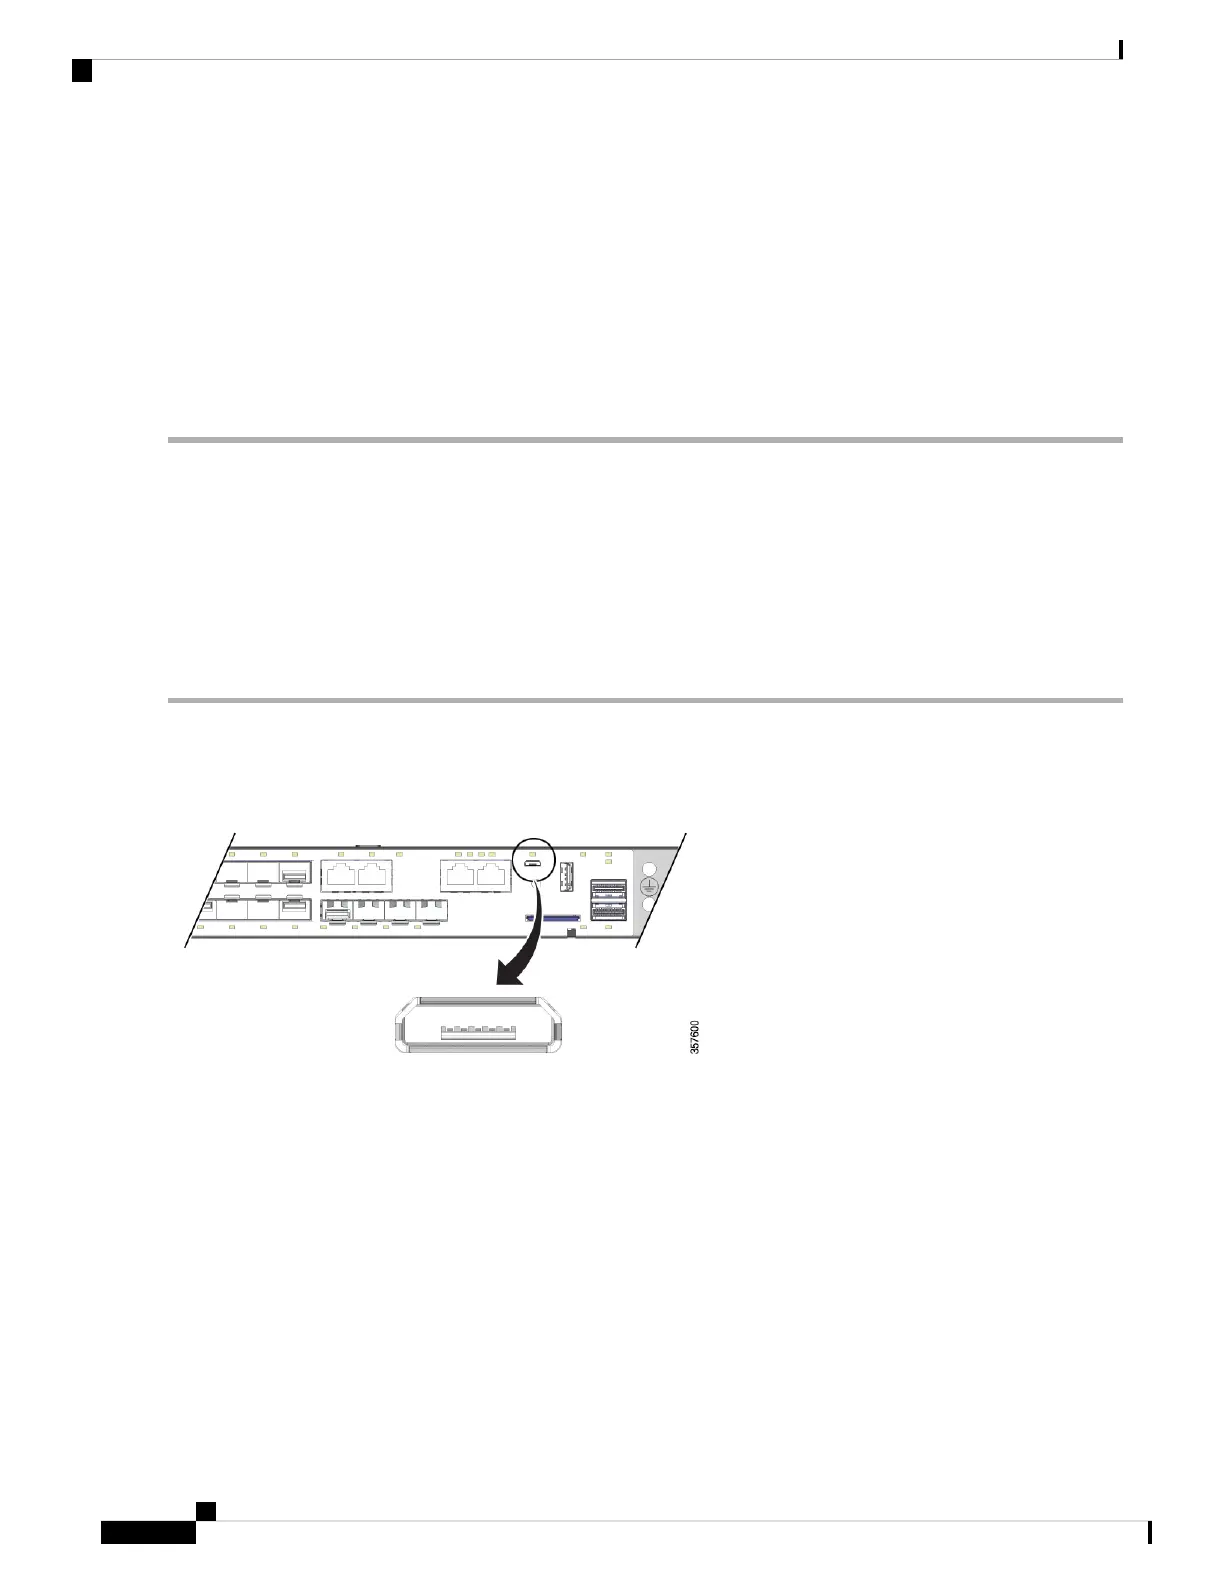
Step 1 Connect a USB cable to the PC USB port, and connect the other end of the cable to the switch micro-B USB console
port.
Figure 33: Micro-B USB Console Port
Step 2 Identify the COM port that is assigned to the USB console port:
a) Choose Start > Control Panel > Systems.
b) Click the Hardware tab and then choose Device Manager.
c) Expand Ports.
The assigned COM port appears in parenthesis at the end of the line with this entry: Cisco USB System Management
Console.
Step 3 Start the terminal-emulation program on the PC or the terminal.
The program, frequently a PC application such as HyperTerminal, ProcommPlus, or PuTTY, makes communication
possible between the switch and your PC or terminal.
Cisco Catalyst IE9300 Rugged Series Switch Hardware Installation Guide
56
Switch Configuration with the CLI Setup Program
USB Micro-Type B Console Port