EasyManua.ls Logo

Cisco SPA 514G - Attaching the Desk Stand; Mounting the Phone to the Wall; MB100 Wall Mount Kit

Cisco SPA 514G
33 pages
To Next Page IconTo Next Page
To Previous Page IconTo Previous Page
Loading...
Version 2.1 13 of 33
Feature
Auxiliary port - only for use with the Cisco SPA attendant console
Power port - insert the power adapter plug here
Additional Ethernet port - connect an Ethernet cable to this port to provide network connectivity
to a PC.
Switch (Ethernet) port - connect the network cable to this port
Phone cord port - Insert one end of the phone cord here and the other into the jack at the bottom
of the handset
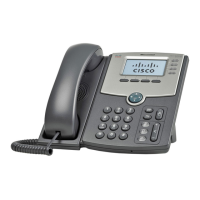
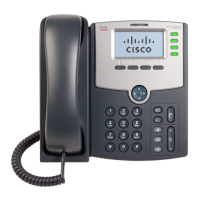
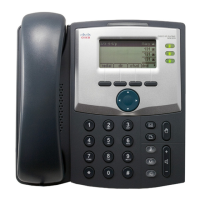
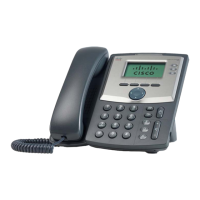
Attaching the desk stand
Note: If you want to mount the phone to a wall, you don’t need to attach the desk stand. If you’re also
attaching a Cisco SPA attendant console, you should attach the console before attaching the desk
stand.
1. Match the tabs on the desk stand with the slots on the back of the phone.
2. Slide the bottom tabs into the slots.
3. Lightly press down on the top of the desk stand - it should easily slide into the top slots (don’t
force it).
Mounting the phone to the wall
To mount your IP phone to a wall, you’ll need the MB100 wall mount bracket kit (you’ll need to buy this
separately).
MB100 wall mount kit
1. Align the bracket with the holes in the phone’s base.

Table of Contents

Related product manuals