3-33
Cisco UCS C240 Server Installation and Service Guide
OL-25761-01z
Chapter 3 Maintaining the Server
Installing or Replacing Server Components
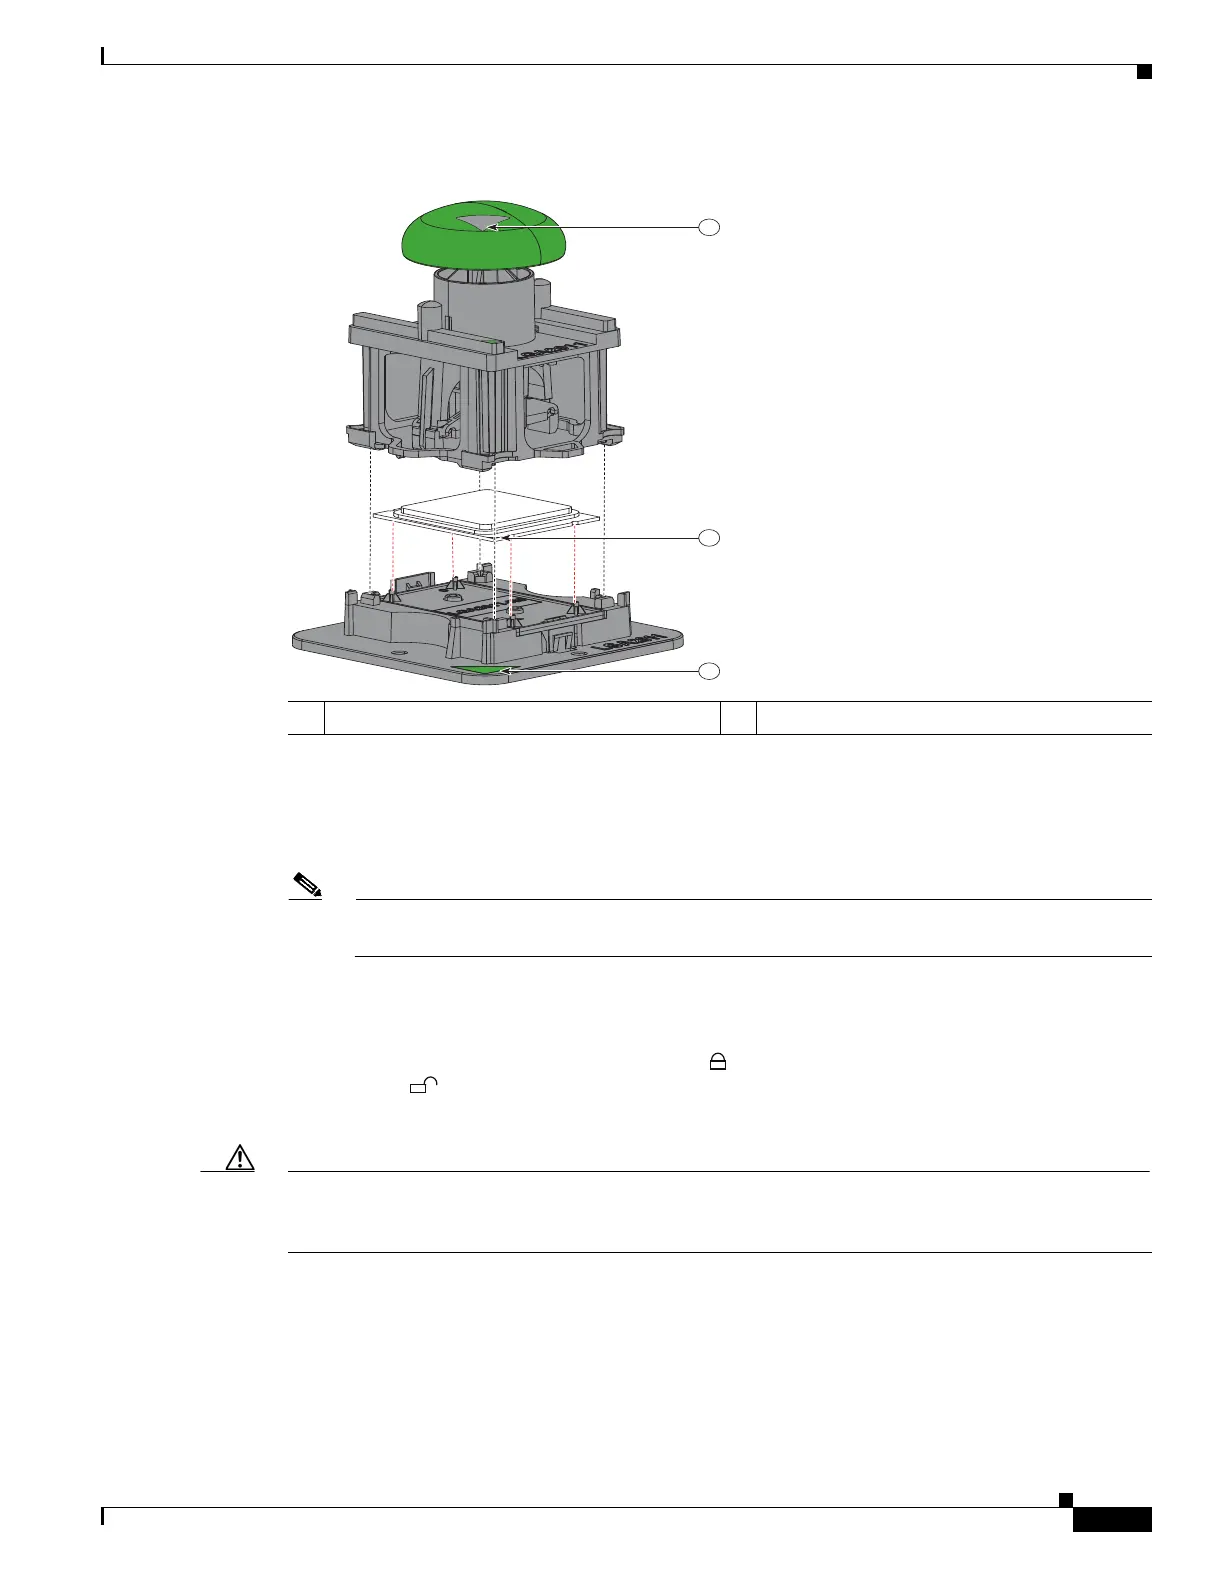
Figure 3-18 CPU and Pick-and-Place Tool on Pedestal
Step 5 Install a new CPU:
a. Set the Pick-and-Place tool with CPU over the empty CPU socket on the motherboard.
Note Align the arrow on the top of the tool with the registration mark (small triangle) that is stamped
on the metal of the CPU socket, as shown in Figure 3-17.
b. Press the top button on the tool to set the CPU into the socket. Remove the empty tool.
c. Close the hinged CPU cover plate.
d. Clip down the CPU retaining latch with the icon, then clip down the CPU retaining latch
with the icon. See Figure 3-15.
Step 6 Install a heatsink:
Caution The heatsink must have a new, undamaged thermal pad on the heatsink-to-CPU surface to ensure proper
cooling. If you are replacing a heatsink that was previously used, you must remove the old thermal pad.
If you are installing a new heatsink, skip to step d. below.
a. Apply an alcohol-based cleaning solution to the old thermal pad and let it soak for a least 15
seconds.
b. Wipe all of the old thermal pad off the old heatsink using a soft cloth that will not scratch the
heatsink surface.
1 Arrow marks for alignment –