EN
DEX 12 Next
34
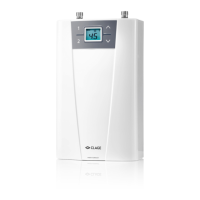
1. Place the appliance on the heater bracket so that the threaded rod of the wall
bracket fits in the corresponding hole of the appliance. If necessary, slight cor-
rections are possible by carefully bending the threaded rod of the wall bracket.
However, it must be possible to screw on the water connection pipes of the appli-
ance without applying force.
2. Screw the plastic knurled nut onto the threaded rod of the wall bracket.
3. Screw the two ⅜inch union nuts of the appliance‘s water connection pipes, each
with the ⅜inch seal, onto the fittings.
4. Installation
Installing the appliance
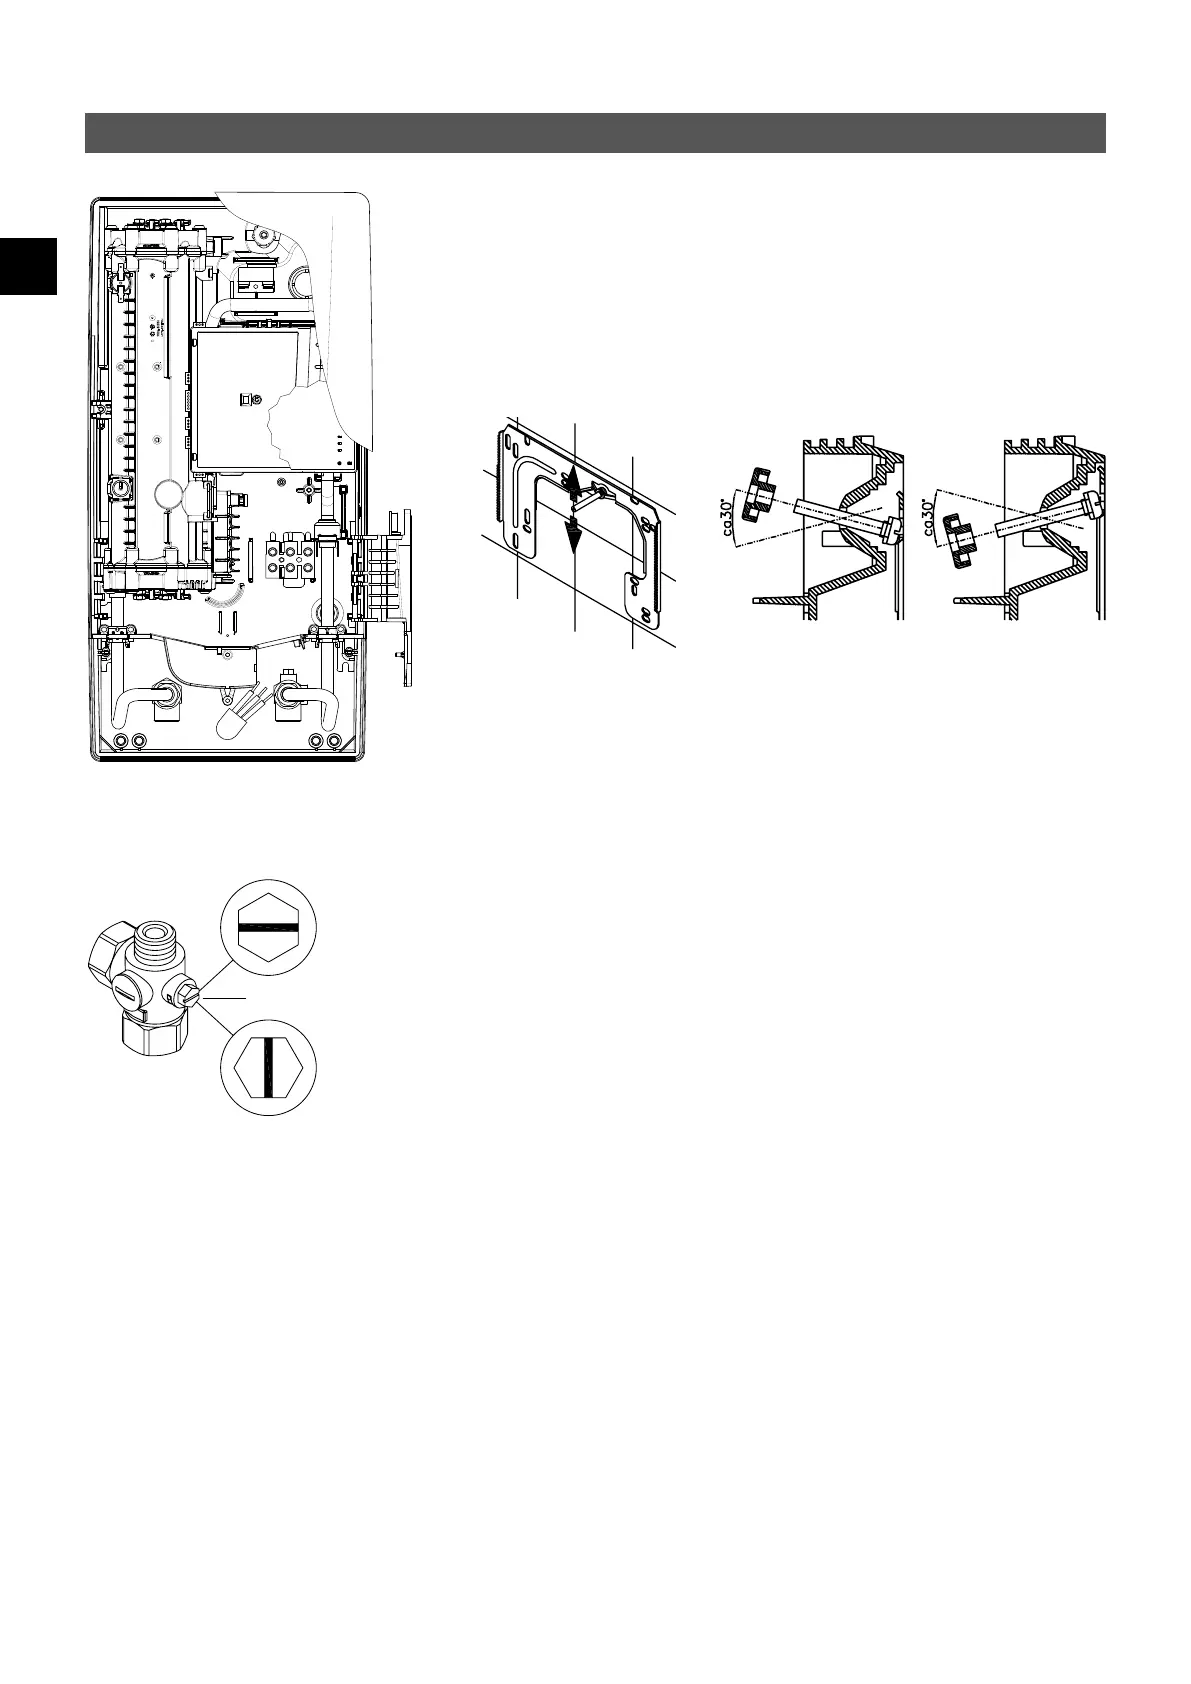
(a)
closed
open
4. Open the water supply line to the unit and slowly open (position “open“) the shut-
off valve (a) in the cold water connection piece. Check all connections for leaks.
5. Next, open and close the hot water tapping valve several times until no more air
emerges from the line and all air has been eliminated from the instantaneous water
heater.
 Loading...