INSTALLATION
CONTENTS
1.
Before Starting. . . . . . . ...........................................
..
.....
...
..
.... ............. .
..
......... ....... ....... 2 7
2.
Package
Contents .................................................................................................... 2
7
3.
General Cautions ...................................................................................................... 2 7
4.
Cautions On
lnstallation ............
...
......................
..
...
....... ............................................
27
5.
Installing
The
Main Unit .... ....................................................... ..... ....................... .......
28
1.
Before Starting
1 . This set is
exclusively
for use in cars
with
a negative
ground
12 V
power
supply.
2. Read these instructions
carefully.
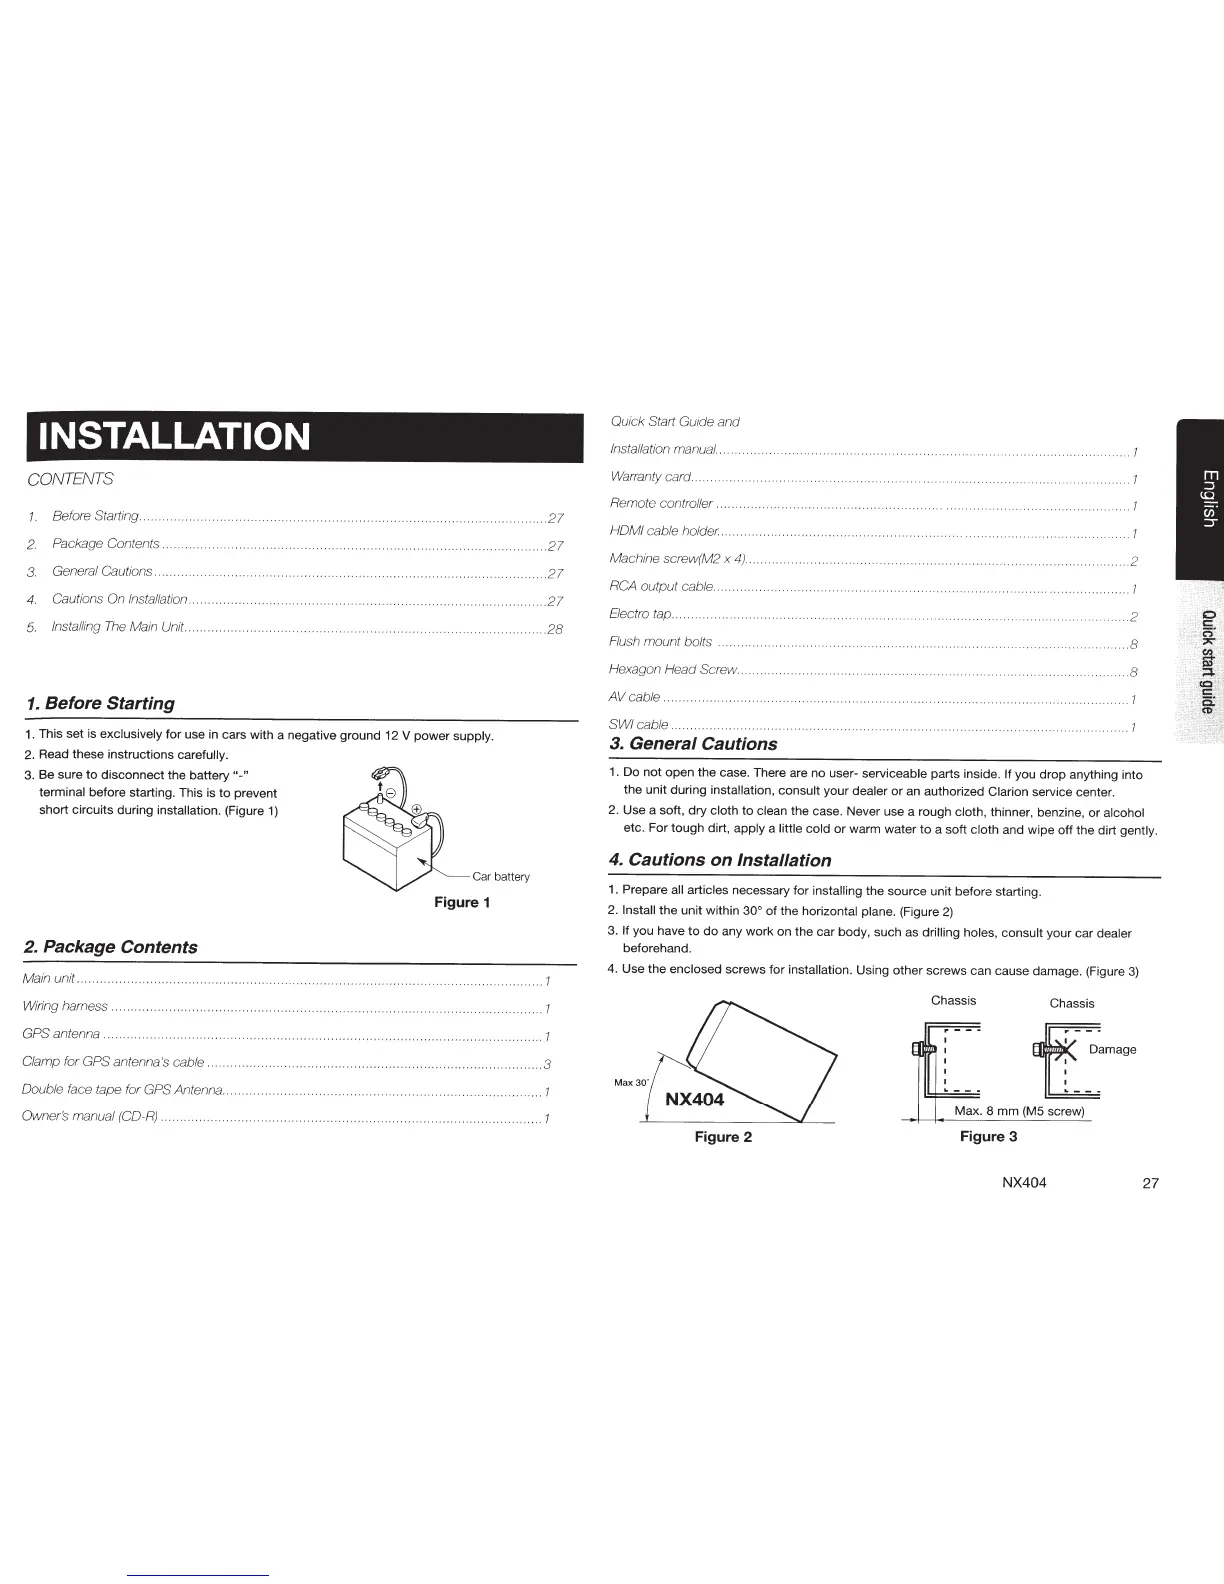
3. Be sure
to
disconnect
the
battery"-"
terminal
before starting. This is
to
prevent
short
circuits during
installation.
(Figure
1)
2. Package Contents
Car battery
Figure 1
Main unit ........ ..
...
..... . .................................................... ............ .....................................
1
Wiring harness .... ...... .......................................... ........................................................... 1
GPS
antenna ...... .....
...
..
.................................................................................................. 1
Clamp for
GPS
antenna's cable ....................................................................................... 3
Double face tape for
GPS
Antenna ................................................................................... 1
Owner's
manual
(CO-R)
....... ........................................................................................... . 1
Quick
Start
Guide
and
Installation manual ..
. 7
Warranty card. . . . . . . . . . . . . . . . . . . . . . . . . . . . . . . . . . . . . . . . . . . . . . . . . . . . .
...
............. ..... .
... 1
Remote controller ....................... .
..
7
HOM!
cable holder. ............ ....
...
............
...
...................... .................. .
..
. 7
Machine screw(M2 x
4)
..... ..... ................................
..
...
.......
....
.. ..
..
.....
..
.2
RCA
output cable ............ .
. 7
Electro tap.... . . . . . . . . . . . . . . . . . . . . . . . . . . . . . . . . . . . . . . . . . . . . . . . . . . . . . . . . . . . . . . . . . . ...........
...
. .
.. ..
2
Flu
sh mount bolts . . . . . . . . . . . . . . . . . . . . . . . . . . . . . . . . . . . . . . . . . . . . . . . . . . . . . . . . . . . . . . . . . . . . . . . . . . . . . . . . . . . . . . . . . . . . . . . . . . . ...... 8
Hexagon Head
Screw
...
··········· ·
··
····· ···· ········ ······················ .......
..
..
....... ........ ......... ...... 8
AV
cable ................................................................................... ..................... .
. 7
SW!cable
...........................
..
..
...... .....
...
.
..
.... .............. ................................... .
..
1
3.
General Cautions
1. Do
not
open
the
case. There are no user-
serviceable
parts inside.
If
you
drop
anything into
the
unit during
installation, consult
your dealer
or
an authorized
Clarion
service center.
2. Use a soft,
dry
cloth
to
clean
the
case. Never use a rough
cloth, thinner, benzine,
or
alcohol
etc. For
tough
dirt,
apply
a
little cold
or
warm
water
to
a
soft
cloth
and wipe
off
the
dirt
gently.
4.
Cautions on
Installation
1. Prepare
all articles
necessary
for
installing
the
source unit before starting.
2.
Install
the
unit
within
30°
of
the
horizontal plane.
(Figure
2)
3. If
you have
to
do
any
work
on the car body, such as
drilling holes, consult
your car
dealer
beforehand.
4. Use
the
enclosed
screws
for
installation. Using
other
screws can cause damage. (Figure
3)
Chassis
Chassis
Max
30"
t::D~mage
Max. 8
mm
(M5 screw)
Figure 2
Figure 3
NX404
27
 Loading...