30
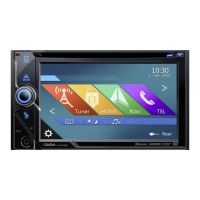
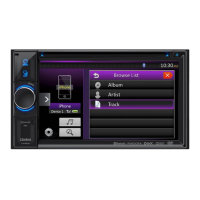
VX404
English
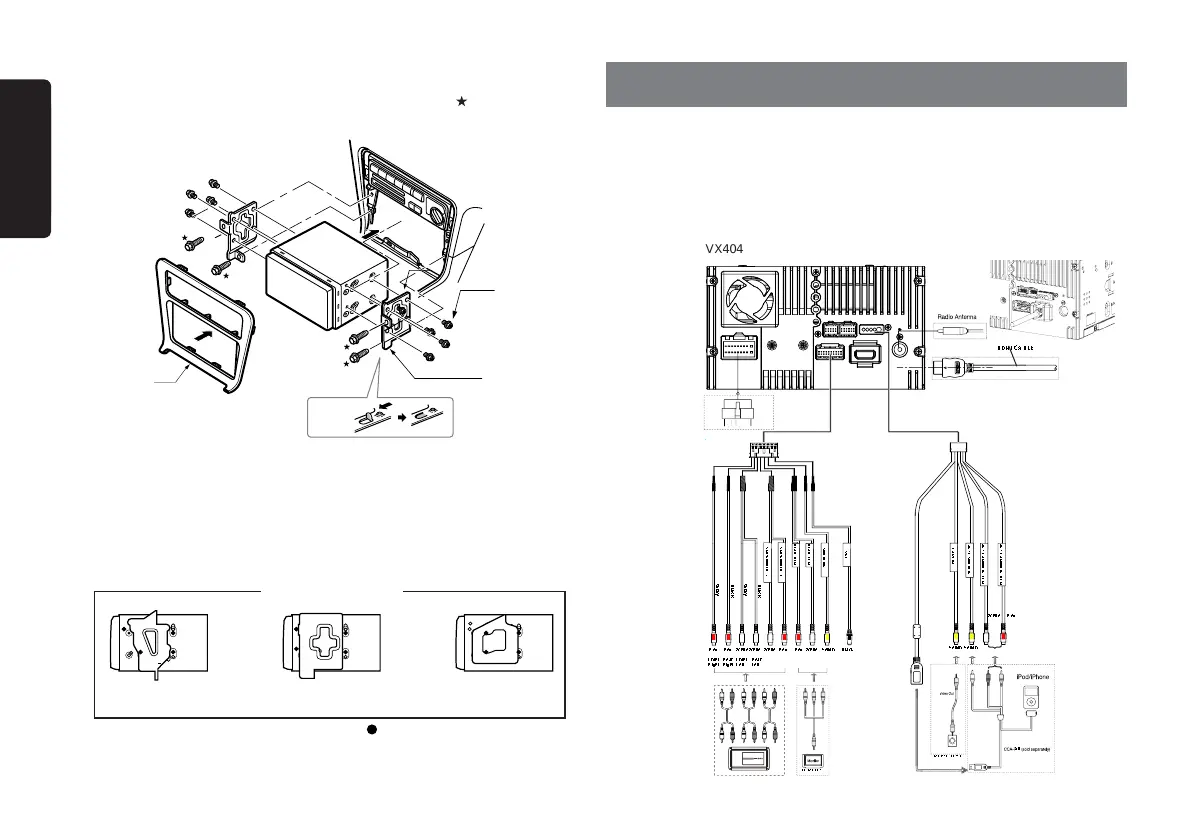
Installing the Main Unit in TOYOTA Vehicle
Install by using parts attached to the vehicle. (Screws marked are attached to the
vehicle.)
8- Hexagonal screws
(M5x8)
Mounting bracket
(1 pair for the left and
right sides)
Center Panel
(*1)
(*2)
*1. Some panel openings are too small for the unit depending on the vehicle type
and model. In such a case, trim the upper and lower sides of the panel frame by
about 0.5 to 1.5 mm so the unit can be inserted smoothly.
*2. If a hook on the installation bracket interferes with the unit, bend and flatten it
with a nipper or similar tool.
Typical Mounting Brackets
Example 1
Example 2
Affix the screws to the
marks.
Example 3
Main Unit
Note:
• Before installing, be sure to disconnect the negative cable of the
car battery.
• In the optional devices, the RCA cables and the Connector
cables are separately-sold items.
•
When connect the HDMI cable, be sure to x with the HDMI cable holder
VX404
For Rear zone
Rear Vision Camera
HDMI CABLE
Black
Red
RedRed Red
White
WhiteWhite White Red White
Yellow Yellow
Yellow
SUBWOOFER 2
REAR RCH
REAR LCH
VIDEO OUT
SWI
CAMERA
AUX2 VIDEO IN
AUX2 AUDIO IN LCH
AUX2 AUDIO IN RCH
SUBWOOFER 1
50
Front
Right
Rear
Right
Front
Left
Rear
Left
Gray
Black
Gray
Black
Refer to
page 31
WIRE CONNECTIONS
HDMI cable holder
Figure 6
VX404_quick start guide_EN_InDesign.indd 30 2014-4-4 13:58:46
 Loading...