12
Parts & Service: 020 8988 7400 / E-mail: Parts@clarkeinternational.com or Service@clarkeinternational.com
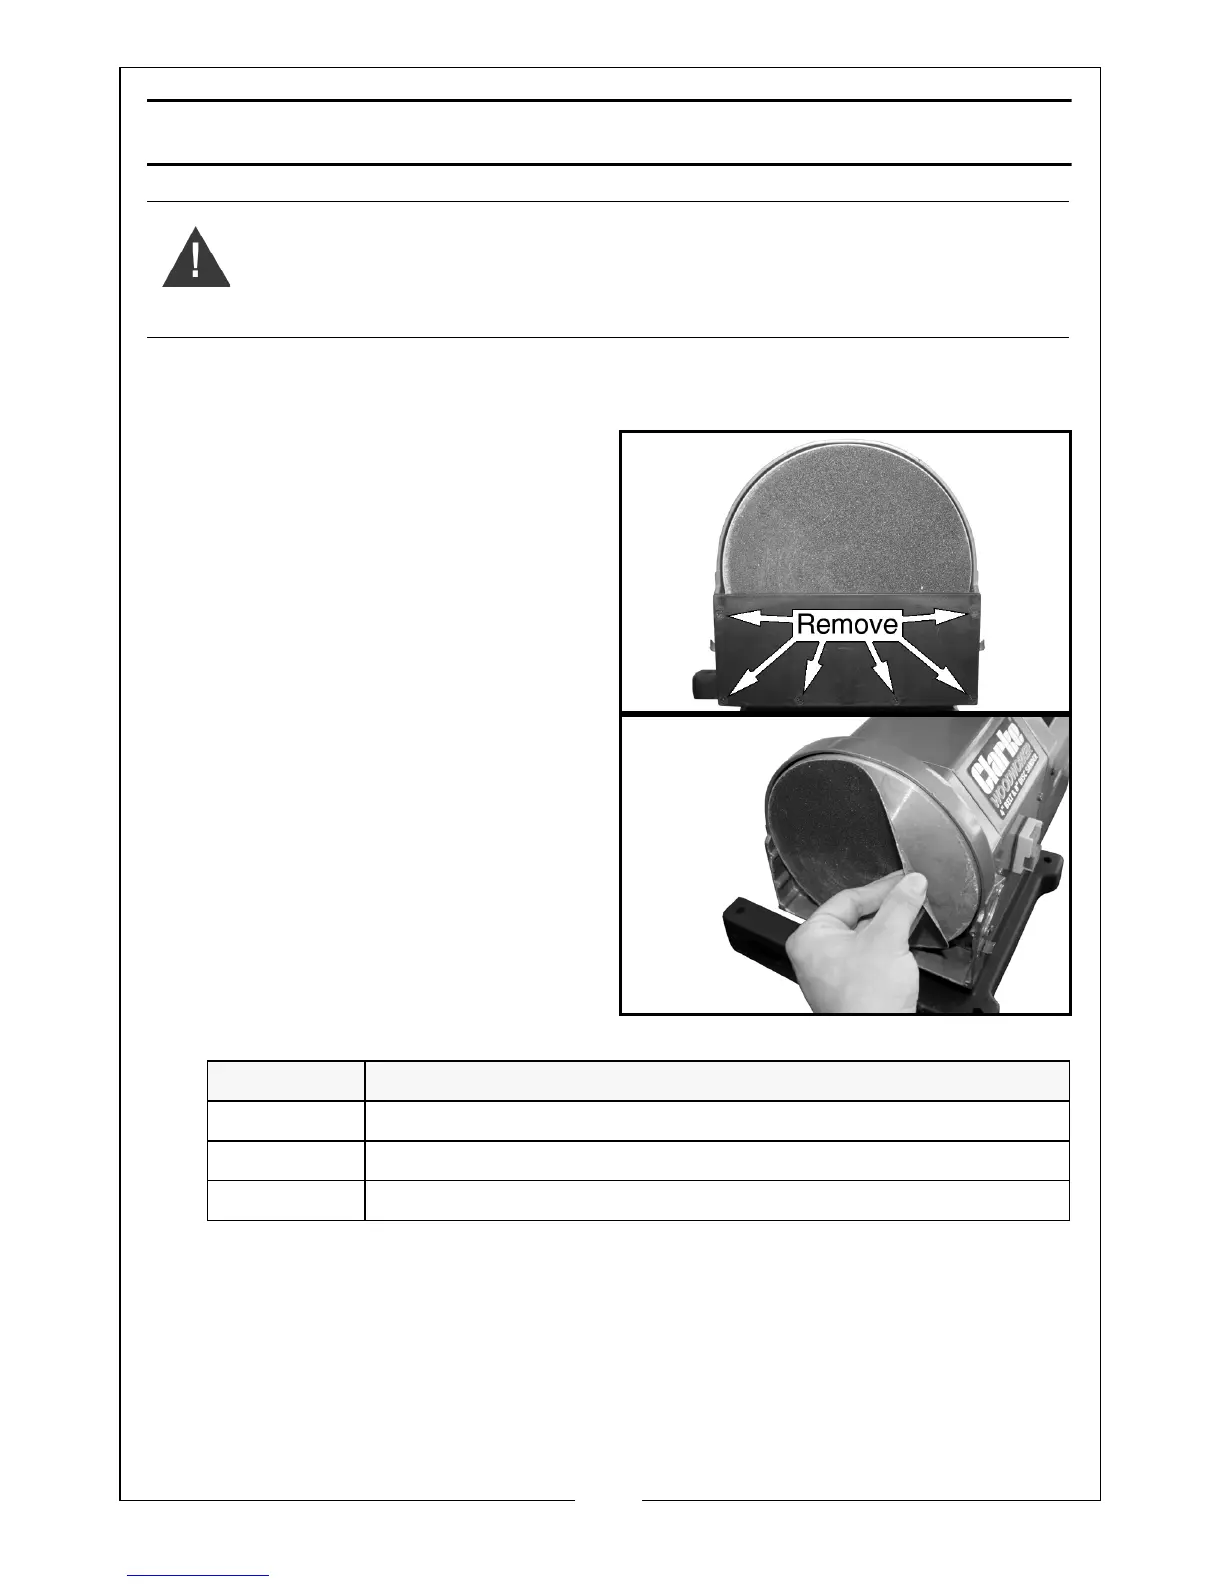
CHANGING THE SANDING DISCS
1. Remove the mitre gauge and work table. See “Mounting The Disc Sander
Table” on page 7.
2. Remove the disc guard screws
and disc guard.
3. Remove the sanding disc from the
disc plate.
• The abrasive discs are attached
to the plate with a pressure-
sensitive adhesive.
4. Make sure that the disc plate is
clean.
• Replacement sanding discs are
available from your Clarke
dealer.
NOTE: ‘Hook and loop’ sanding discs cannot be used with this machine.
5. Remove the paper backing from the new abrasive disc.
6. Align the edge of the abrasive disc with the plate and press the disc into
position, leaving no loose edges.
7. Replace the disc guard, disc guard screws and work table.
NOTE: ‘Hook and loop’ sanding discs cannot be used with this machine.
WARNING: TURN THE POWER OFF AND REMOVE THE PLUG FROM THE
OUTLET BEFORE CHANGING THE SANDING DISC.
Grit Part number
Fine 6500440
Medium 6500441
Coarse 6500442