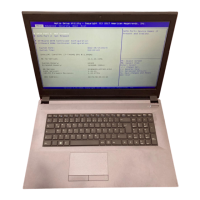
Disassembly
Removing the Keyboard 2 - 17
2.Disassembly
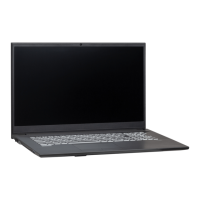
6. Connect the keyboard ribbon cable to the locking collar socket , and be careful not to bend the keyboard ribbon
cable (Figure 13d).
7. Insert the keyboard at point and then slide the keyboard in at point and (Figure 13e).
8. Tighten the screws - to secure the keyboard (Figure 13f).
Figure 13
Keyboard Assembly
d. Connect the keyboard
ribbon cable to the lock-
ing collar socket.
e. Insert the keyboard at
point
and slide it in.
f. Tigthen the screws.

 Loading...