Upgrading The Computer
6 - 6 Upgrading the Hard Disk Drive
6
6. Remove the screw(s) / & and the adhesive cover (depending on
your model type/design).
7. Reverse the process to install a new hard disk drive (do not forget to replace all the
screws and covers).
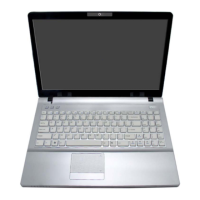
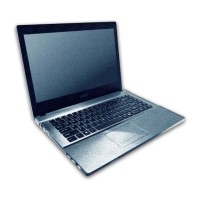
Figure 6 - 4
HDD Cover
Removal
6 6 7 8
7
8
6
6
8
Hard Disk Screws & Cover
The hard disks and covers pictured here may ap-
pear slightly different from your model design
(these designs are subject to change and up-
grade without notice). Pay careful attention to the
screws (if included) and cover orientation.