CLIMATEMASTER WATER-SOURCE HEAT PUMPS
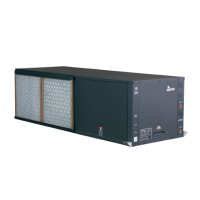
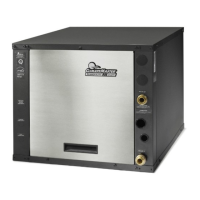
TSM/TSL Vertical Stack
Rev.: January 18, 2021
ClimateMaster Water-Source Heat Pumps
28
R.O.
X
A
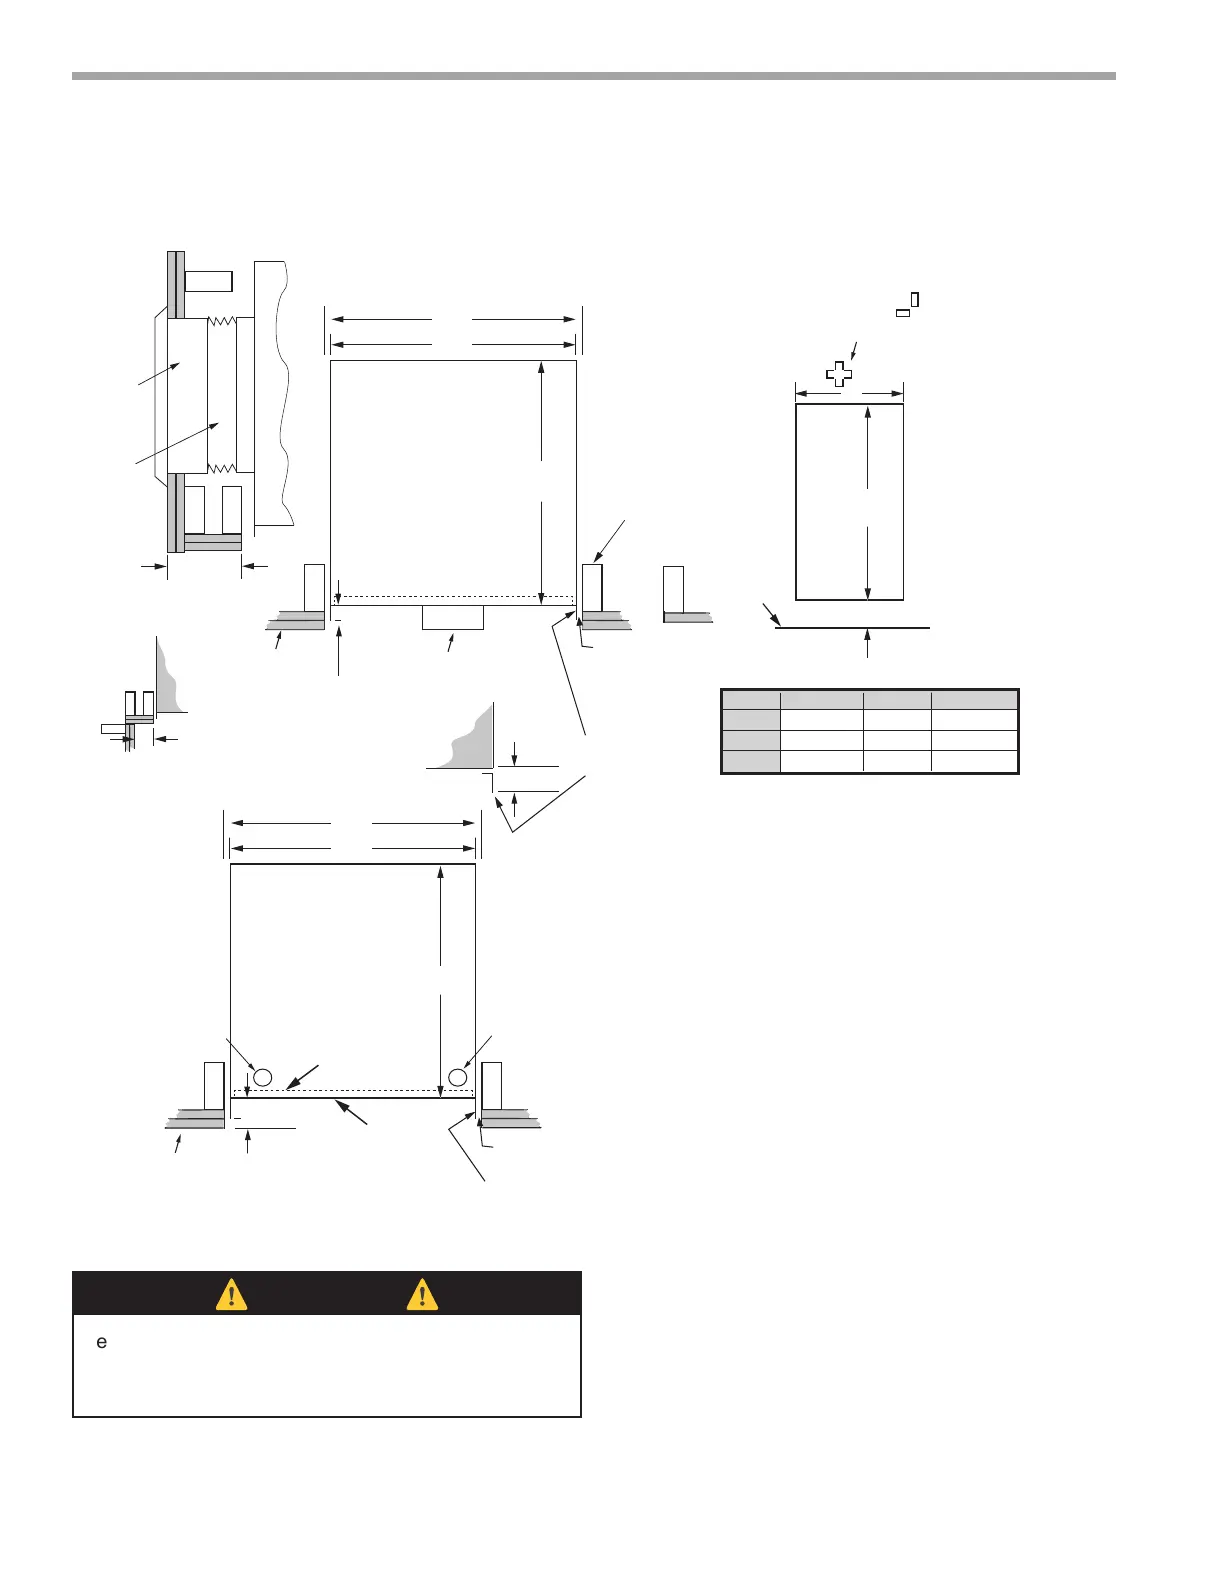
TSM CABINET
FOR SURFACE
MOUNTED
THERMOSTAT
TOP VIEW
OUTSIDE
CORNER
C
X
X
X
C
5/8” (16) drywall
1 or 2 layers.
Position studs
accordingly.
(customer
supplied)
1-7/8” (48) - Note 8
from cabinet to front
of finished wall
2 x 4 Box
Note 6
Supply
air
grille
note 5
Cabinet Flange
(4) sides
Floor
Note 7
Drywall Opening
5 7/8
(149)
57 1/2
(1460)
Note 4
1.25 (32)
seal gap
(4) sides
1Layer
2 x 4
nominal
studs
R.O.
X
A
TSM CABINET
FOR REMOTE
MOUNTED
THERMOSTAT
TOP VIEW
C
X
5/8” (16) drywall 1
or 2 layers. Position
studs accordingly.
Low voltage access
1-3/8” (35) min - Note 8
to 2 3/8” (60) max from cabinet
to front of finished wall
drywall flange
(4) sides
seal gap
(4) sides
X X
X
X
X
B
B
flex
boot
For surface mounted thermostat -
Check thermostat for 2x4 box
orientation vertical
or horizontal
Note 6
FRONT
VIEW
INSIDE
CORNER
Note
4
Low Voltage
High Voltage Access
Model
09-12
15-18
24-36
A
B
C
17.00 [432]
19.25 [489]
24.25 [616] 24 [610]
19 [483]
17 [432] 17.25 [438]
19.50 [495]
24.50 [622]
Front of
Cabinet
Inner Panel
Typical Cabinet with “G” Panel Installation
⚠
NOTICE!
⚠
Seal between studs and cabinet anges with weather
tight foam material to prevent wall cavity air from
inltrating unit or room.
Notes:
1. Dimensions shown are in inches and either mm or
cm unless noted otherwise.
2. Cabinet conguration will determine slab core
drilling location and walls surrounding cabinet.
3. Recommend stud walls surrounding cabinet.
Drywall and studs should not be attached or
contacting cabinet for best sound attenuation.
Where possible ll gaps with sound absorbing
material. Use iso pad under cabinet. Secure
cabinet to oor in two places at back.
4. Return air G panel (not shown) overlaps rough
opening, allow minimum of 3 1/2" (89) dry wall to
corner. Do not caulk panel to wall.
5. If supply air grille does not penetrate cabinet
connect with ex boot. Customer supplied top
duct should also connect with ex boot.
6. Before installing dry wall, contractor must turn
box if needed. Horizontal is standard.
7. If cabinet stand or ISO pad is used add to
dimension.
8. For 2"(50) lter set cabinet 2"(50) minimum from
front of drywall.



 To Next Page