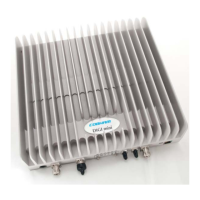
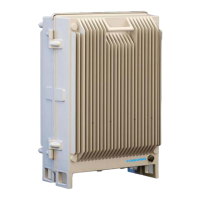
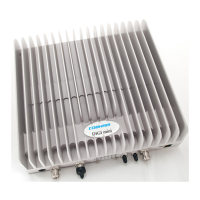
DIGIMINI EMEA/APAC/AUSTRALIA REPEATERS
PRODUCT DESCRIPTION AND USER’S MANUAL
Cobham Wireless – Coverage Date: 11-Oct-15 www.cobham.com/wireless
Document number: 00030UMCD Rev. 5.0
Page |4-5
4.4.4 Additional Items
The following additional items are included in the accessory kit and may be packaged in any one of
the layers.
Item Image
8 x Bolts, 8 x Nuts – for Combiner to Spacer to Bracket
assembly
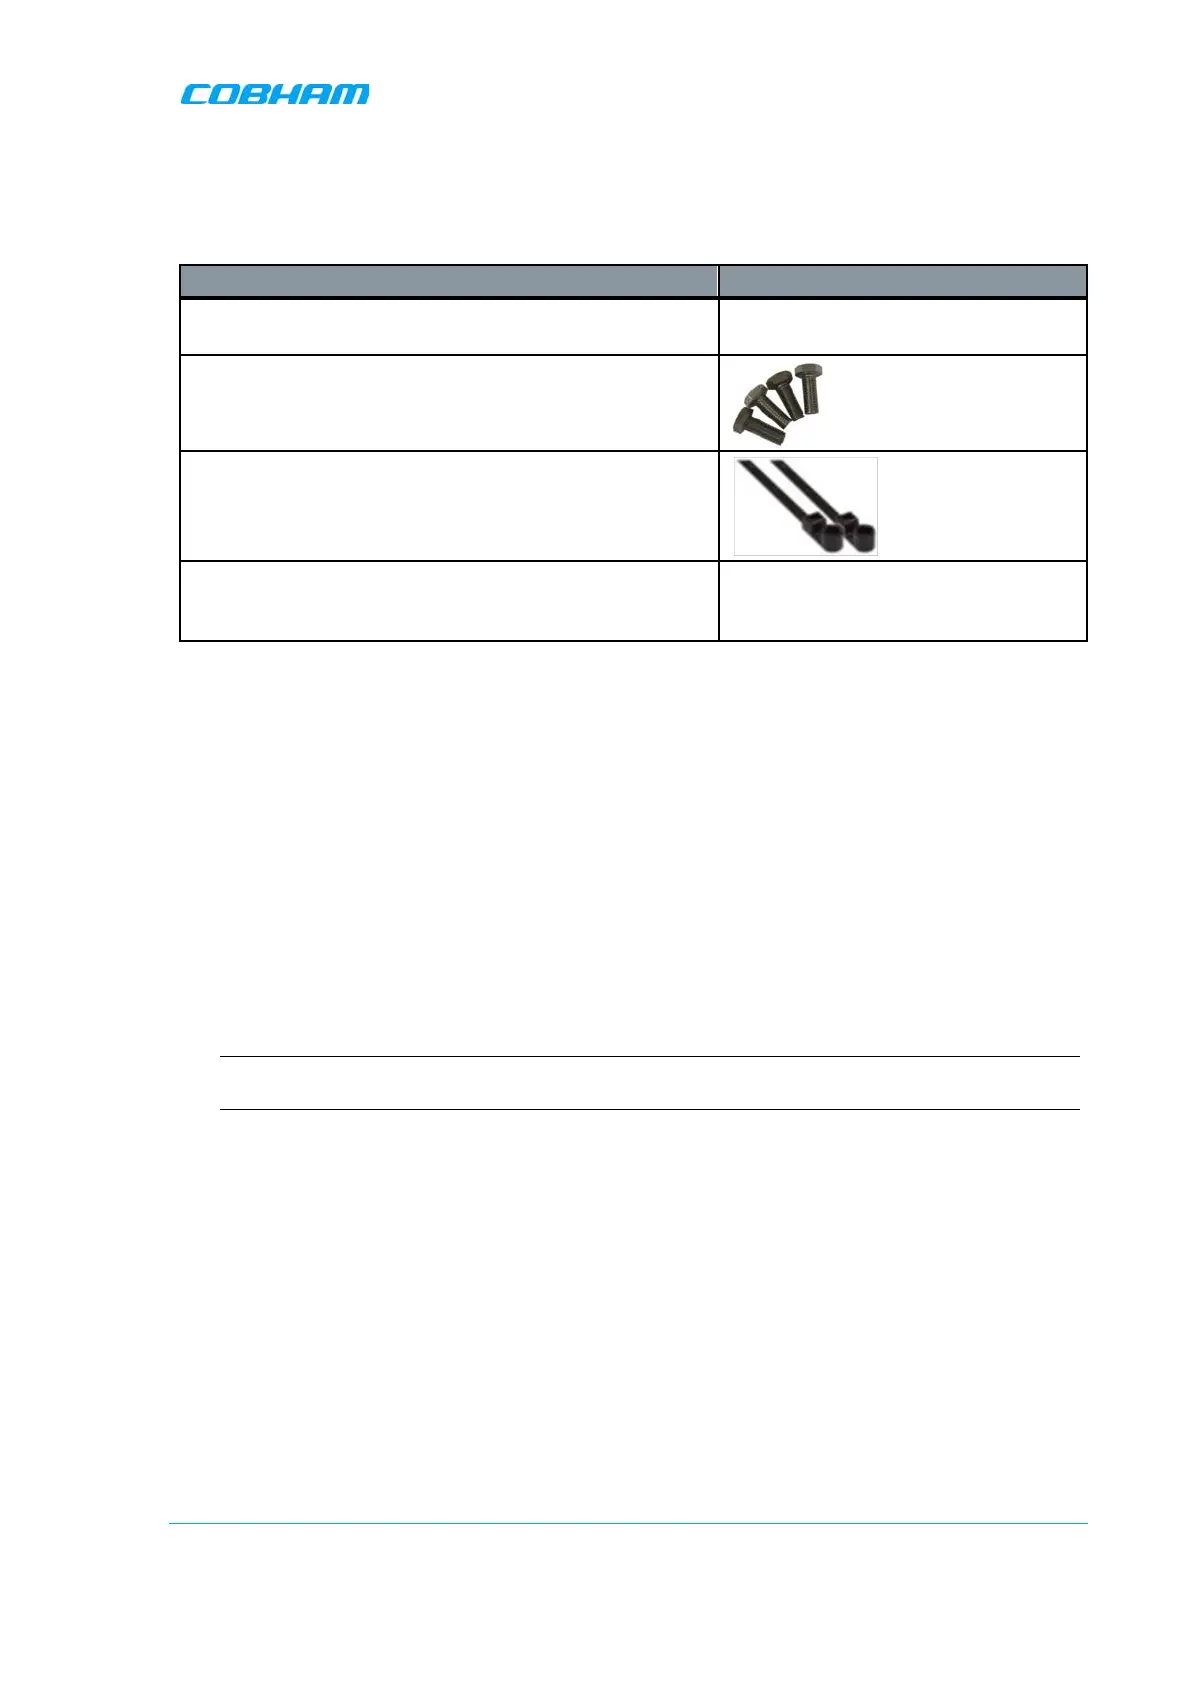
4 x Repeater Mounting Bolts
Ties -
used for securing power supply (only x2 are
required for each power supply –
included in the kit)
4 x Screws (In use only with the flat cable cover plate of
new chassis (any Type 2 combination), to connect the
plate)
4.5 Upgrading to a Quad-Band System
4.5.1 Assemble the DIGImini Units
The upgrading procedure is partially performed on a flat surface.
1. To upgrade an existing DIGImini Dual band installation:
• Remove power from the currently mounted DIGImini.
• Disconnect all antenna, communication and control cables.
• Loosen the side screws and remove the Repeater –
leaving the wallmount bracket on
the wall
.
• Continue with step 3.
2. For a complete Quad-band installation (no existing unit):
NOTE: If holes are to be drilled, use the bracket to mark the hole locations prior to the
following assembly procedure.
• Follow the (wallmount) bracket mounting instructions in 3.4 - Mounting the Repeater.
• Continue to following Step 3.


 To Next Page