Installation
Sea Tel Tracker 6000
7. Apply caulking to the mating flange of the next adjacent
panel in correct order and loosely install the vertical flange
mounting bolts and washers. Assure that the bottom flange
of the panel is sitting down level on the concrete, apply
Loctite to the exposed threads of the bolts and tighten to
torque spec from the bottom of the vertical flange to the top.
Wipe off the excess caulking from inside and outside of this
panel flange. Loosely start several bolts with washers per
panel into the anchors/studs in the concrete.
8. Repeat step 7 until all of the lower level panels (501-512)
have been joined.
9. Apply Loctite to the bolts that mount the base of the radome to the concrete pad.
Install bolts & washers and tighten to torque spec starting from the left-most hole in
panel 501, removing the previously installed bolts, as you go. Continue installing &
tightening bolts with washers until all of the mounting bolts into the concrete are
completed in panels 501-512.
10. Apply bead of caulking to the mating of the radome panels to the concrete all the way
around the perimeter of the outside of the radome. Repeat applying a bead of
caulking to the mating of the radome panels to the concrete all the way around the
perimeter of the inside of the radome.
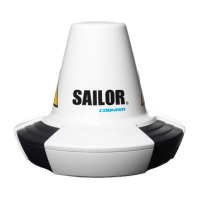
3.3.6.
Assembling the Top Layer of the Radome
In a different location, start assembling the top layer panels (serial numbers ending with 201-
212 plus the cap) of the radome by bolting them to each other and to the panels below.
They are numbered to assure that they are assembled in the correct order (201 is mounted
on top of 401, etc).
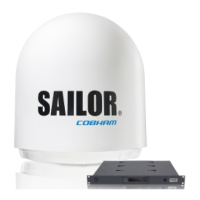
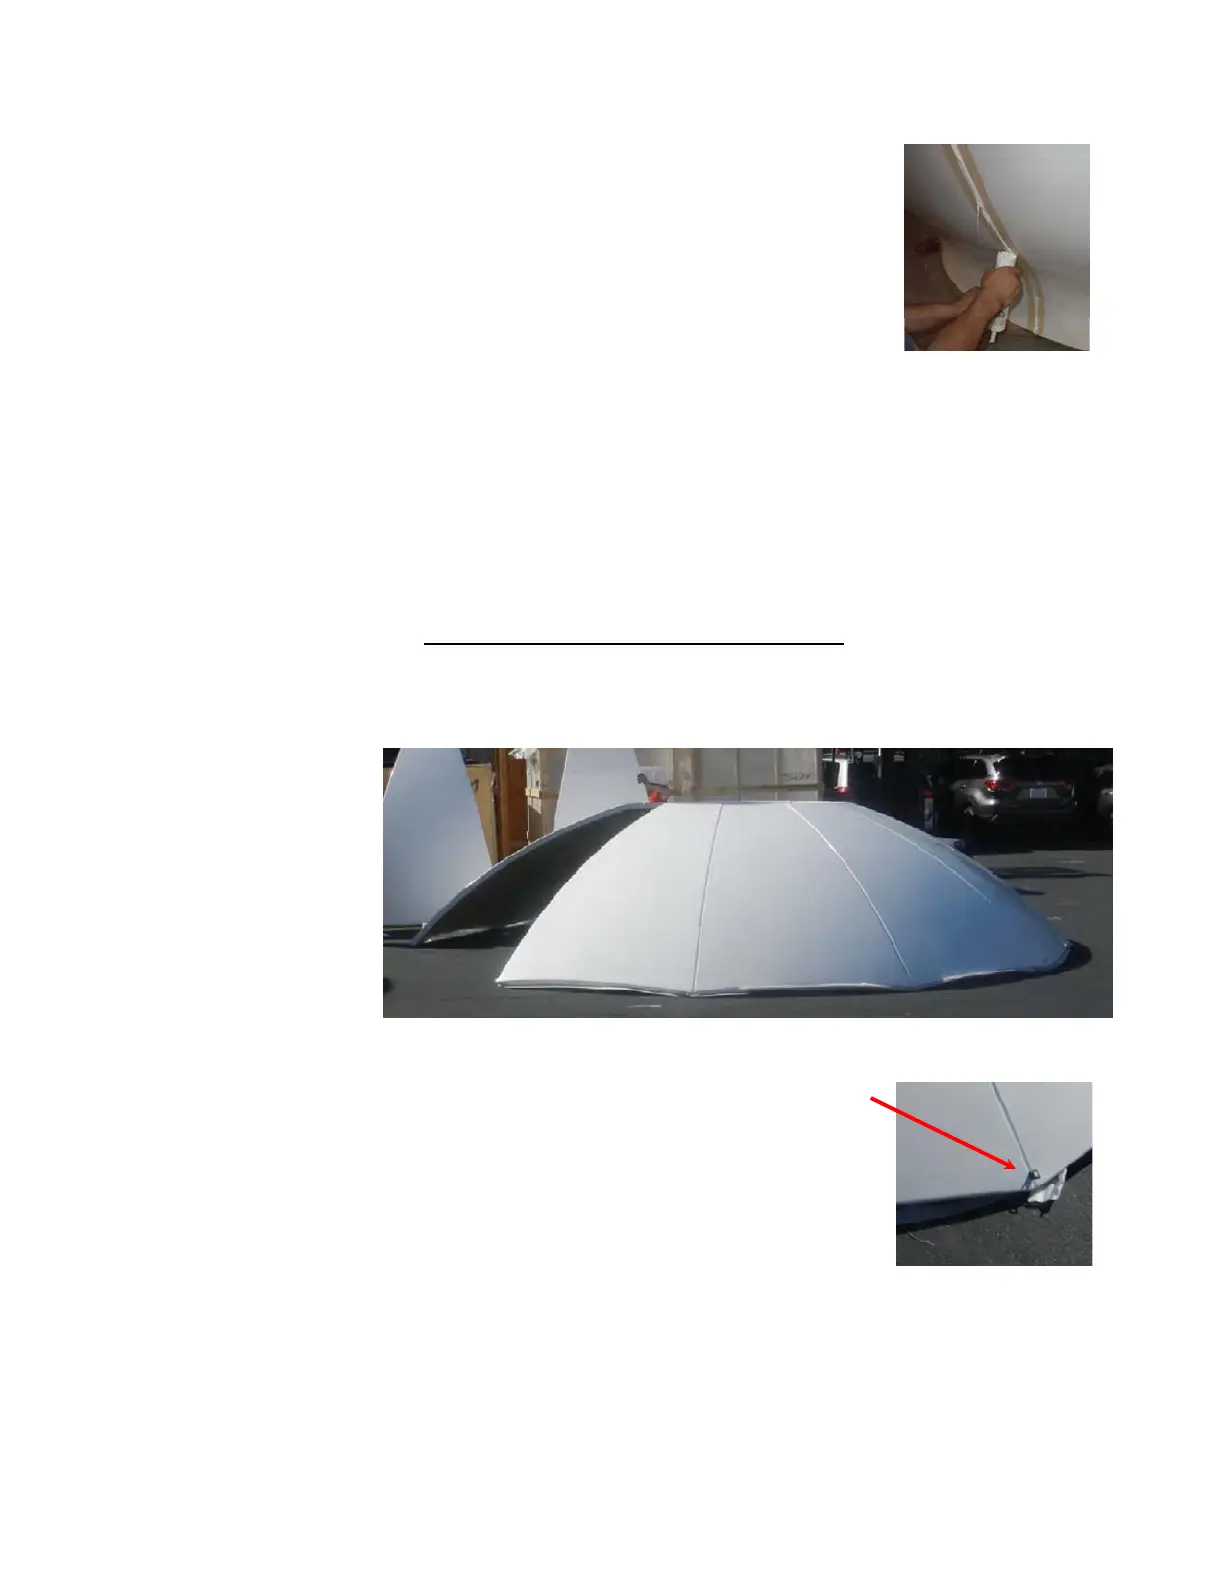
1. Set panel 201 & 202 beside each other and loosely install the vertical flange mounting
bolts and washers. Install a lifting strap on the bottom bolt
between these panels.
2. While holding those panels, set panel 203 in its correct
order position and loosely install the vertical flange
mounting bolts and washers.
3. While holding those panels, set panel 204 in its correct
order position and loosely install the vertical flange
mounting bolts and washers.
4. While holding those panels, set panel 205 in its correct order position and loosely
install the vertical flange mounting bolts and washers. Install a lifting strap on the
bottom bolt between these panels.
5. While holding those panels, set panel 206 in its correct order position and loosely
install the vertical flange mounting bolts and washers.
6. While holding those panels, set panel 207 in its correct order position and loosely
install the vertical flange mounting bolts and washers.
3‐5
EAR Controlled - ECCN EAR99
 Loading...