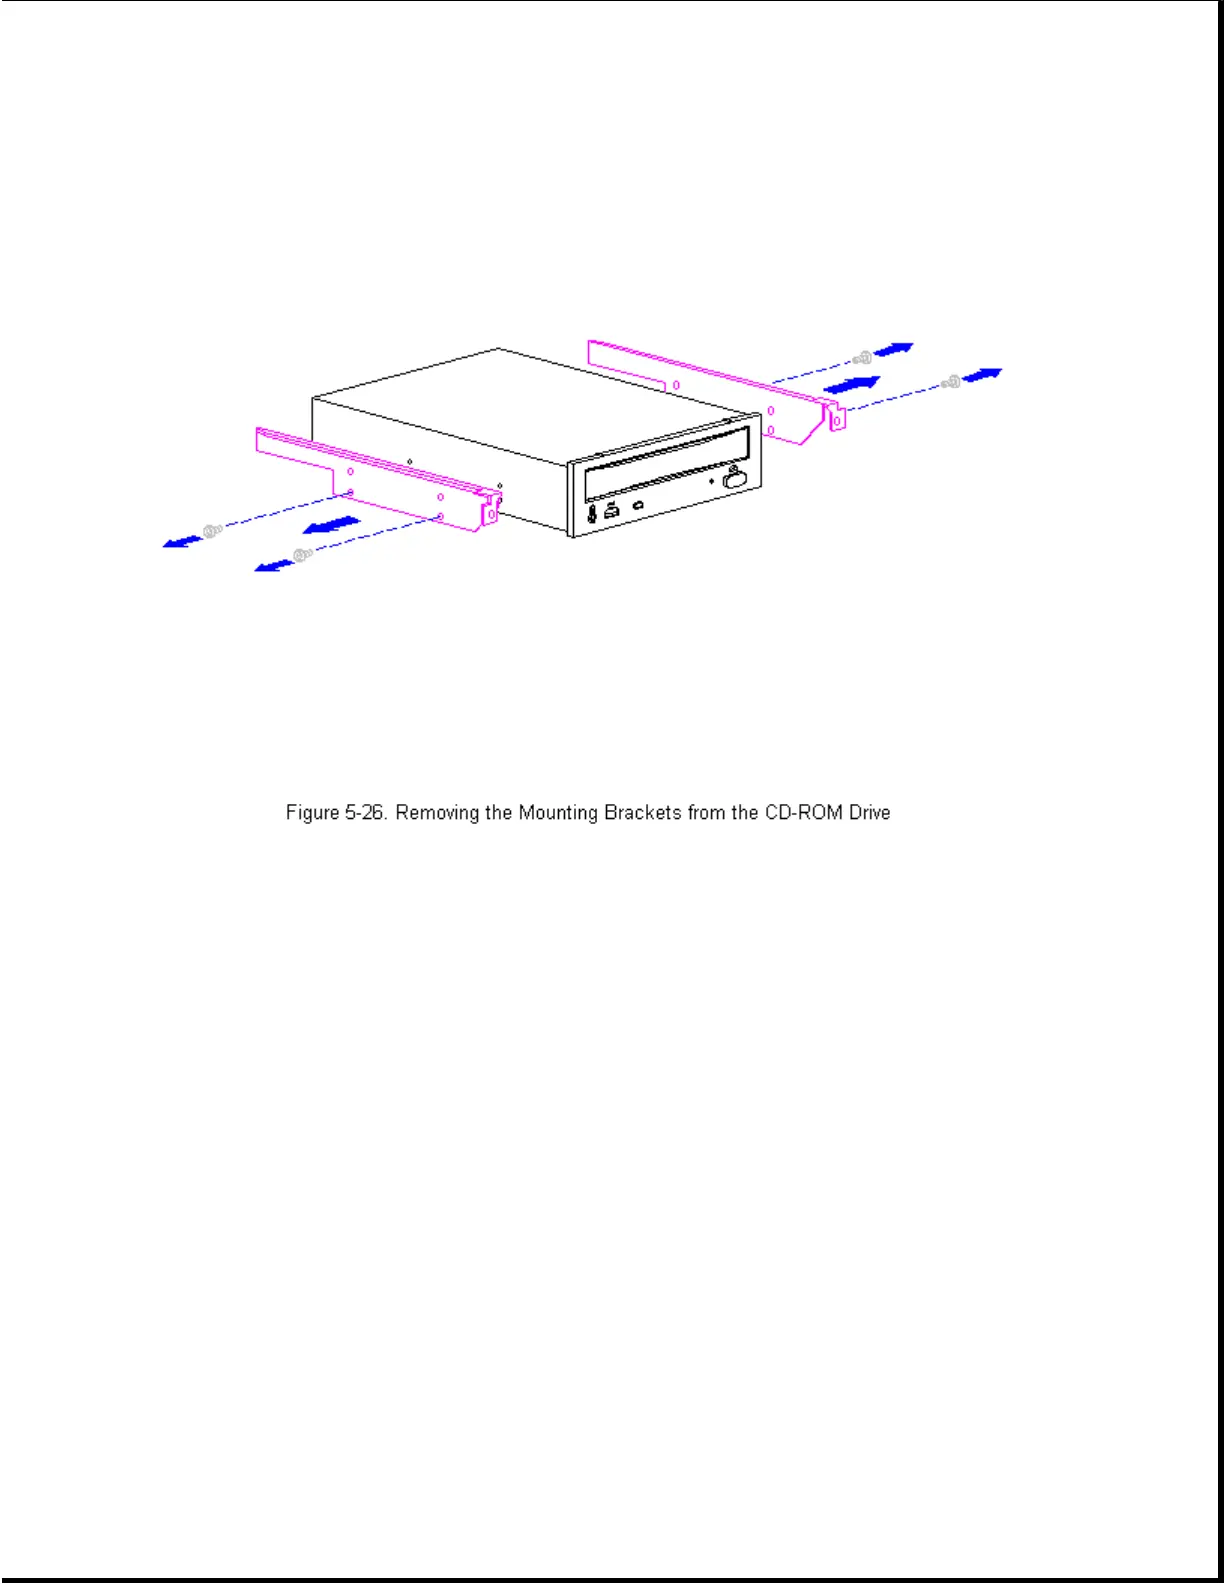
Reverse the above procedure to install the mounting brackets on the CD-ROM
drive and install the CD-ROM drive.
Diskette Drive
To remove the diskette drive, complete the following steps:
1. Complete the steps in Section 5.3 to prepare the computer for
disassembly.
2. Complete the steps in Section 5.4 to remove the unit cover to gain
access to the drive cage and the diskette drive.
3. Release the drive cage lock (plastic) on the top of the drive cage by
rotating it clockwise (Figure 5-12).
4. Elevating the drive cage will provide access to the drive cable
connectors. Push the metal drive cage release (Figure 5-13) away from
the drive cage and elevate the back end of the drive cage. The drive
cage release will engage a cutout in the side of the drive cage when
the drive cage has been elevated the proper amount (Figure 5-13).
5. Disconnect the power and signal cables from the back of the diskette
drive (Figure 5-27). Hint: Use a rocking motion on the signal cable
connector (the largest connector) to ease the removal of the connector.
 Loading...