Press the up s key to begin calibrating.
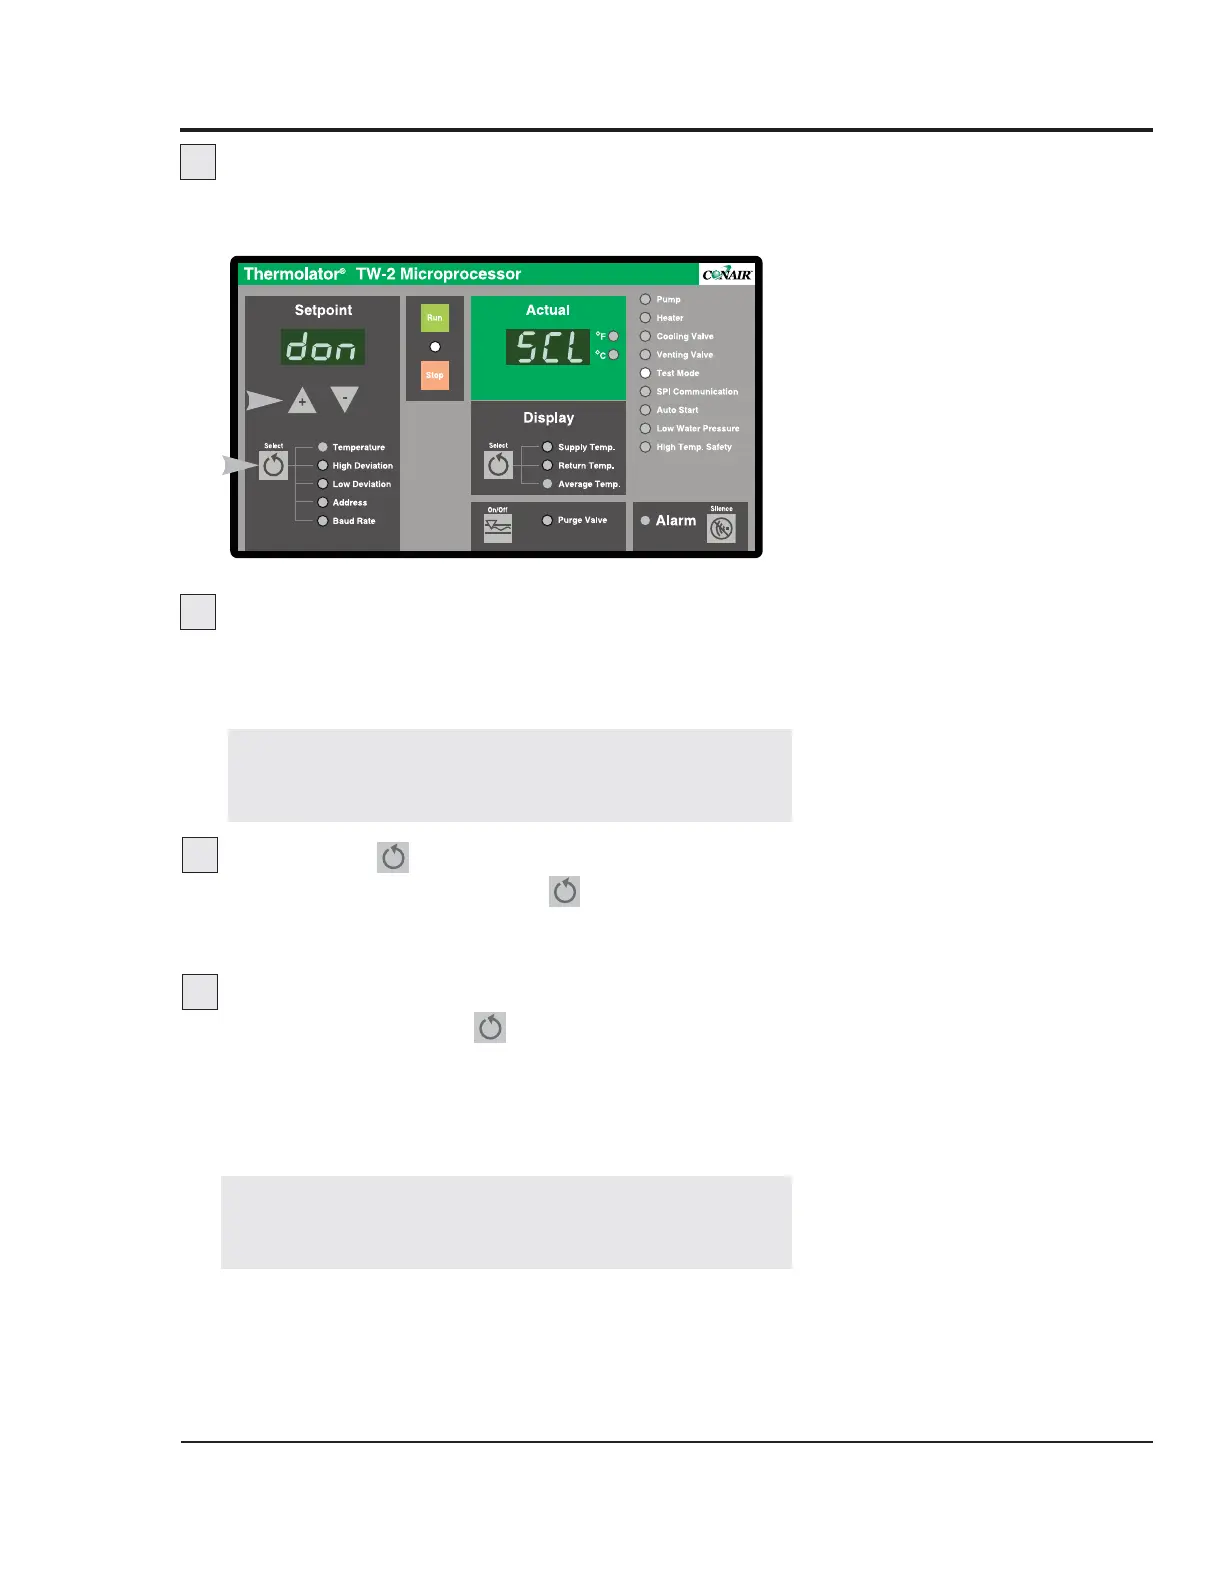
The controller displays the name of the current calibration
(examples: 32 SC.L; 32 rC.L; 510 SC.H; or 510 rC.H).
Wait until the control displays ‘don’ or ‘bad’.
A “don” message in the Setpoint display indicates the cal-
ibration was successful. A “bad” message in the Setpoint
display indicates a bad calibration.
Press Select to start the next calibration.
Pressing and releasing the Select key at the end of a
calibration tells the controller to perform the next calibra-
tion.
Exit Calibration Mode.
Press and hold the Select key for 3 seconds to exit the
Calibration Mode.
You can now proceed to the next test in Test Mode, or disable
Test Mode and resume normal operation.
TW-1, TW-2
C
ONTROL
CALIBRATING
TEMPERATURE
SENSORS
UGH025-0504 Thermolator TW Series
MAINTENANCE 5-11
7
NOTE: The original calibration value stored in
EEProm can be restored for the current calibration
by pressing the STOP key at any time.
8
TO DISABLE TEST MODE, complete steps 2
through 5 in “Performing System Tests”, setting dip
switch 6 to OFF instead of ON.
9
6
 Loading...