7
2.0
SYSTEM INSTALLATION
and OPERATION
2.1 Installation Instructions
1. Attach the hospital grade power cord to the
power cord receptacle on the back panel of
the light source, and a hospital grade
grounded power outlet. If desired, connect
the ethernet cable from the light source
connection port to the connection port on
the IM4000 series camera.
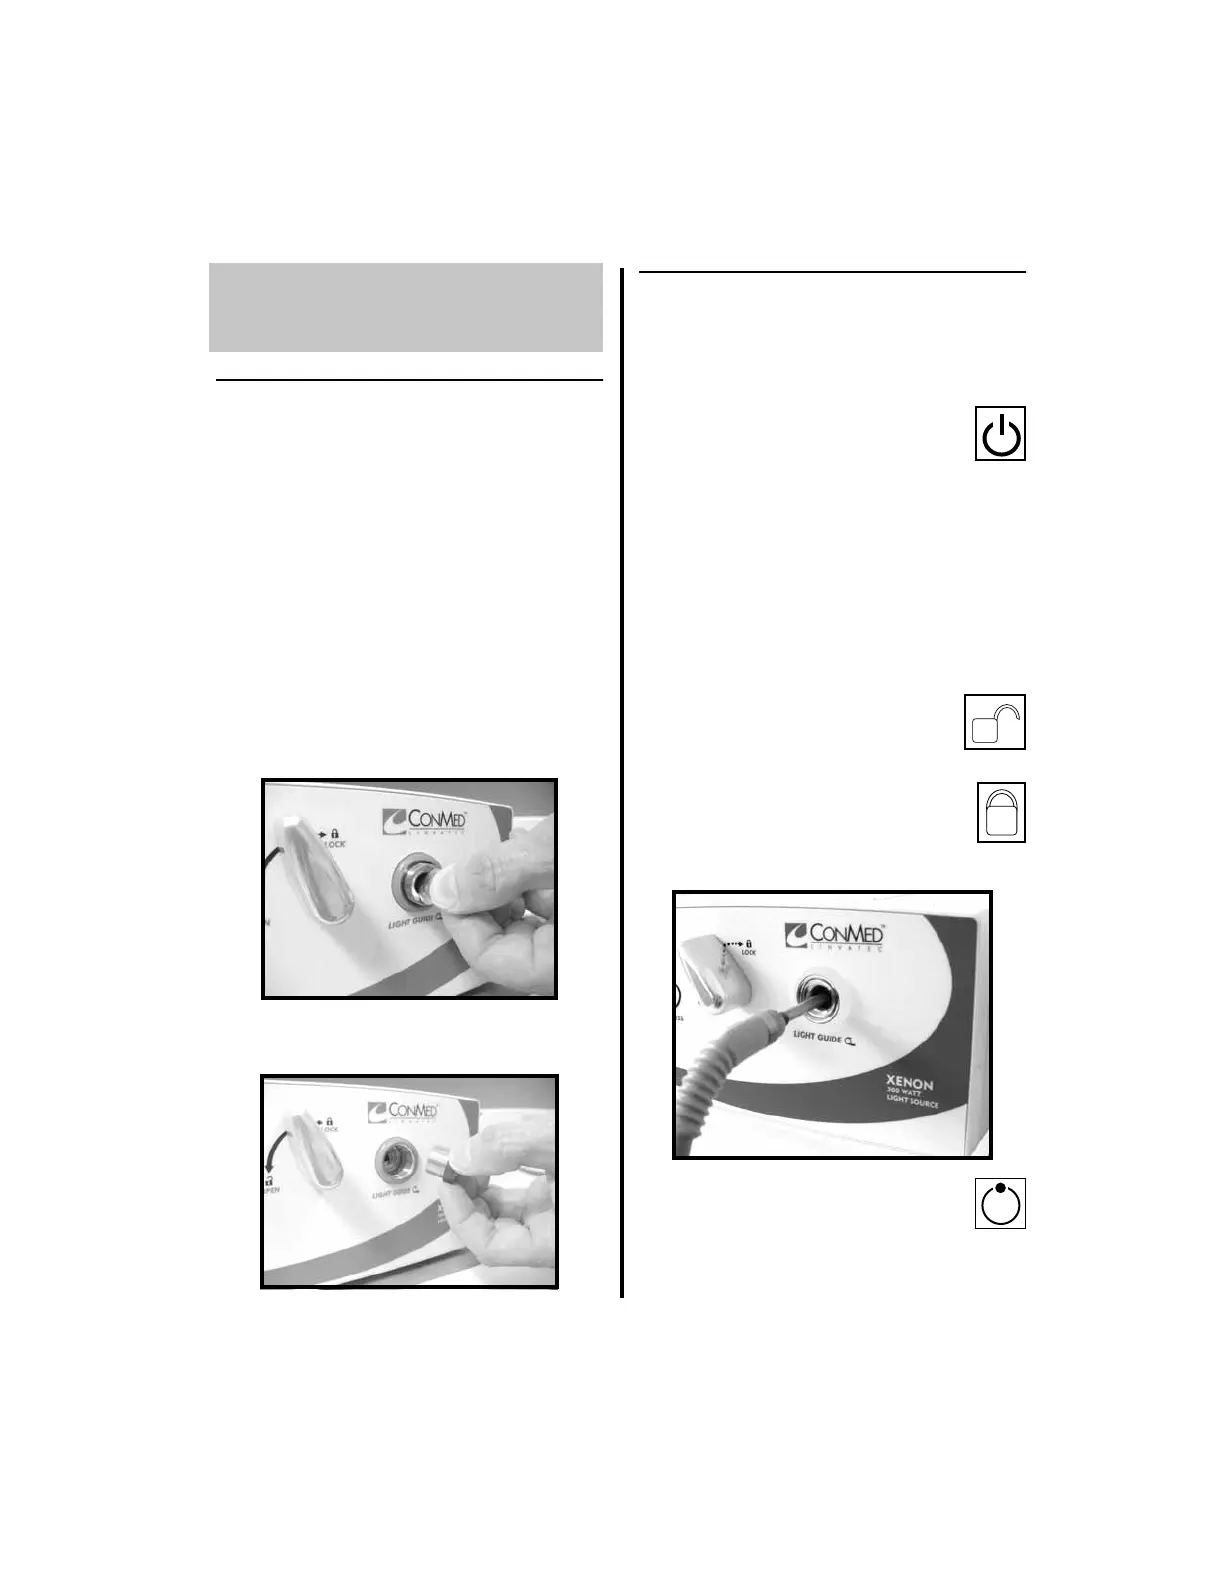
2. Note: To accommodate some fiber optic
light guides, the LGR adapter may need to
be removed. To remove the LGR adapter:
(a) Insert a coin into the slot of the LGR
adapter.
(b) Rotate the coin counterclockwise until
the adapter is fully removed.
2.2 Operation of Light Source
Use the following sequence to operate the light
source:
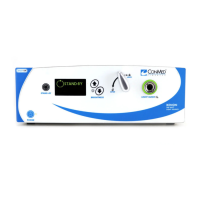
1. Press the POWER button to turn the
light source on. The power button
LED will illuminate green and the
OLED displays “STAND-BY” and
remaining LAMP life.
2. Insert the fiber optic light guide into the
LGR.
NOTE: Insert only clean, dry,
non-conductive fiber optic light guides into
the light guide receptacle (LGR).
(a) Fully rotate the Light Guide
Lever counterclockwise to the
OPEN position.
(b) Insert the light guide completely,
then rotate the lever counter-
clockwise until the clicking of
the locking mechanism is heard or felt.
3. Press the STAND-BY button to take
the light source out of stand-by
mode. This will allow illumination
through the light guide. OLED will display
the brightness level.