6 7
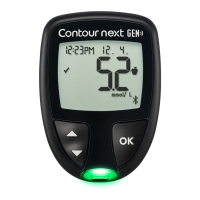
Contour
®
next GEN blood glucose monitoring system
GETTING STARTED
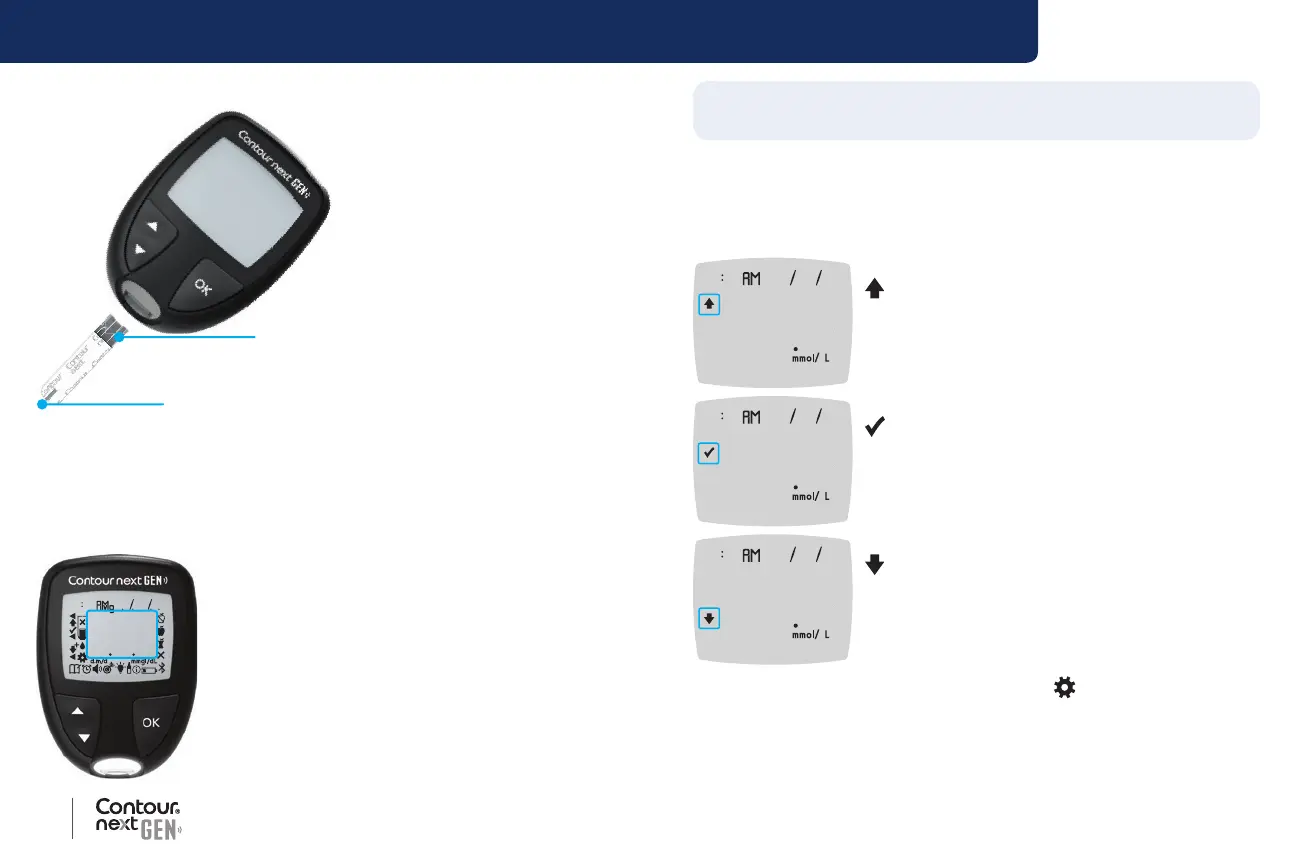
Your Contour next test strip
Grey Square End:
Insert this end into the test strip por
t
Sample Tip: Blood sample pulled in here
Check the Meter Display
Press and hold the OK button until the meter turns on, about
3 seconds.
The screen displays the Power On Self Test.
88 88 88 88 88
888
All symbols on the screen and the white strip
port briey light up. It is very important to verify
that 8.8.8 displays fully and that the white light
from the test strip port is visible.
If there are missing characters or if the strip
port light is a colour other than white, contact
Customer Service. This may aect the way you
see your results.
NOTE: Your meter comes with a pre-set time, date, and target range.
You can change these features in Settings. See Settings on page 38.
Target Ranges
The meter compares your blood glucose results with a Target Range
(for example, 3.9 mmol/L–7.2 mmol/L) to let you know if your test result
is above, in, or below your Target Range.
10 45 42620
111
Above Your Target Range.
10 45 42620
56
In Your Target Range.
10 45 42620
36
Below Your Target Range.
You can change Target Ranges in Settings
.
See Settings on page 38.