13
INSTALLATION: STANDARD Shade — WALL Mount
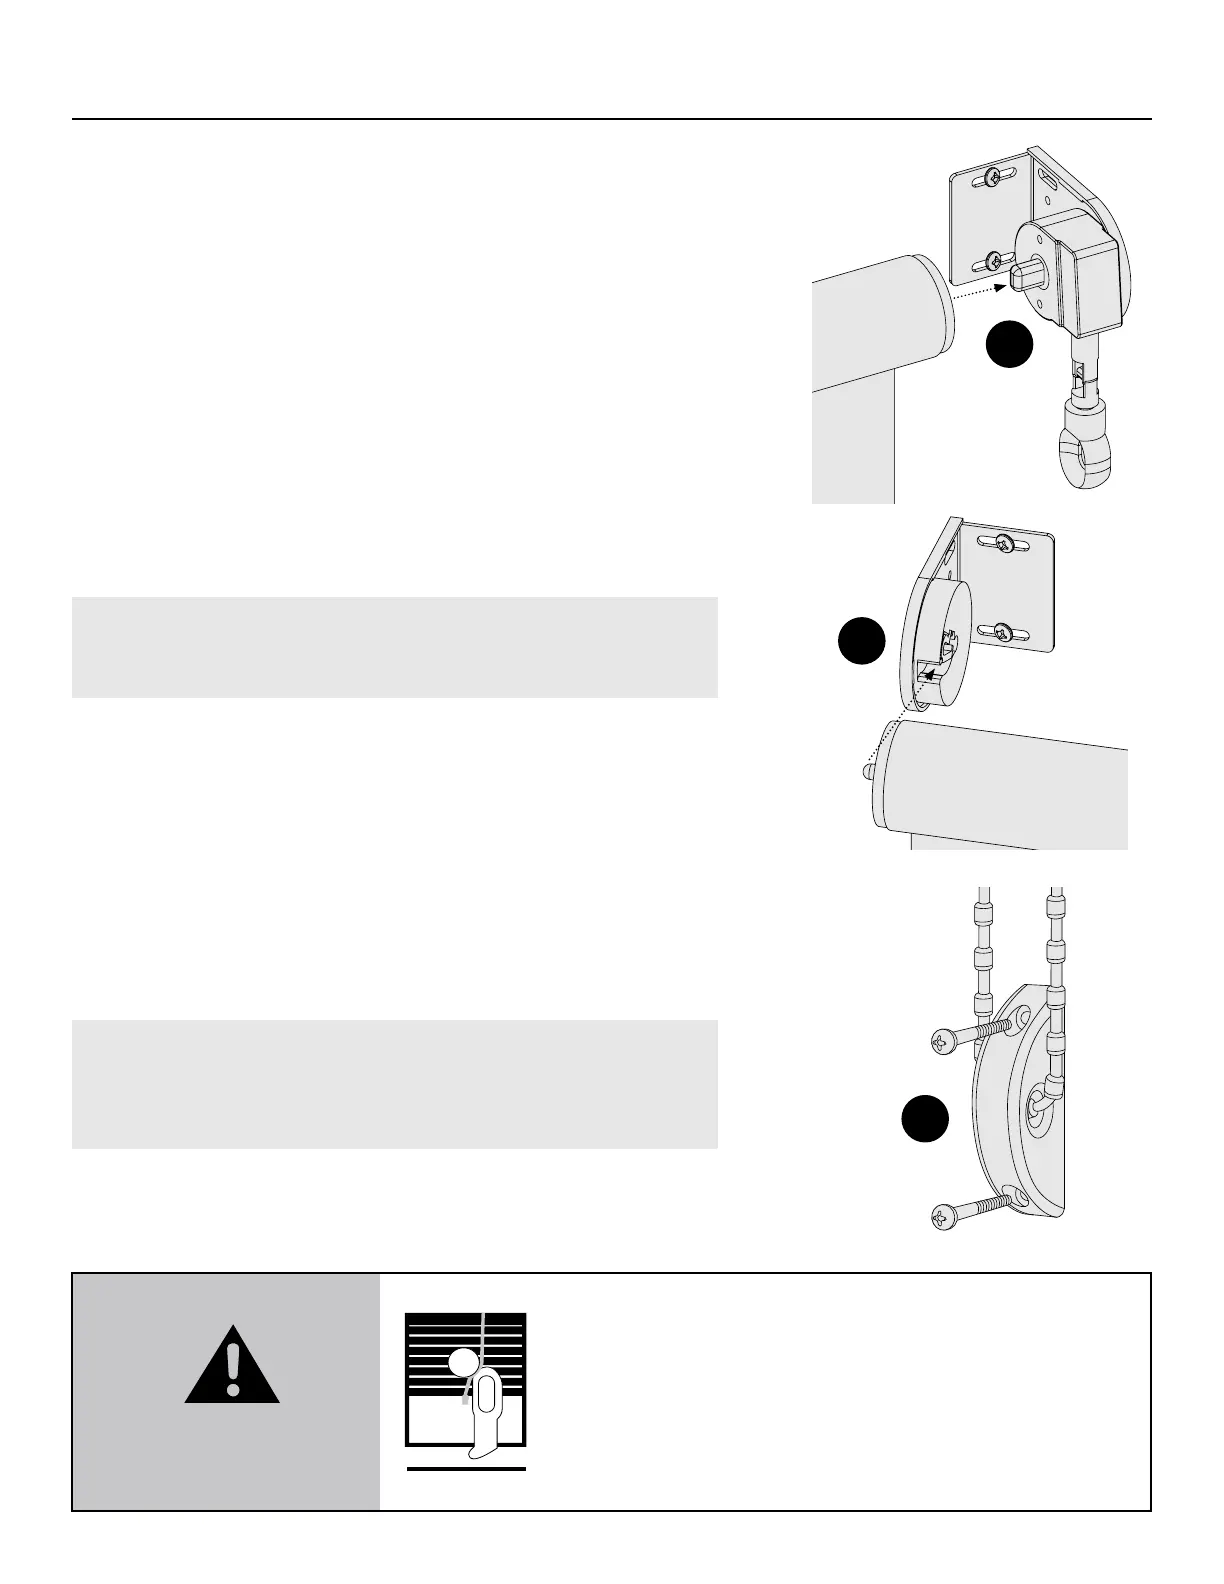
•
Check that the shade is level, and that side-to-side movement
does not exceed ⁄".
•
If side-to-side movement does exceed ⁄", remove the shade
(see page 23 on how to remove) and loosen the screw on the
idle side, slide the bracket inward, retighten screws, and then
reinstall the shade.
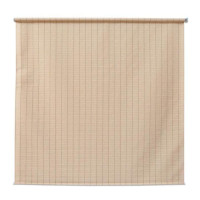
STEP 3: Install Tension Device
(Continuous Chain Loop Only)
If your custom shade came with a Chain, a Tension Device must
be installed. Please ensure that chains and pull cords are not
accessible to small children and are secured with a Tension Device
at all times.
IMPORTANT: Failure to use a safety tension device will void
product warranty. Do not allow for any slack. Do not twist,
cross, or slant the chain.
•
Position the Tension Device on a at surface so that the Chain
and Tension Device does not interfere with the raising and
lowering of the shade.
•
Ensure the Chain is taut but operable.
•
Mark the positions for the pilot holes and pre-drill two ⁄" holes.
•
Use provided screws to attach the Tension Device (g. F).
•
Cut o the cable tie and dispose of it properly.
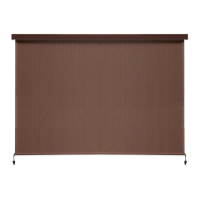
CAUTION: Shade will NOT operate unless cord tensioner is
secured. Each shade includes a cord tensioner installation kit.
Please follow all instructions in the kit to properly secure the
cord tensioner.
E
F
D
WARNING
Window Blind Cord Strangulation Risk
A damaged, loose, or missing tension device poses a
strangulation risk to children. Remove from use and repair
or replace if tension device is damaged, loose, or missing.
5.1.1 ANSI/WCMA A100.1-2022