INSTALLATION MANUAL INSTALLATION 23
3) It is recommended to use a table or crate as a
base to build the top section of the cover, and
later transfer it to the hot tube once it is
assembled. If you use a table, use the foam to
support the cover assembly and prevent damage
to the cover.
CAUTION
If there is limited space, please follow the next
steps while assembling directly onto the hot
tube. Avoid scratching the hot tub or any
components of the cover.
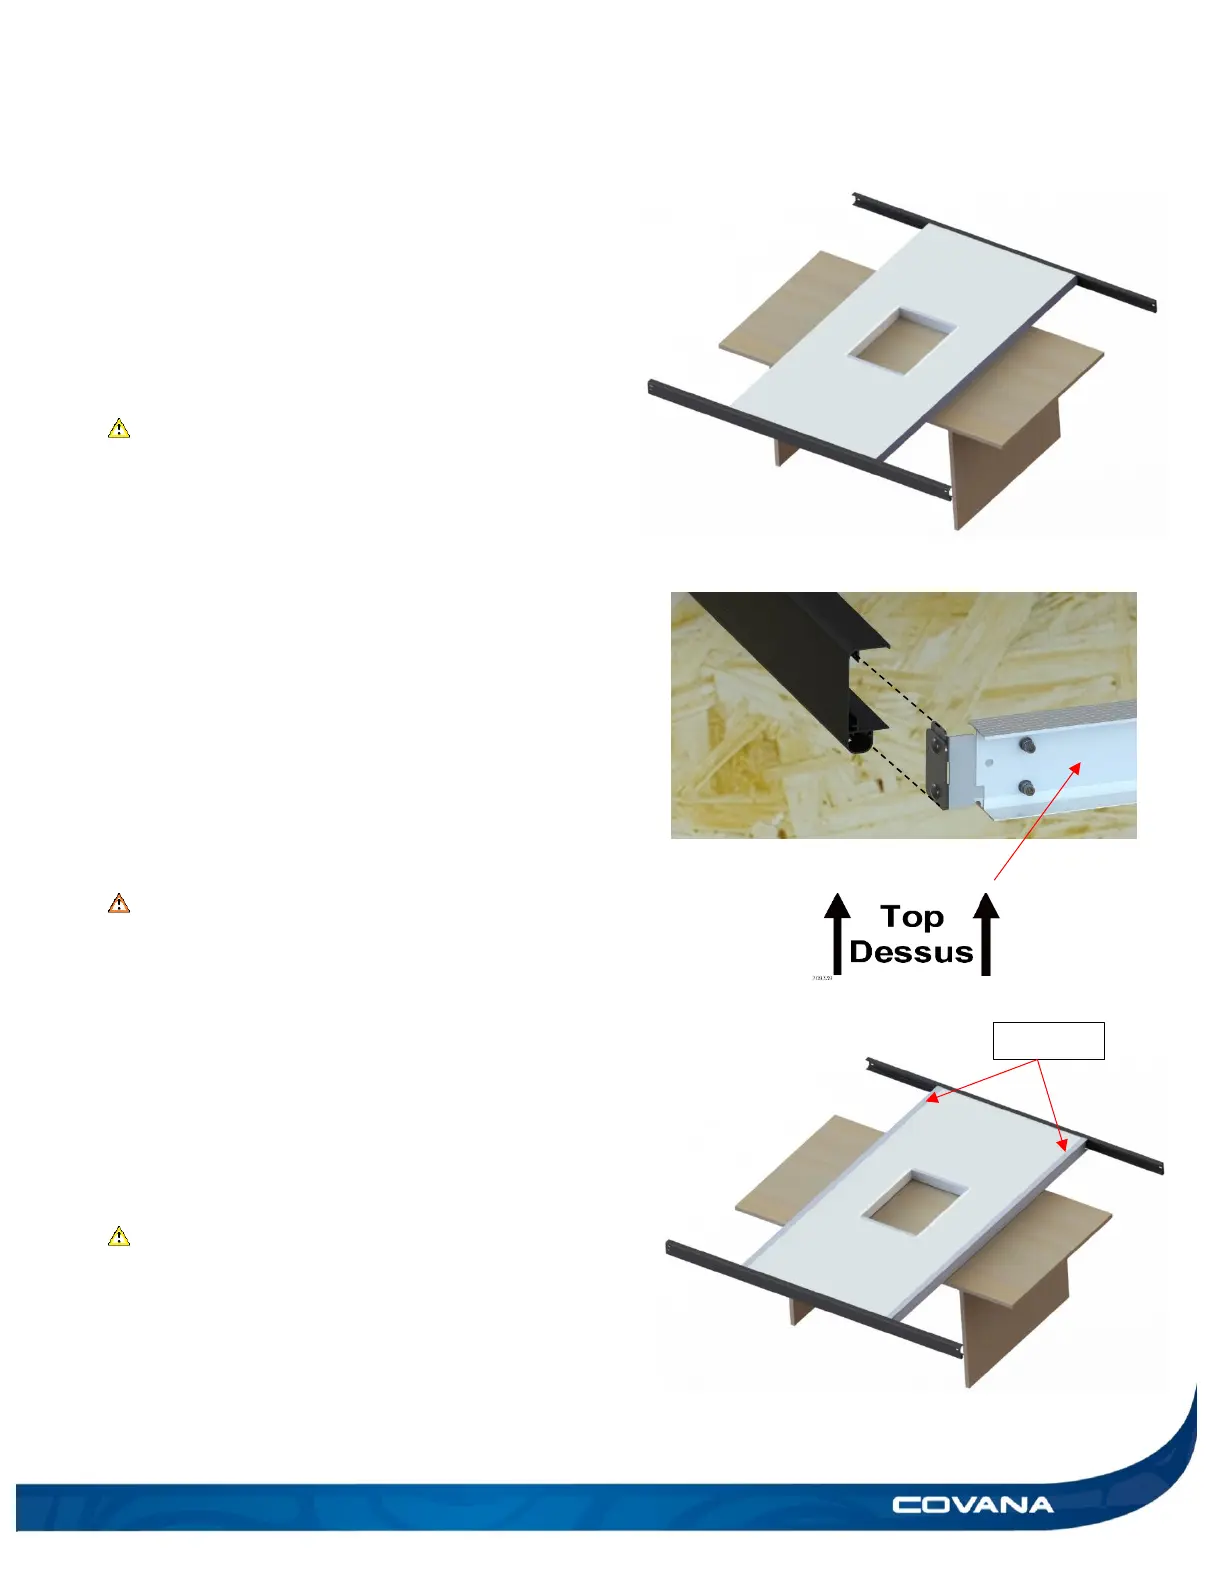
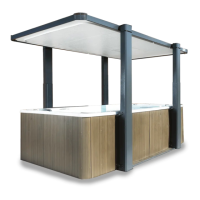
4) Place the escape hatch panel onto the middle of
the installation surface. Ensure the seal around
the escape hatch opening is on top (Figure 40)
and the top sticker is properly oriented (Figure
42).
5) Assemble the long C-Channels, 94 9/16 in. (240
cm), over the panel previously placed on the
installation surface. (Figure 40)
WARNING
When assembling C-channel onto foam panel,
be careful not to delaminate the fiberglass.
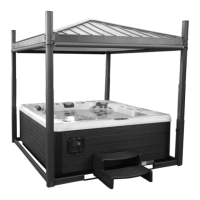
6) Slide one I-beam with I to C brackets in the C-
channels on both side of the middle panel. Place
the I-beams in such manner where the bent
portion of I to C connection is pointing inwards.
(Figure 41 and 43) Ensure they fit snug with foam
panel. Ensure the sticker in the I-beam is facing
upwards. (Figure 42)
CAUTION
Ensure up right position of I-beam.
When inserting the I-beam into the fiberglass
foam panel, make sure not to damage it.
Make sure the I-beam has cleared bottom and
top section.