8
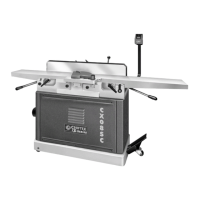
B2397 ALIGN-A-RIP FENCE ASSEMBLY
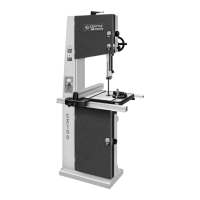
Your CRAFTEX Table Saw is equipped with the precision Align-A-Rip fence and
when assembled, will provide you with years of precise cutting.
There are 5 basic components to the fence assembly, 2 front rail halves, 2
rear rail halves and the rip fence itself.
Select the 2 front halves with the measurement scale
on them.
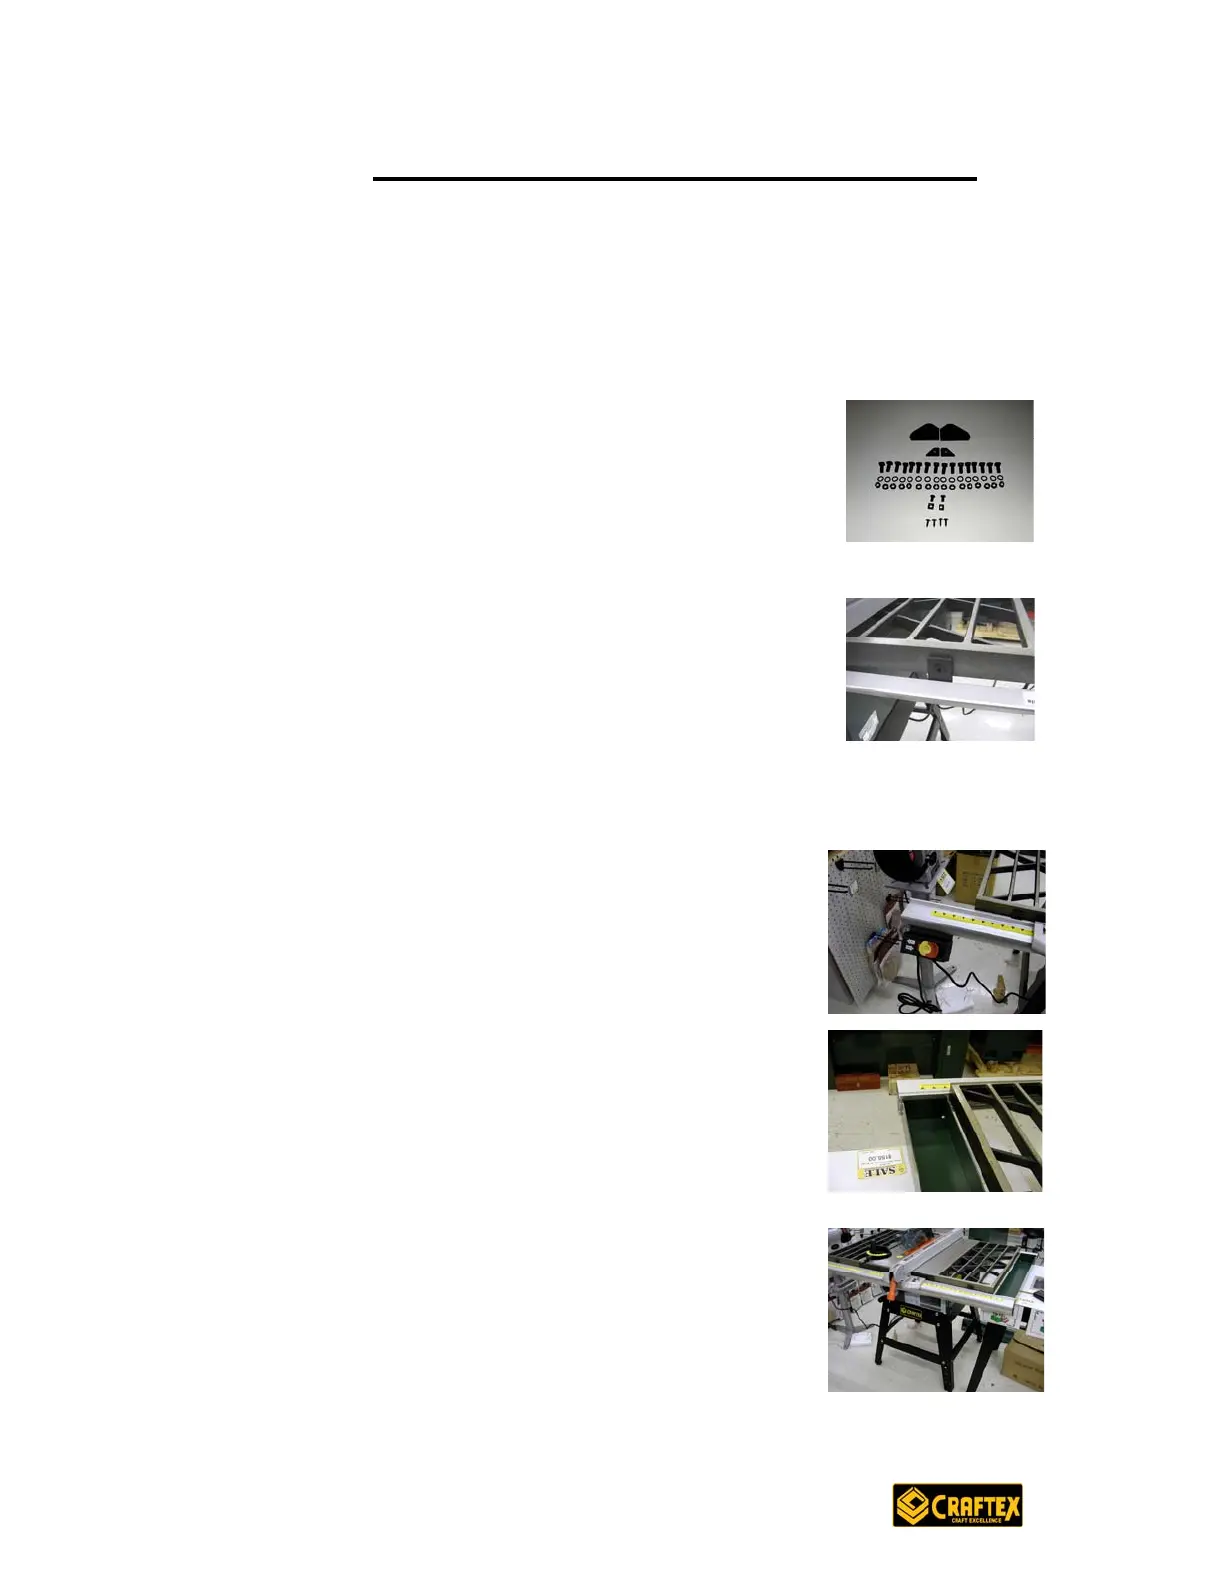
From the parts bag, select the square-head bolts,
washers and nuts. You will find a channel in the
extrusion of the fence into which these bolts will slide.
Slide 3 of these bolts into the right side portion of the
front fence and position them so that they will fit into
the holes in the front edge of the saw table. One of
the bolts will fit into the hanger strap. Install a washer
and nut and leave loose. Repeat the procedure with
the left side front fence extrusion.
Slide the two halves together so that the plastic sleeve makes a snug fit.
Repeat the above procedure for the rear fence rails and you may hand-
tighten all of the nuts at this point.
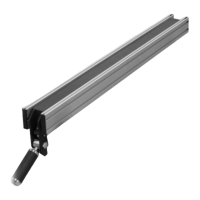
Using the smaller machine bolts and nuts, install the
power switch as pictured on the front fence rail and
tighten.
Install the auxiliary fence support/tool shelf on the
extreme right end of both front and rear rails using
the remaining 4 square-head bolts, washers and
nuts.
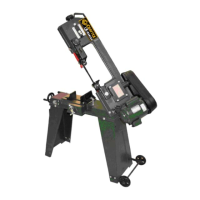
Install the Align-A-Rip fence by placing the front of it
on the front rail and pushing down on the back
portion to engage in the rear rail. The rails should
still be loose at this point so some jiggling may be
required.