11
table and the extension wing which can
cause misalignment and the wings can not
be properly attached to the table.
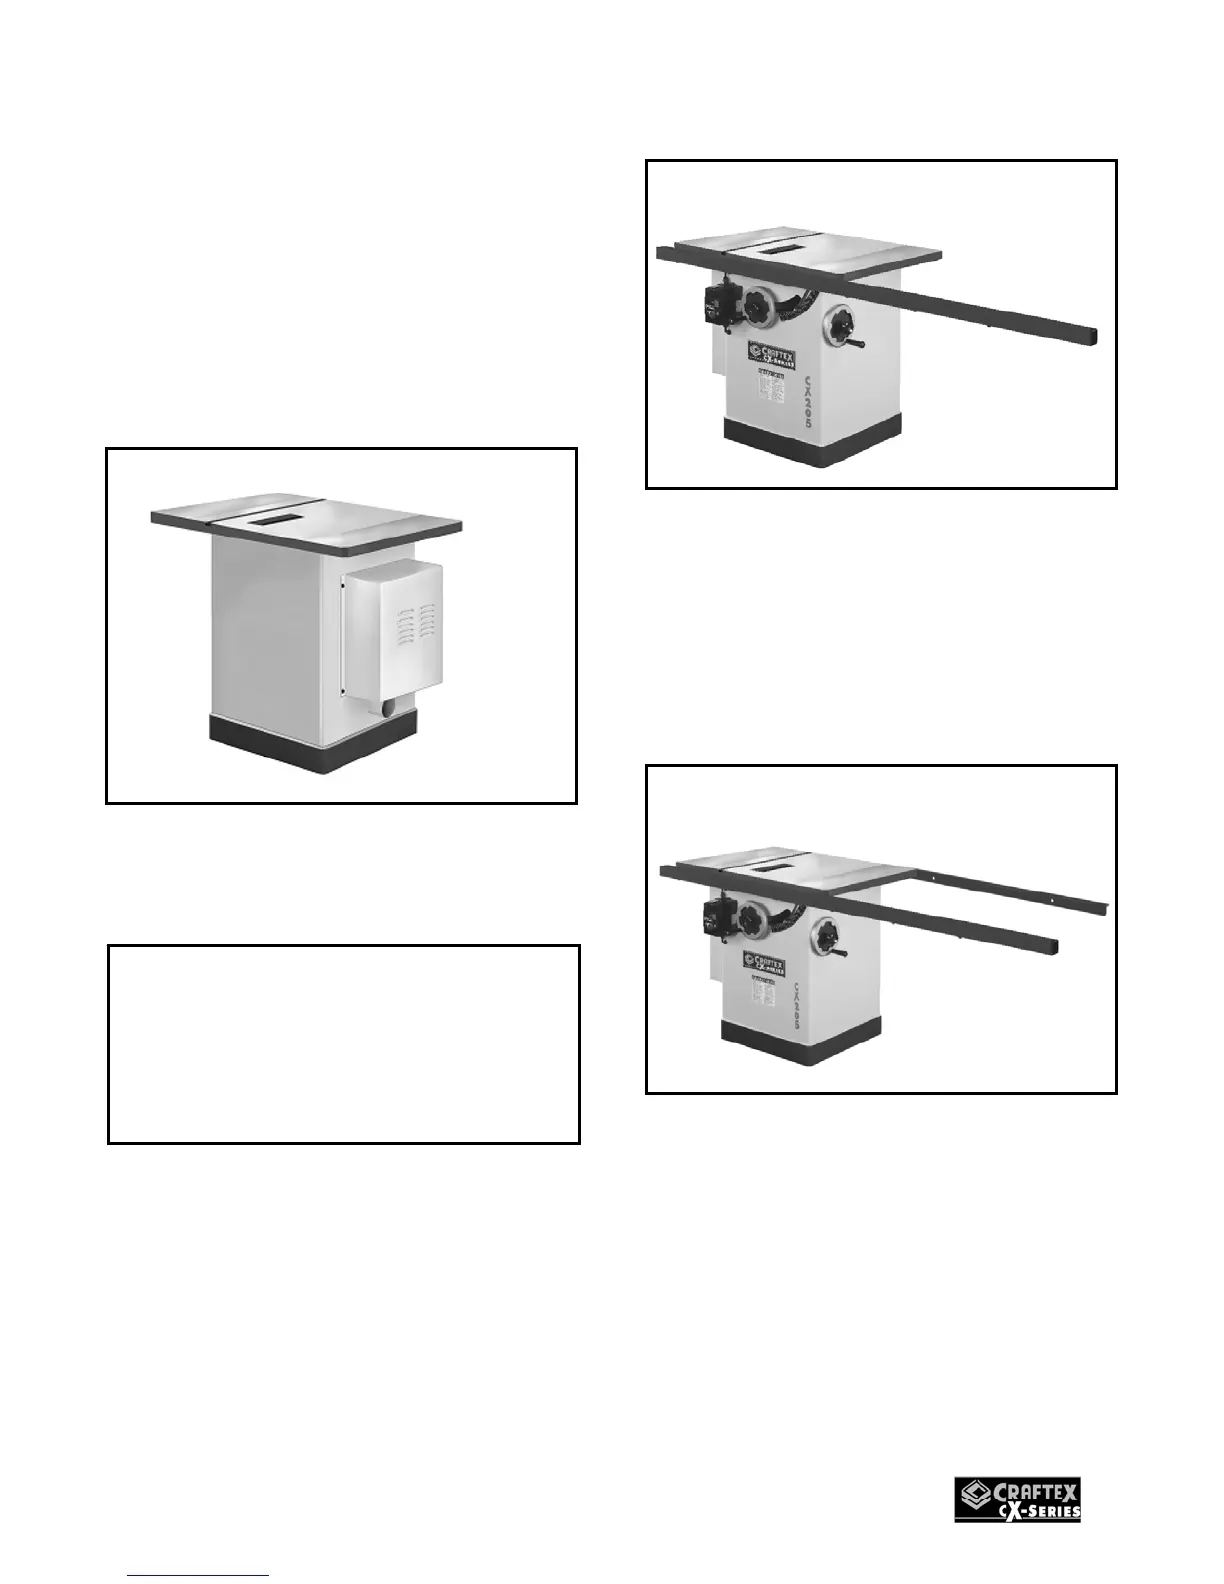
Attach the extension wings to the table
using the screws removed from the main
table. Place a straightedge across the
extension wings and the main table to make
sure that the extension wings surface is flat
with the main table.
Figure-7 Installing the extension wings
Fence Rails
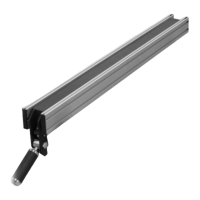
Take the front and rear rails and attach it to
the table saw using washer and screws
provided. Place the rail tube on the front rail
and secure it using screws and washers.
Figure-8 Installing the front rail
Install the rear rail in the same manner and
make sure that the top edge of the rear rail
is flush with the lowest edge of the T-bolts
so that the miter gauge slides smoothly
when installed.
Figure-9 Installing the rear rail
Fence Assembly and the Miter
Gauge
Place the fence on the front and rear rails
on the right hand side of the blade. Lock the
fence on the rails using the cam lock lever.
See figure-10
IMPORTANT
If the outside end of the extension wings
tilts down or up, use a strip of masking
tape to align it with the main table.