17
Adjusting the Riving Knife
The riving knife comes, pre installed on
your saw. First, using the hand wheel, raise
the installed blade completely to access the
riving knife. Make the locking wing loose
enough so you can raise the riving knife to
its highest position. The dual position riving
knife has two holes for two different
positions.
The lowest position is for Dado Cuts and
the highest position is for thru cuts.
Ensure that the locking pin is aligned with
the riving knife hole and secure in position
simply by tightening the wing nut. Your
riving knife MUST be in-line with your
blade. Ensure that riving knife is sitting flat
against the lock plate and the mounting
bracket.
You always want to ensure that the gap
between the blade and the riving knife
should be an even distance across the
complete radius. First, loosen the two
socket head cap screws on the riving knife
bracket enough so that the you can move
the bracket bring the riving knife in line with
your saw blade. Again you will want to
ensure that the gap between the blade and
the riving knife is even from 3mm to 8mm in
radius.
After you have properly adjusted and
aligned your riving knife, tighten the socket
head cap screws.
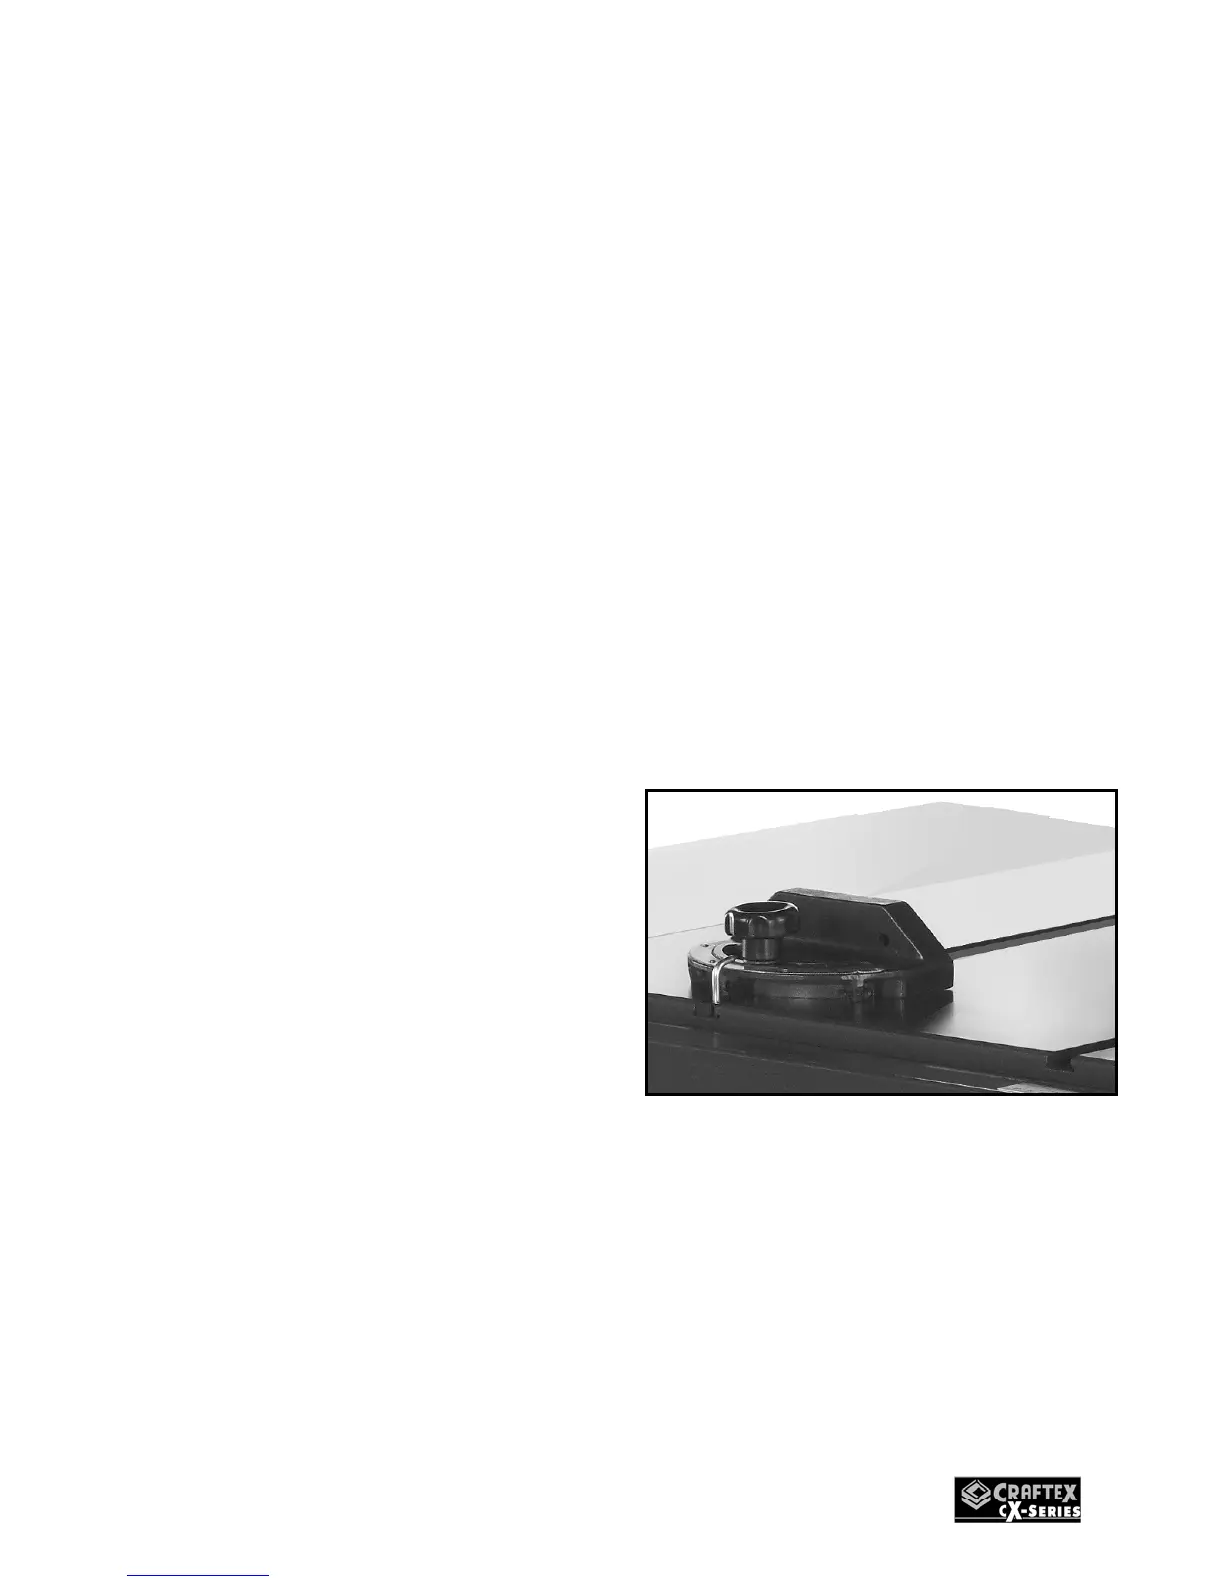
Miter Gauge Adjustment
The gauge supplied with the CX205/CX206
table saw is equipped with individually
adjustable stops at 90 and 45 degrees both
left and right. Adjustment to these stops can
be made by loosening the locking nut and
tightening or loosening the three adjusting
screws. Tighten the locking nut. The face of
the mitre gauge has two holes for attaching
an auxiliary face. The mitre gauge is a
precision tool and is guided through either
mitre ‘T’ slot through the use of a guide
mounted at the front of the mitre gauge bar.
To install the mitre gauge, place the gauge
into the slot at the back edge of the saw
table and then pull it forward. To operate
the mitre gauge, loosen the handle to move
the gauge head to the desired angle and
tighten the handle. To go beyond the stops
at 45 and 90 degrees in either direction,
lower the stop pins.
Figure-18 Miter Gauge