12
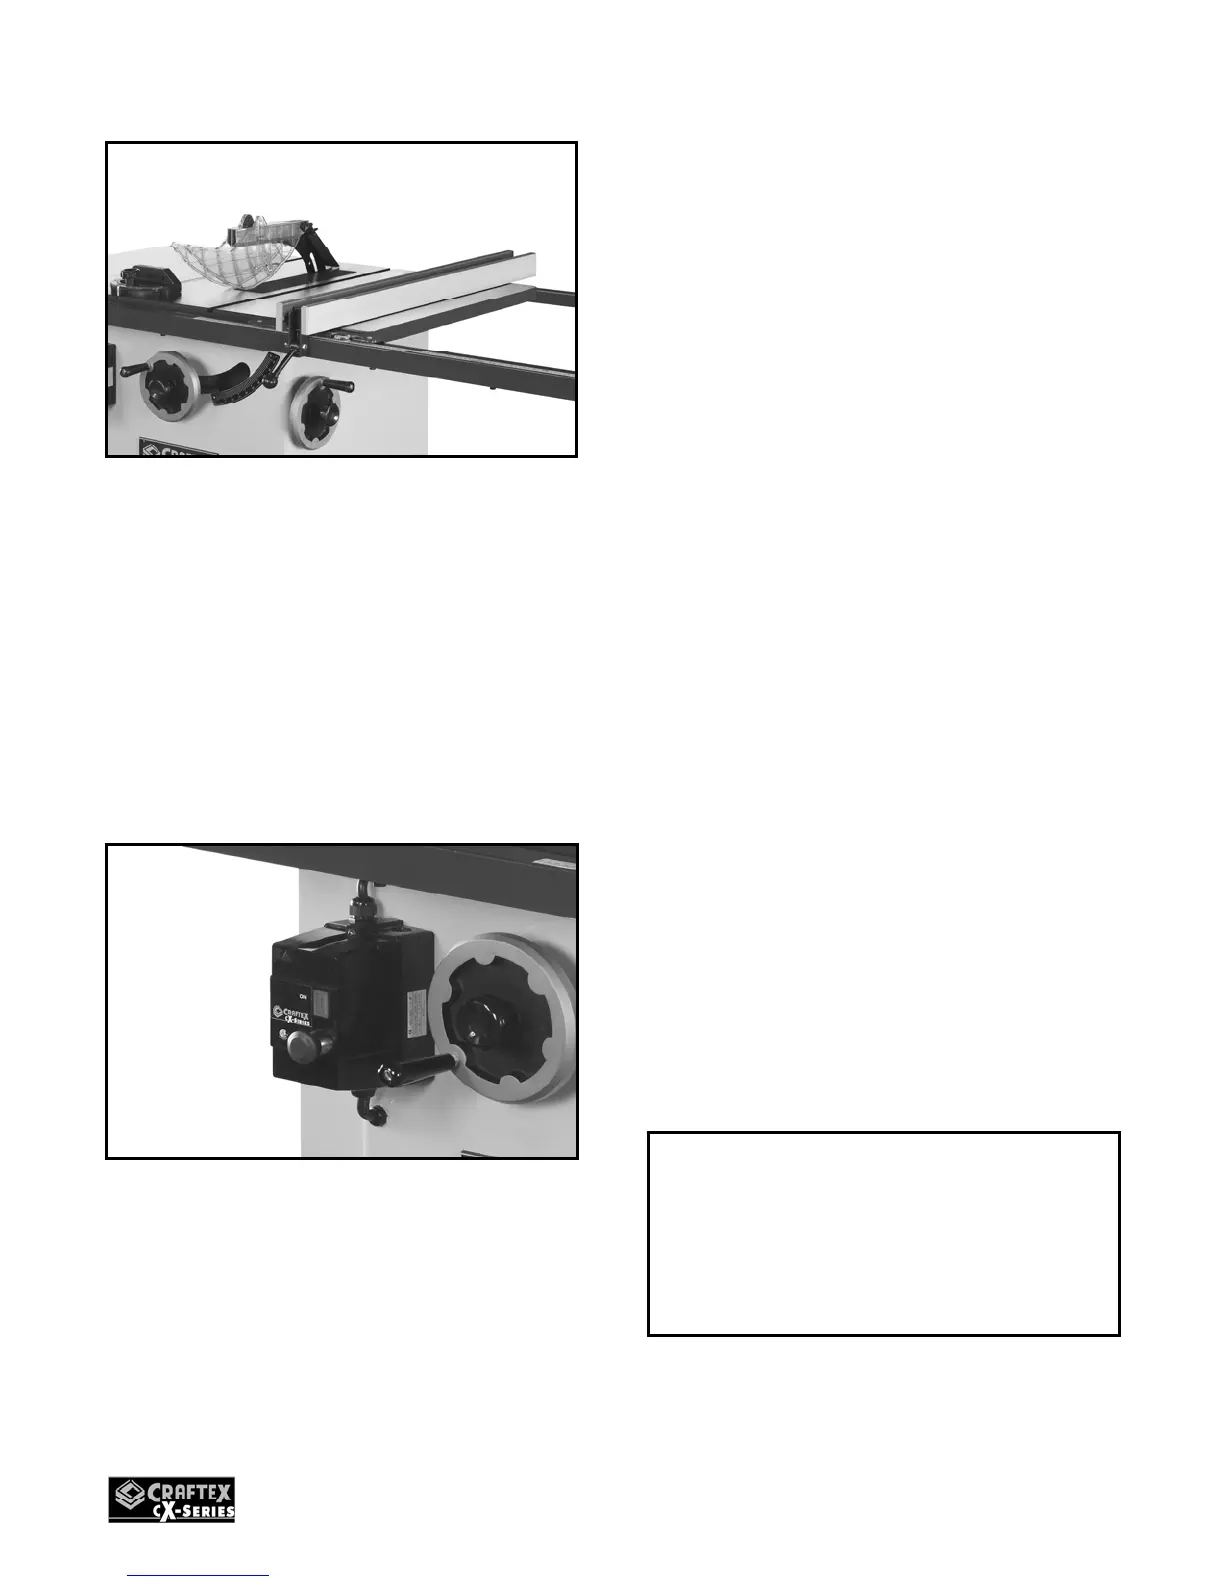
Figure-10 Installing the fence
After the fence is installed on the rails, take
the miter gauge and slid it into the T-slot on
the left hand side of the table.
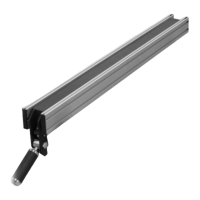
Magnetic Switch
The magnetic switch can be installed to the
bottom left hand side of the front rail using
hex bolts and washers provided.
Figure-11 Installing the magnetic switch
Installing the Blade
Both the CX205 & CX206 are equipped
with a 10” & 12” blade respectively. To
install the blades, turn the power off and
remove the plug from the power supply (if
plugged in). Check the thickness stamped
onto the riving knife. Your blade must have
a kerf width larger that the thickness of the
riving knife. This is important. The kerf of
your blade should be marked on the blade
itself or on its package.
CX205 - 2.5mm Thick Riving Knife.
Only use for 10” diameter with 3.0mm
minimum kerf width and 2.0mm maximum
body thickness.
CX206 - 2.5mm Thick Riving Knife.
Only use for 12” diameter with 3.0mm
minimum kerf width and 2.0mm maximum
body thickness.
First, remove the blade flange and the arbor
nut. Check that the mounting hole of the
blade matches the diameter of the arbor.
(CX206 comes with a standard 1” arbor &
CX205 comes with a 5/8” arbor).
Ensure that the spindle and arbor itself are
clean and dirt free. Mount the arbor to the
spindle and tighten the arbor to the spindle.
Then, mount the blade so that it spins in the
proper direction (teeth pointing towards the
front of the saw). Finally, replace the nut
and flange and tighten securely. Do not
over tighten.
WARNING
The CX205/CX206 blade is sharp. Wear
heavy duty leather gloves while installing
the blade for the protection of your
hands.