EnderExtender.com – Ender Extender™ 5 Installation Guide
Step 2: Ender 5 Non-Pro and Pro Differences
Key differences between the Ender 5 Non-Pro and Pro 3D printers exist primarily in the lead screw of the Z axis.
Although not a certainty, it is believed that earlier versions of the Ender 5 were delivered with a four start lead screw.
This type of lead screw will allow the print platform to lower easily on its own after power is turned off. It is believed
that with the release of the Ender 5 Pro, Creality adopted a two start lead screw which reduces this tendency for the
platform to “self-lower”.
Step 3: Disassemble the Ender 5
Although there may seem to be several parts included in your kit, installation of the kit is actually rather simple. Minimal
disassembly is required. So, get out those tools, grab your favorite beverage, and let’s get to work!
Work smart! Put those screws in a container so you do not lose them.
Disconnect power cable from power supply
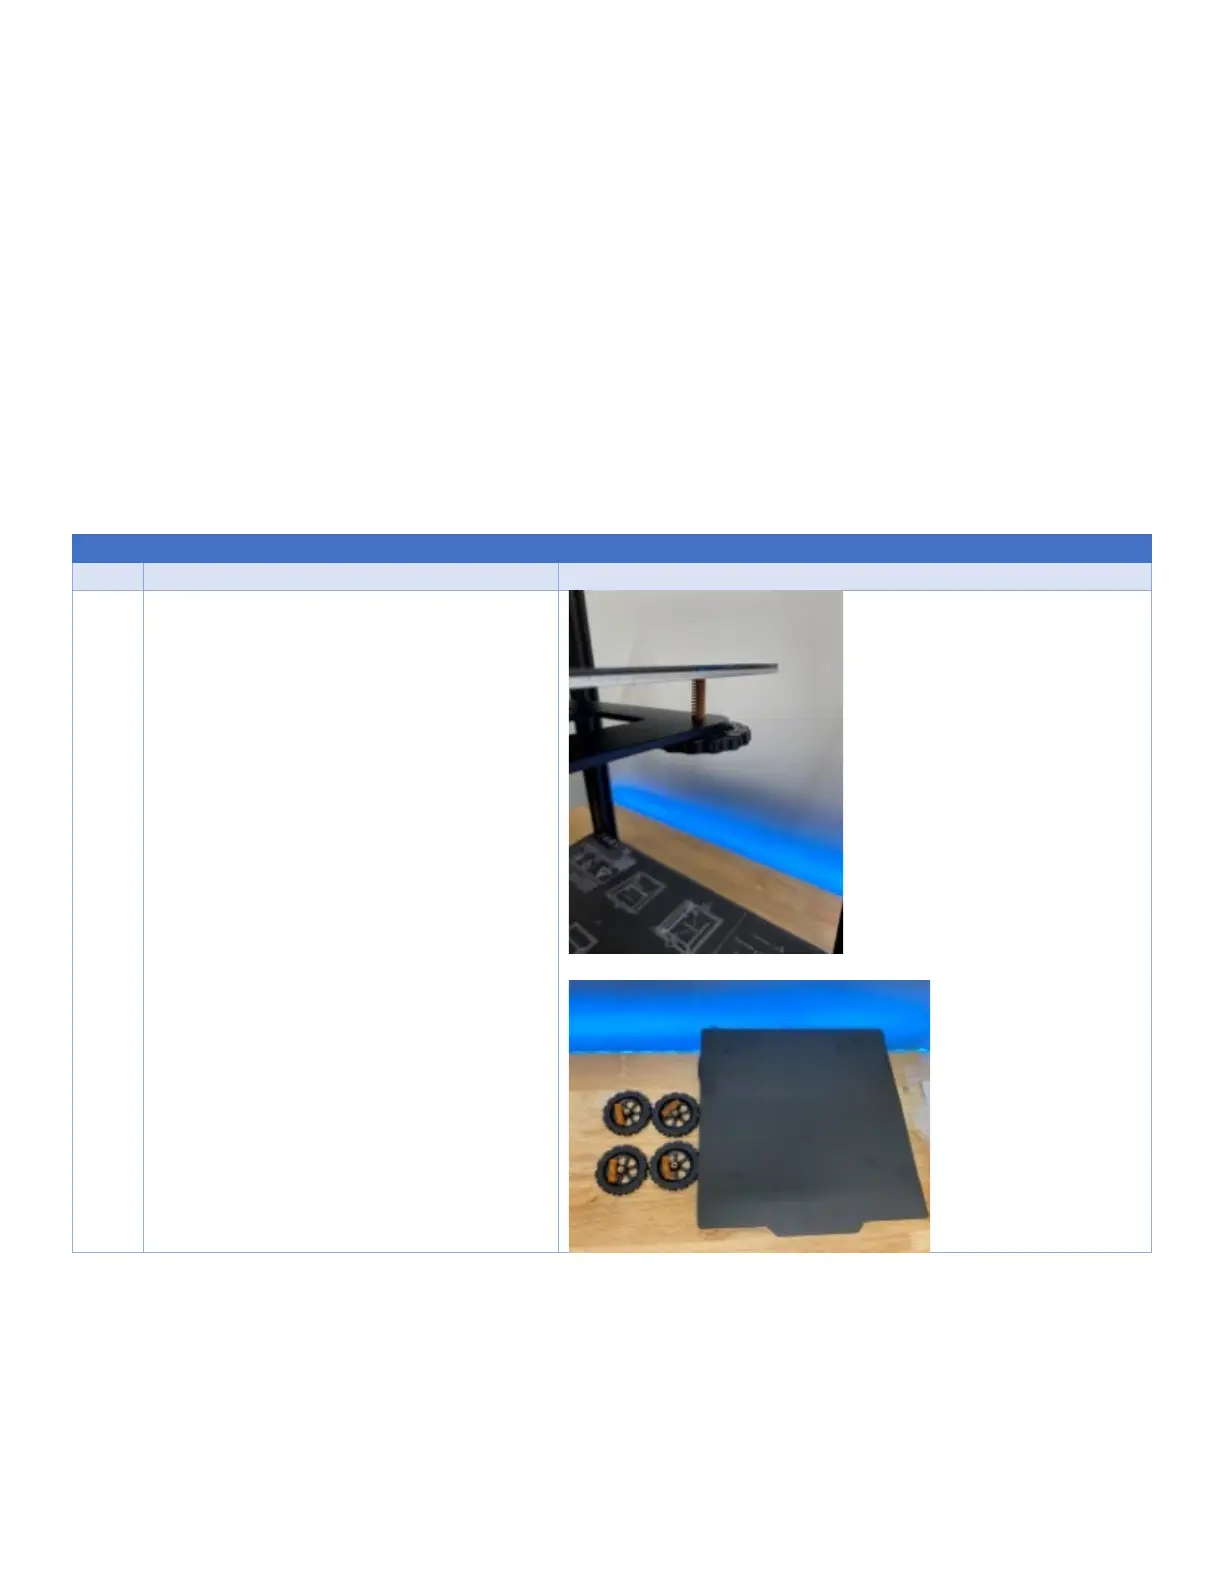
Remove bed print surface, wheels, springs
and screws.
Set print bed aside.
 Loading...