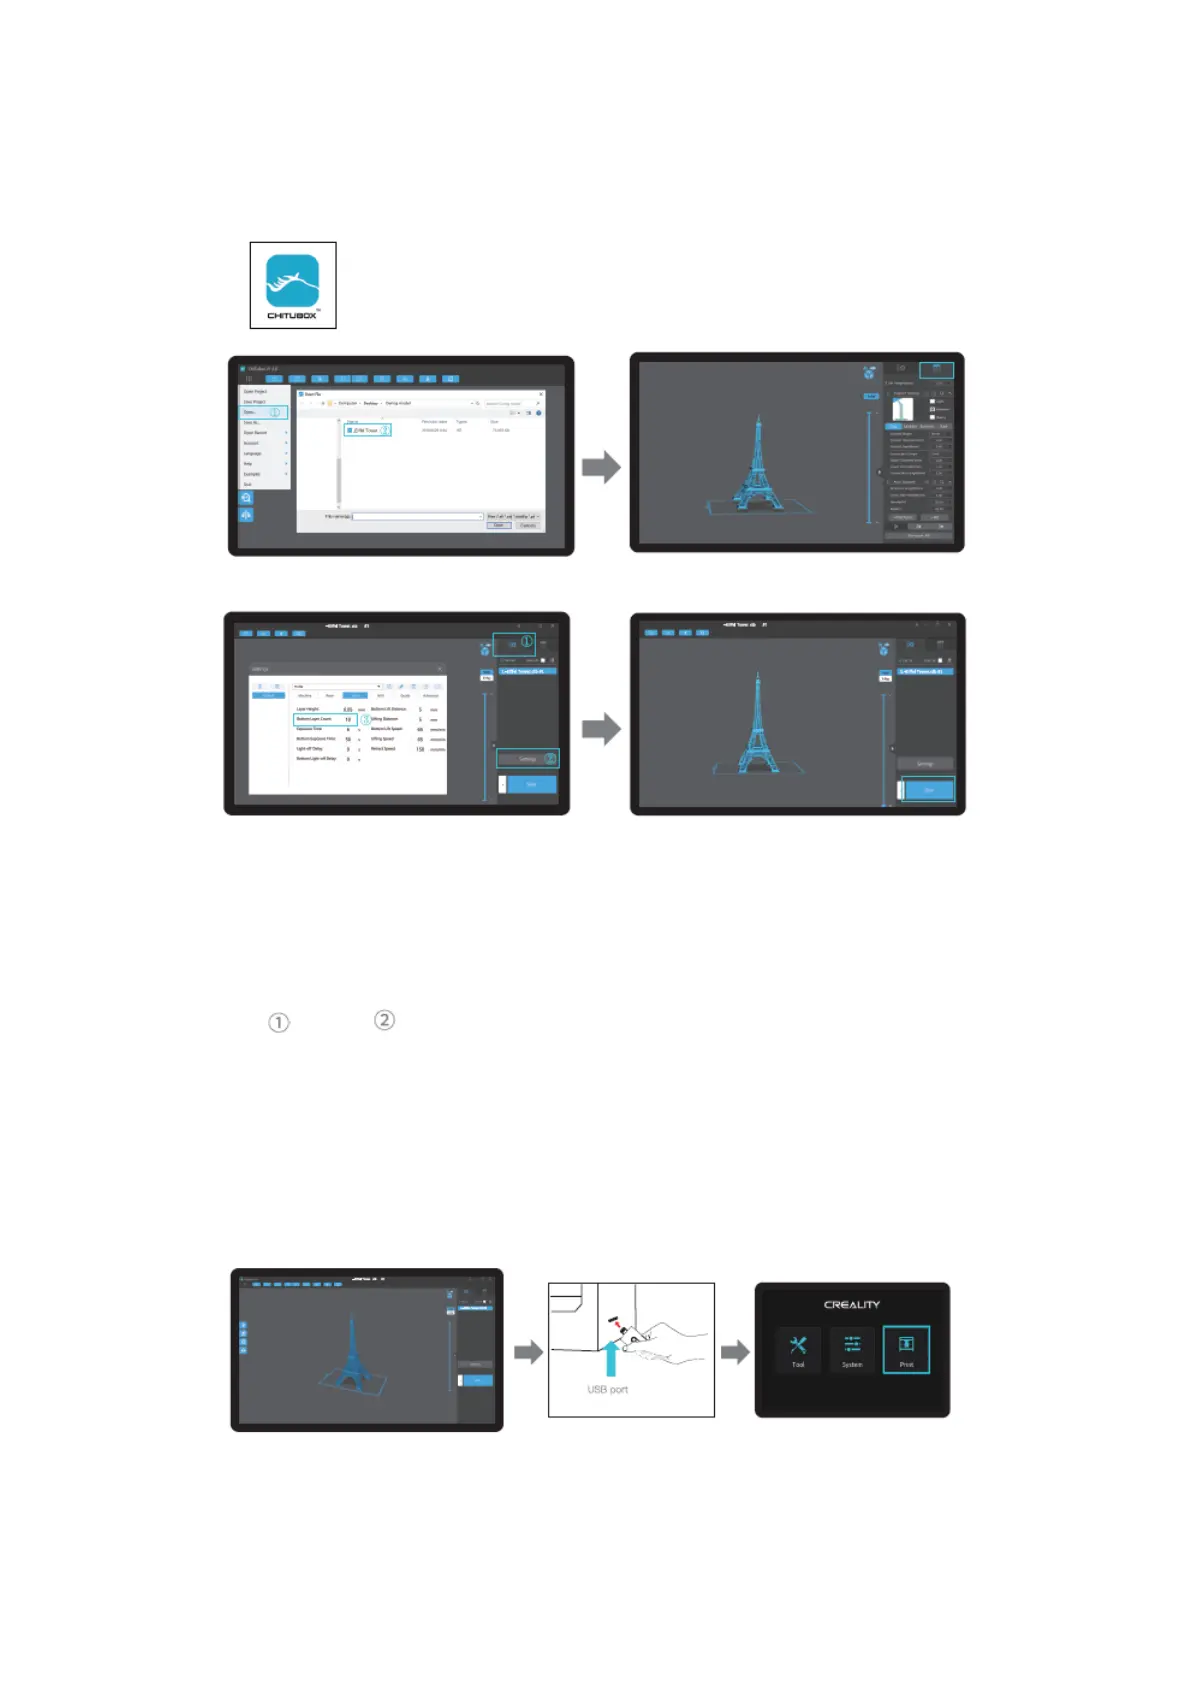
EasyManuals Logo

Creality LD-002R User Manual

Creality LD-002R
51 pages
To Next Page IconTo Next Page
To Previous Page IconTo Previous Page
Page #10 background imageLoading...
Page #10 background image
Start Printing
1) Slice
1) Open the slice software of LCD 3D Printer, click “open” on the left of the screen, and
add model file.
2) If the model needs to add support, click the upper right icon to set corresponding
parameters.
3) Click icon -> click “Settings” -> setting slice parameters (recommend setting
parameters of bottom layer as 10-20).
4) Click “Slice” -> waiting for slice to be finished -> save the sliced file (You are welcome to
find more details of slicing tutorial on the official website www.creality.com).
2) Print
1) Generate G-code and save the g-code file to U disk.
2) Insert the U disk -> press the print button.

Questions and Answers:

Question and Answer IconNeed help?

Do you have a question about the Creality LD-002R and is the answer not in the manual?

Creality LD-002R Specifications

General IconGeneral
TechnologyLCD-based SLA
Build Volume119 x 65 x 160 mm
Z-axis Positioning Accuracy0.00125 mm
Print Speed20-30 mm/h
ConnectivityUSB
SoftwareChiTuBox
Power Supply100-240V, 50/60Hz
Operating SystemWindows, Mac OS
Resin Compatibility405 nm UV resin
XY Resolution0.047mm (2560 x 1440)
Light SourceUV LED
Supported File FormatsSTL
Printer Dimensions221 x 221 x 403 mm

Related product manuals