12
Released on 10/31/05 - X800058A UV Pure Technologies Inc. © 2005
No part of this document may be photocopied, reproduced, transmitted, or translated to another language without the
prior written consent of UV Pure Technologies Inc.
For additional info call 1-888-407-9997 or email info@uvpure.com
or visit www.uvpure.com
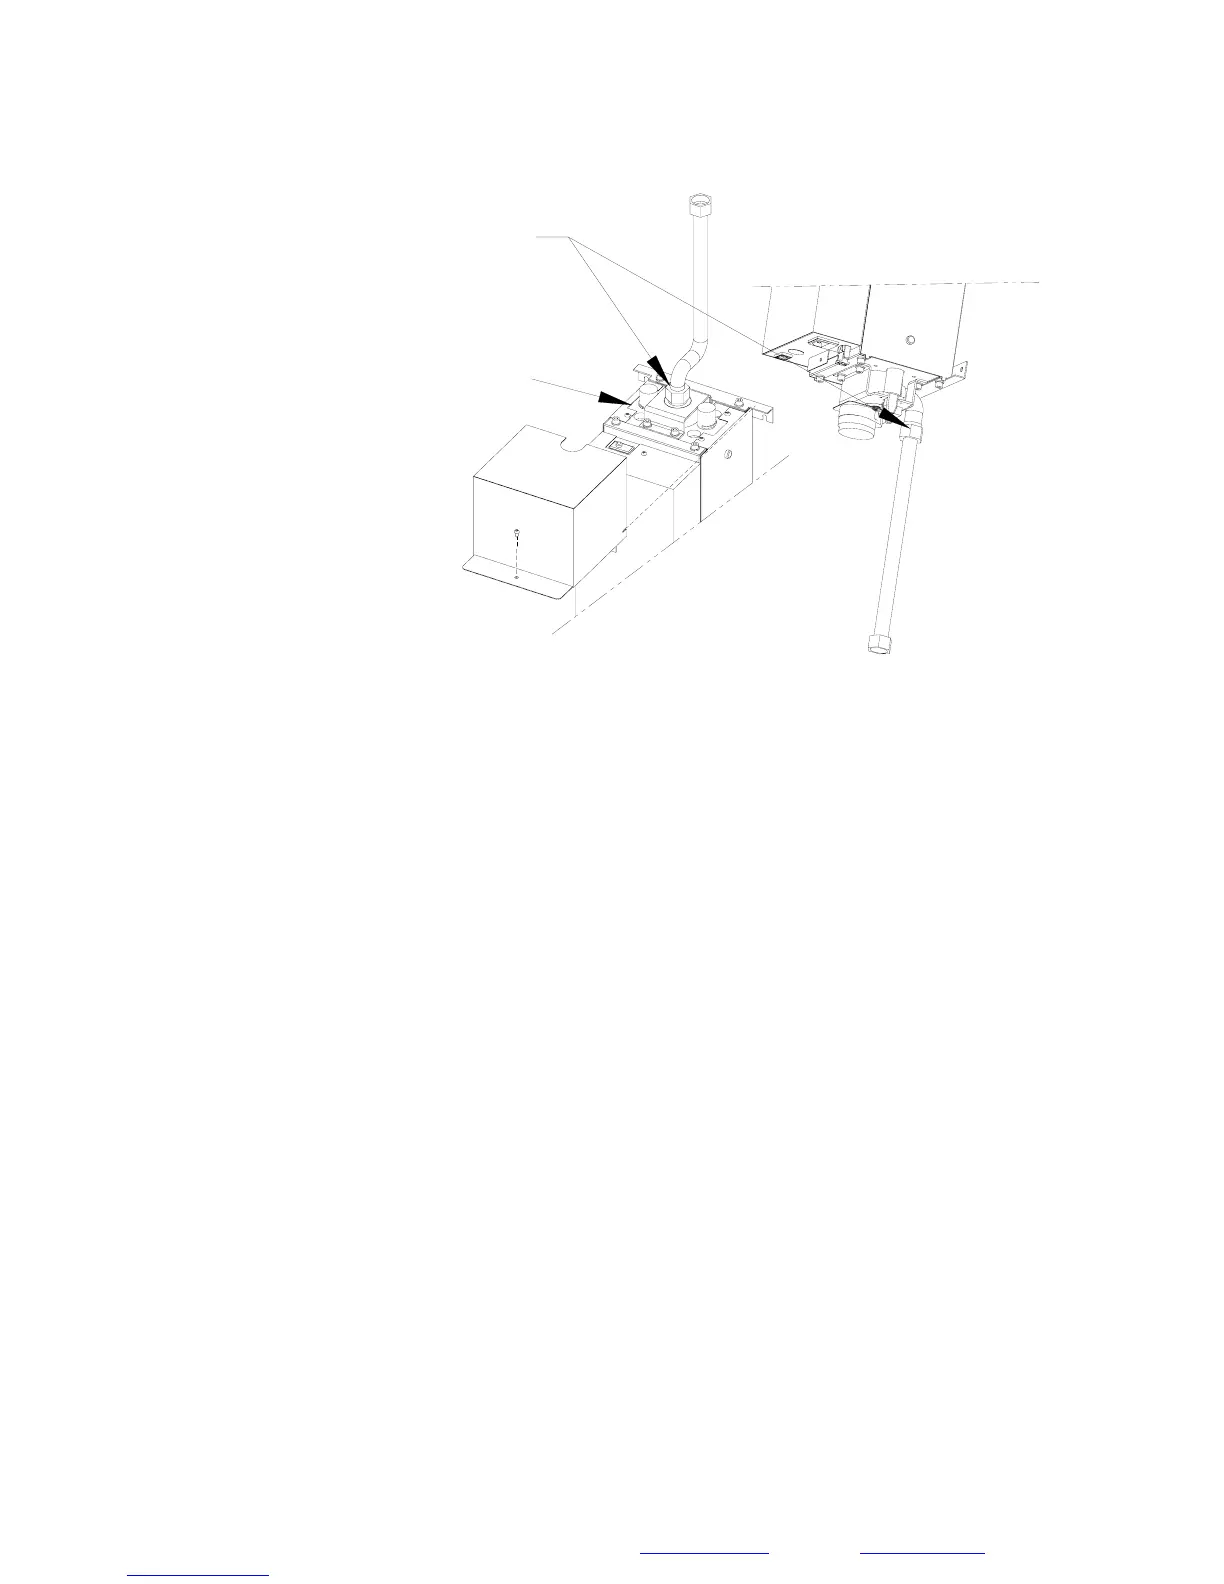
TIGHTEN HOSE
AS SHOWN
PROTECT AREA
FROM WATER,
DIRT, OR SOLDER ETC.
Figure 1C
Step 3: Two wall brackets, with two 1/4" holes each are provided on the unit. The
unit should be secured vertically to a solid wall large enough to cover the
complete backside of the unit – See Figure 1D. Install the top two fasteners
(not provided) into the wall, and slide the unit onto them using the slotted holes in
the upper brackets. Then install the bottom two fasteners. Do not install the unit
horizontally. Leave clearance over the unit for lamp removal.
Connecting the Pipes
We recommend that a qualified plumber or certified technician perform the water
connections for your Hallett. Water must flow into the inlet at the bottom of
the unit. The outlet is located at the top of the unit. Install the valve upstream
of the unit.
Step 1: Shut off the water supply. Caution: Always turn off the water supply
before modifying or disconnecting any piping. Always open a faucet after shutting
off the water supply to relieve water pressure and ensure that the water has been
completely shut off.
Step 2: If you have decided to install an optional bypass line and drain, you may
begin to install these fittings at this point. See Figure 1B for more information on
how to connect optional bypass piping and drain.
 Loading...