CUH CUH CUH CUH CUH CUH CUH
CUH CUH CUH CUH CUH CUH CUH CUH CUH CUH CUH CUH CUH CUH CUH CUH CUH CUH CUH CUH CUH
CUH CUH CUH CUH CUH CUH CUH CUH CUH CUH CUH CUH CUH CUH CUH CUH CUH CUH CUH CUH CUH
CUH CUH CUH CUH CUH CUH CUH CUH CUH CUH CUH CUH CUH CUH CUH CUH CUH CUH CUH CUH CUH
CUH CUH CUH CUH CUH CUH CUH CUH CUH CUH CUH CUH CUH CUH CUH CUH CUH CUH CUH CUH CUH
CUH CUH CUH CUH CUH CUH CUH CUH CUH CUH CUH CUH CUH CUH CUH CUH CUH CUH CUH CUH CUH
CUH CUH CUH CUH CUH CUH CUH CUH CUH CUH CUH CUH CUH CUH CUH CUH CUH CUH CUH CUH CUH
CUH CUH CUH CUH CUH CUH CUH CUH CUH CUH CUH CUH CUH CUH CUH CUH CUH CUH CUH CUH CUH
CUH CUH CUH CUH CUH CUH CUH CUH CUH CUH CUH CUH CUH CUH CUH CUH CUH CUH CUH CUH CUH
6
The controller is powered by AC 110/220V, and the protective ground connection is made
through the plug of the power cord. Please provide 110V or 220V, 50Hz/60Hz mains power
supply and distribution facilities that meet the standard and ensure that the protective
ground wire is correctly connected.
Never connect the controller to 380V AC power, this will cause irreversible serious
damage to the controller, possibly resulting in explosion, fire and other safety incidents.
Ensure that the power supply side is reliably grounded. The metal casing of the
controller is directly connected to the protective grounding wire. Poor grounding will cause
the controller casing to be electrified and cause an electric shock accident.
Long time running will generate heat and cause the temperature of the casing to
rise. Please install the controller in a well-ventilated environment and fix it well, away from
vibration sources.
The output of this product is formed by the rectification and inversion of the mains
supply, and there is no isolation between its input and output. Therefore, the output poles
cannot be connected to the protective ground. When connecting the electromagnet, it is
necessary to ensure that the electromagnet coil and the casing have basic insulation
capability. Otherwise, leakage of electricity may occur, which may cause electric shock and
damage to the controller.
This product is a controller used to drive the electromagnet. It must not be
connected to a piezoelectric vibratory feeder.
3.2 Operation Method of Buttons
Chapter Ⅲ Installation Guide
3.1 Controller Usage Conditions
This chapter introduces the necessary conditions for the use of the controller and
how to install and connect it correctly.
Warn
Warn
Notice
Notice
Notice
a. Short press to define the pressing time greater than 0.1 and less than 2 seconds, and
long press to define the pressing time greater than 2 seconds.
a. Short press or button to adjust the Output Voltage of the controller under standby
Interface.
b. Enter or exit the Basic Parameters Interface by long press button, and switch among
the basic parameters by short press ▼ or ▲ button, and adjust parameter's value by short
press or button.
c. Enter or exit the Advanced Parameters Interface by long press and ▲ button, and
switch among the advanced parameters by short press ▼ or ▲ button, and adjust
parameter's value by short press or button.
d. Enter or exit the Monitoring Parameters Interface by long press and ▼ button, and
switch among the monitoring parameters by short press ▼ or ▲ button, but parameter's
value can't be adjusted.
e. Short press button to start or stop output of controller, and long press button to
lock or unlock keypad.
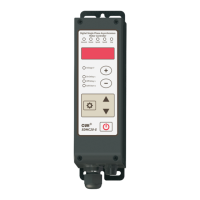
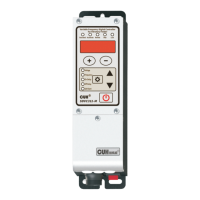
SDVC311 Series
Variable Frequency Digital Controller for Vibratory Feeder
SDVC311SMSEN_1.032023-08
 Loading...