20
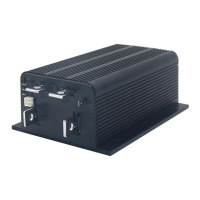
Curtis PMC 1204/1205 Manual
INSTALLATION CHECKOUT
Carefully complete the following checkout procedure before operating
the vehicle. If a step does not test correctly, use the troubleshooting guide
(Section 5) to identify the problem.
Put the vehicle up on blocks to get the drive wheels off
the ground before beginning these tests.
Don’t let anyone stand in front of or behind the vehicle
during the checkout.
Make sure the keyswitch is off and the vehicle is in
neutral before beginning.
Wear safety glasses and use well-insulated tools.
A. Connect the battery. Use a voltmeter to verify that the proper voltage
and polarity appears at the battery B+ and B- terminals.
B. Check the voltage at the controller B+ and B- bus bars. If your system
has a precharge resistor in parallel with the main contactor, you should see
approximately 90% of the full battery voltage. If your system does not
have a resistor, temporarily connect one (100 to 200 ohms, 5 watts, or a
100 watt light bulb). The voltage at the controller should rise to approxi-
mately 90% of the full battery voltage.
C. If “A” and “B” do not check out, troubleshoot the wiring connec-
tions. Do not turn on the keyswitch until the trouble is corrected and “A”
and “B” check out.
D. With the forward/reverse switch in neutral, turn on the keyswitch. If
the motor runs without the throttle being applied, turn the keyswitch off
and recheck the wiring. If the motor does not run without the throttle
applied, proceed with the checkout. Select a direction and slowly apply the
throttle; the motor should now respond.
E. Look to see which direction the wheels are turning. If the wheels are
going the wrong way, turn everything off and interchange the motor field
connections.
F. If you have HPD, check it next. Turn off the keyswitch and direction
switch. Apply the throttle, turn the keyswitch on, and then select a
WIRING
☞
CAUTION
 Loading...