• IP
• Subnet Mask
• Gateway
• DNS
• Host
• Domain
1) To activate DHCP, navigate to [ ] Enable DHCP and press Enter. An x
appears indicating the option is active. Press Enter again to remove the
x and disable the option.
Note: DHCP is on by default, as the Dualcom S gets its IP address from
a DHCP server. The assigned address is displayed next to Using:. If no
DHCP server is found, the default address of 192.168.1.2 is shown.
2) To change any of the values, navigate to the desired setting and press
Enter.
3) Use Backspace and the number keys to change values. Press Enter
when done.
4) Repeat steps 2 and 3 for each network setting to be changed.
Note: For any new settings to take effect, the Dualcom S must be
rebooted. Do so by navigating to [REBOOT…] and pressing Enter.
Once the Dualcom S reboots (it may take a minute), you’ll be prompted
to log on again.
5) If no changes were made, or you don’t wish to reboot the Dualcom S at
this time, hit Backspace to return to the System Settings screen.
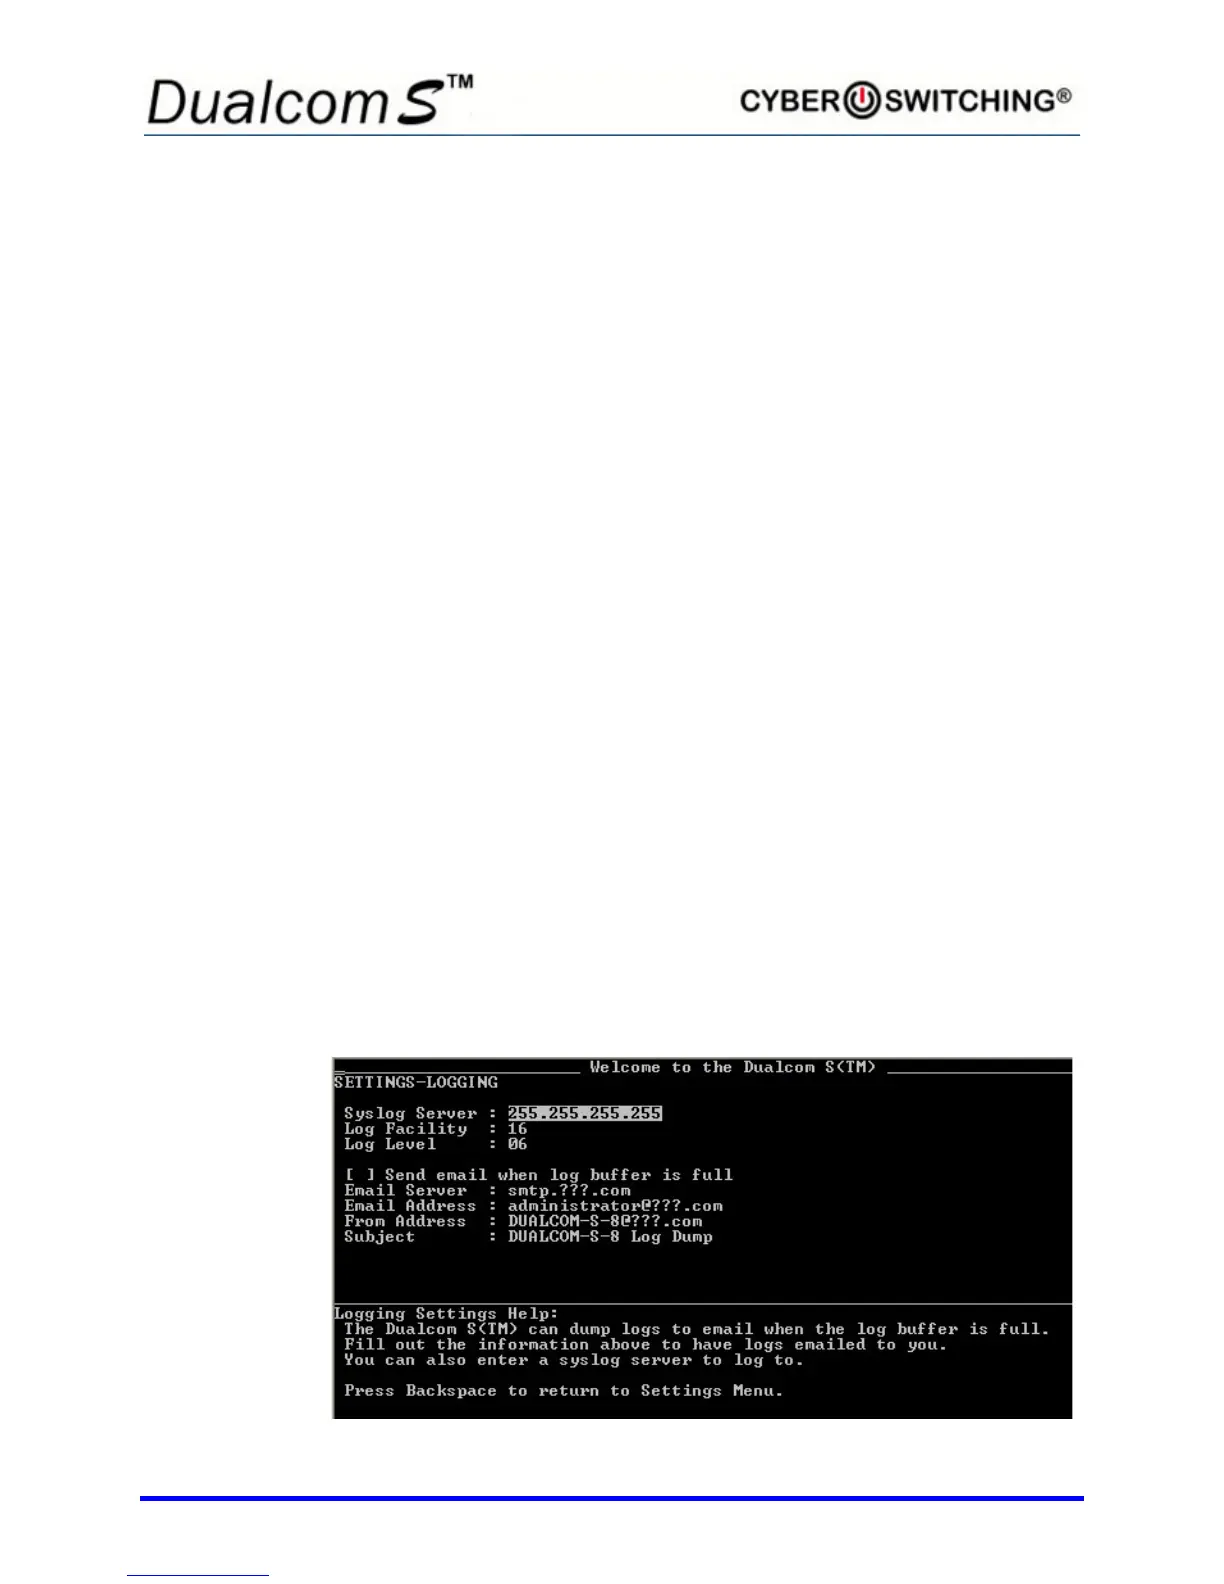
LOGGING Setup
From the System Settings screen, type 3 to select Logging Settings. The
following screen appears:
 Loading...