EN / CZone® DDS User & Installation Manual
SETTING DIP SWITCH
As there are no physical DIP switches on the DDS, the unit will come with a factory default DIP switch setting of
11111111. If there is more than one DDS or a conflicting DIP switch on the network, the installer can explicitly set the
DIP switch of a detected DDS form the Configuration Tool.
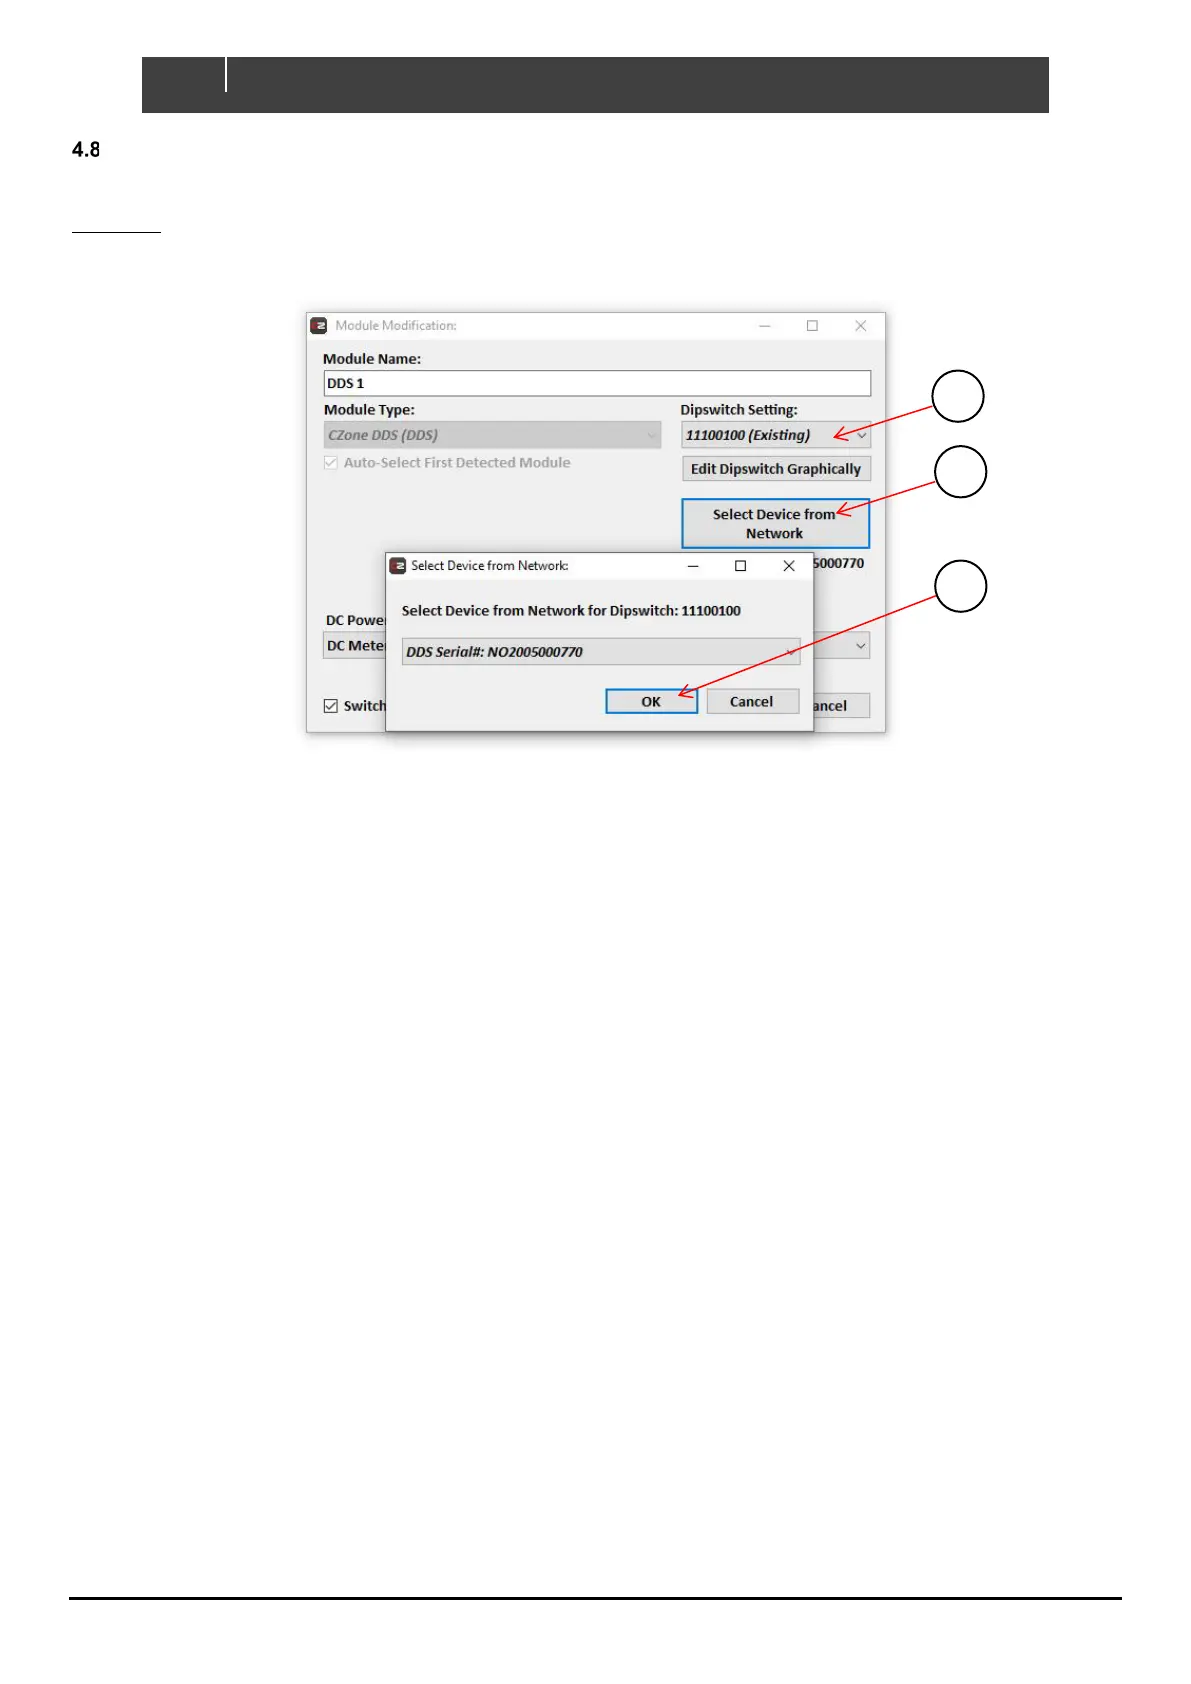
1. When adding the DDS module to a configuration, select the DIP switch setting, either from the dropdown or
‘Edit Dipswitch Graphically’ tab.
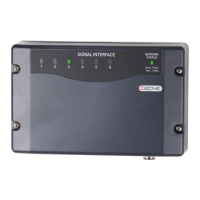
2. Select the DDS unit you are targeting from the list. The serial number can be found on the label on top of the
DDS module.
3. Click ‘OK’ on both windows to add new module to configuration.
5 Field Replacement Procedure
Field replacement of a DDS is possible unless there is more than one DDS in a system or there is an absence of another
CZone device. The DDS replacement will require a copy of the vessel’s/vehicle’s configuration, a laptop with the CZone
Configuration Tool, and a USB-CAN adaptor to write the config to the new module.
Field replacement of a DDS is possible under the following circumstances:
• There is only one DDS module in the vessel’s/vehicle’s CZone configuration.
• There is another CZone device present on the network.
If the above circumstances are true, replacement is possible with the following steps:
1. Turn off the breaker supplying the faulty DDS’s main power stud and switch off the power supplying the CZone
NMEA2000 network, disconnect the faulty DDS module’s connections.
2. Remove the faulty module and replace with a new one. Connect each of the connectors, the NMEA2000 drop
cable, and main positive stud.
3. Re-power the NMEA2000 network and the DDS’s main supply.
4. Wait for the new module to claim the config that is present on the network (indicated by flashing LEDs).
5. If the configured DDS DIP switch is different to that of the new DDS, the new DDS will automatically change its
DIP switch to the configured value.