ENGLISH
34
8.1 Mechanical installation
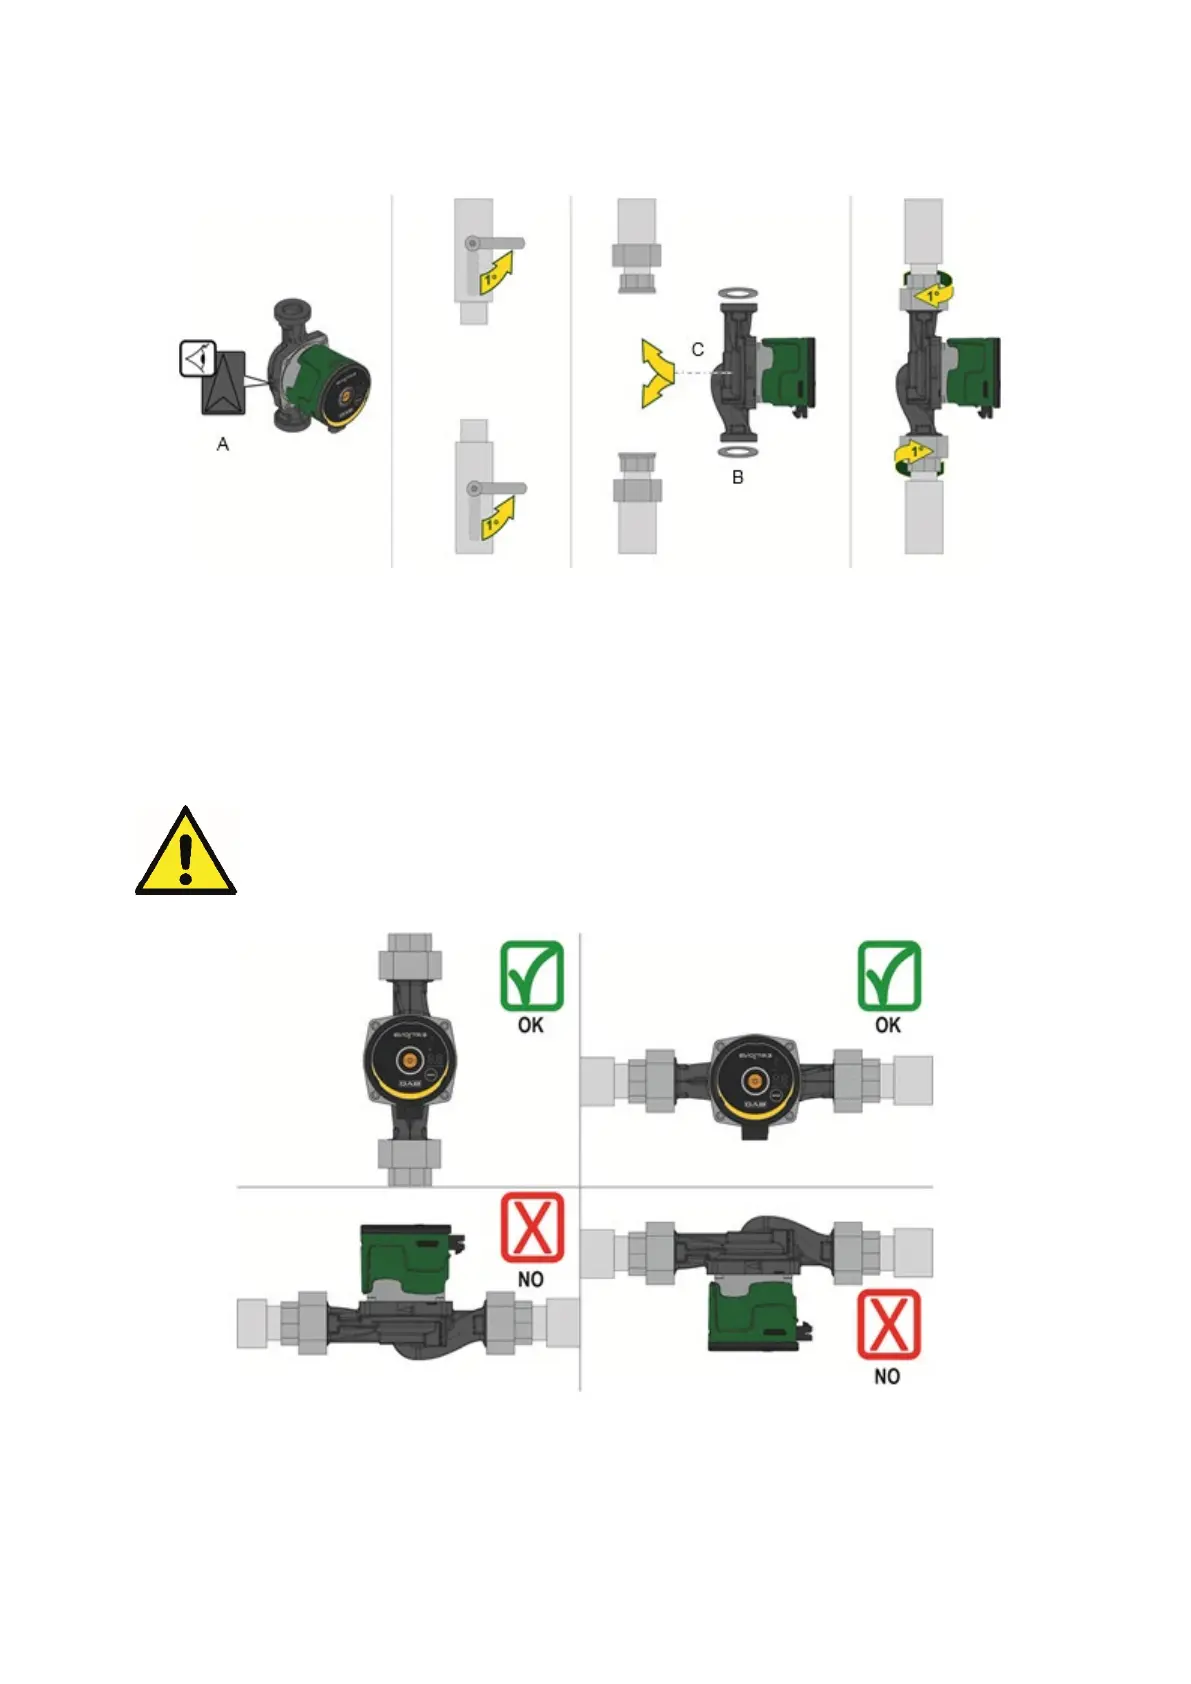
Figure 2: Mounting EVOSTA2 or EVOSTA3
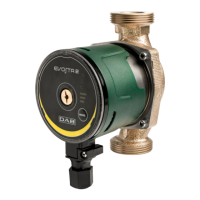
The arrows on the pump housing indicate the flow direction through the pump. See fig. 1, pos. A.
1. Fit the two gaskets when you mount the pump in the pipe. See fig. 1, pos. B.
2. Install the pump with a horizontal motor shaft. See fig. 1, pos. C.
3. Tighten the fittings.
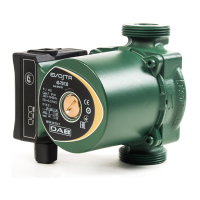
8.2 User Interface Position
Always install the EVOSTA2, EVOSTA3 circulator with the motor shaft in a horizontal
position.
Install the electronic control device in a vertical position.
Figure 3: Assembly position
− The circulator may be installed in heating and conditioning systems on either the delivery pipe or the return
pipe; the arrow marked on the pump body indicates the direction of flow.
− Install the circulator as far as possible above the minimum boiler level and as far as possible from bends,
elbows and junction boxes.