S0302000
Page 7
General Maintenance Procedures
Return to Master Table of Contents
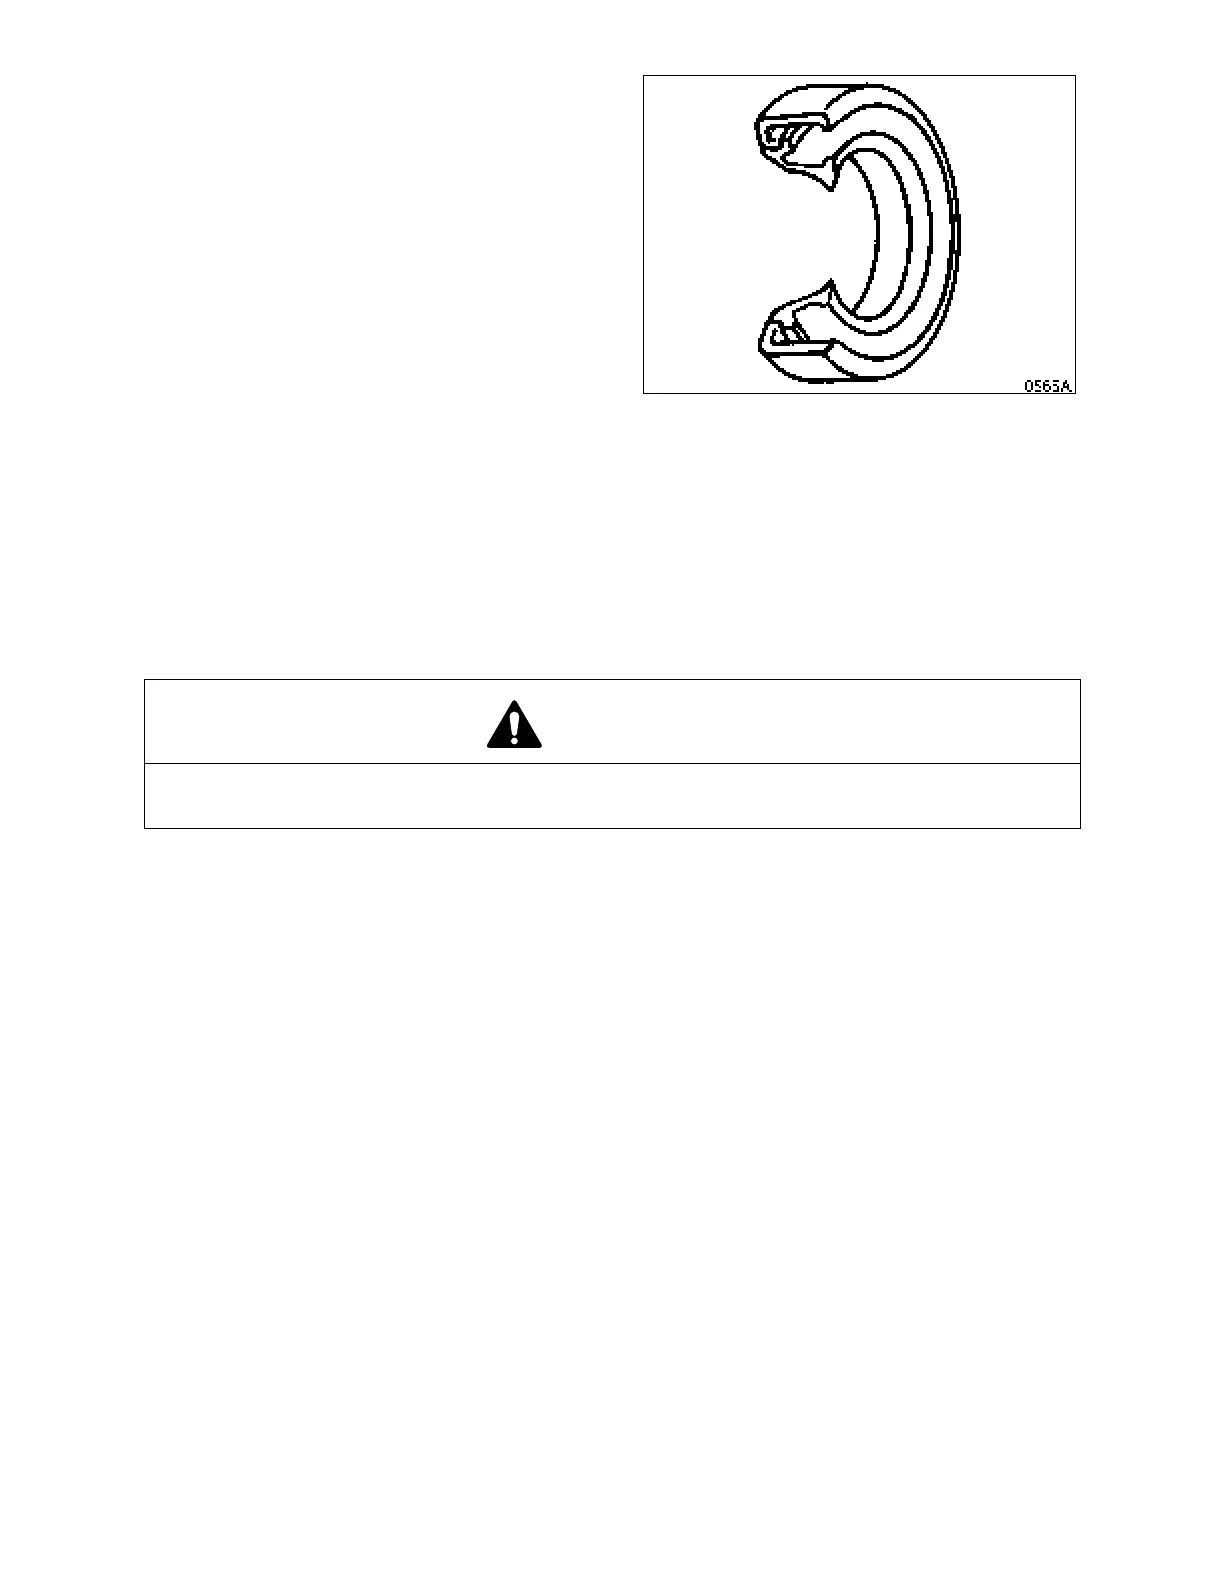
NOTE:
Grease l ip s eals prior t o
assembly.
CLEANING AND INSPECTION
GENERAL GUIDELINES
All parts must be clean to permit an effective inspection. During assembly, it is very important that no dirt or
foreign material enters unit being assembled. Even minute par ticles can cause malfunction of close fitting
parts such as thrust bearing, matched parts, etc.
1. Clean a ll me tal par ts tho roughly us ing a s uitable cl eaning fl uid. It i s r ecommended th at p arts b e
immersed in c leaning fluid an d m oved up an d down slowly u ntil all o ils, lubricants, and/or foreign
materials are dissolved and parts are thoroughly clean.
2. For bea rings that can be removed, so ak th em in a s uitable cl eaning fluid for a minute o r two, the n
remove bearings fr om cleaning fl uid and strike flat against a b lock of w ood to di slodge s olidified
particles of lubricant. Immerse again in c leaning fluid to flush out particles. Repeat above operation
until bearings are thoroughly clean. To dry bearings, use moisture-free compressed air. Be careful to
direct a ir str eam ac ross be aring to avoid spinning be arings tha t are not lubricated. DO NOT SP IN
BEARINGS WHEN DRYING; bearings may be rotated slowly by hand to facilitate drying process.
3. Carefully i nspect all bear ing rollers, cag es and c ups f or w ear, c hipping or nic ks to determine
condition. Do not replace a bearing cone or cup individually without replacing mating cup or cone at
the same time. Afte r in spection, dip bearings in lig ht weight oi l and wr ap in clean li ntless cl oth or
paper to protect them until installation.
For those be arings that ar e to be ins pected in place; i nspect bea rings for roughness of r otation,
scoring, pitting, cracked or chipped races. If any of these defects are found, replace bearings. Also
inspect defective bearing housing and/or shaft for grooved, galled or burred conditions that indicate
bearing has been turning in its housing or on its shaft.
4. It is more economical to replace oil seals, O-rings, sealing rings, gaskets and snap rings when unit is
disassembled th an waiting for p remature failures; r efer to l atest Micro Fiche a nd/or Parts Book for
replacement ite ms. B e e xtremely careful whe n ins talling sealing me mbers, to avoid cu tting or
WARNING!
Care should be exercised to avoid inhalation of vapors, exposure to skin and creating fire
hazards when using solvent type cleaners.
Figure 1