Installation 5
3 Installation
Make sure the mounting surface is strong enough to hold at least three times of the camera
weight.
The following figures are for reference only, and the actual product shall prevail.
Installing Model A 3.1
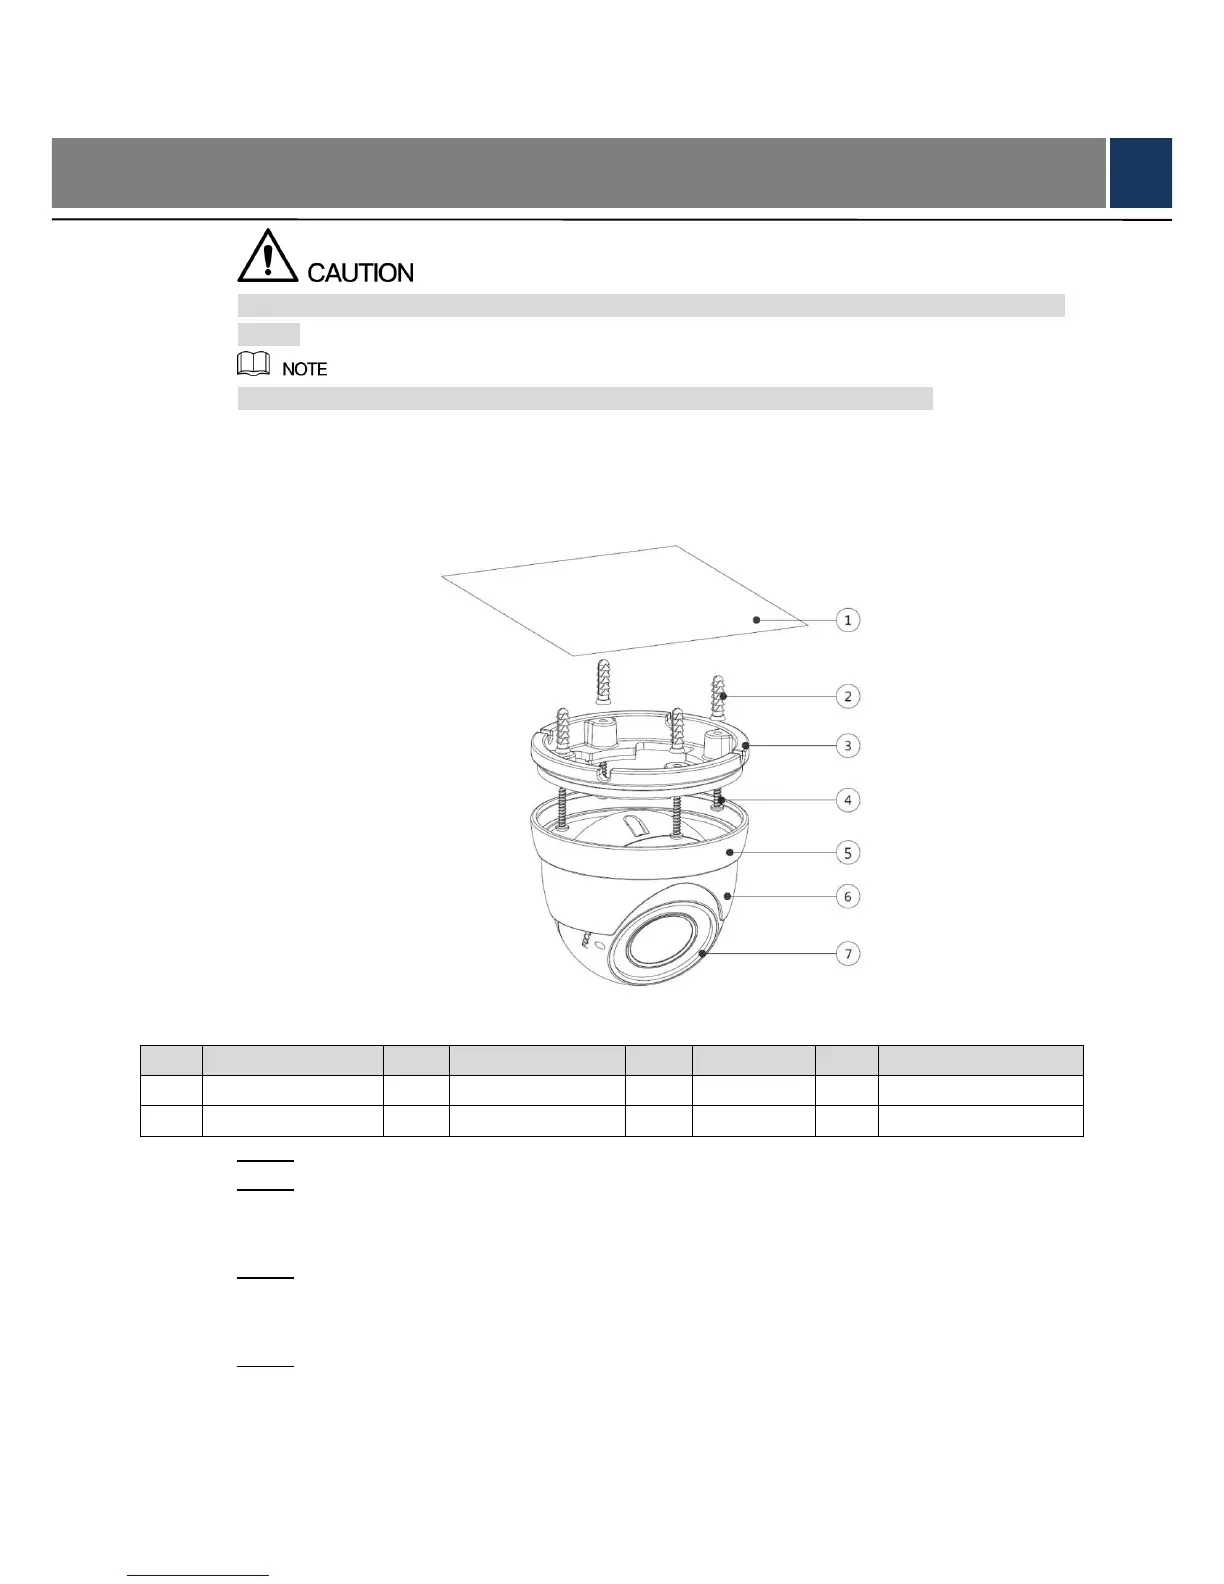
Model A installation Figure 3-1
Table 3-1 Installation item list
Hold the fixing ring⑤ tightly and rotate the pedestal③ counterclockwise to take it off. Step 1
Confirm the position of screw holes (and the cable outlet hole if it needs to go through Step 2
the mounting surface①) and drill them on the mounting surface①, and then insert the
expansion bolts② in the screw holes.
Align the screw holes on the pedestal③ to those on the mounting surface①, and then Step 3
pull the cable out through mounting surface or the side cable tray. Attach the pedestal
③ to the mounting surface① with the self-tapping screws④.
Put the fixing ring⑤ and the enclosure⑥ back on to the hold the device⑦, and then Step 4
connect the device⑦ to power source and the XVR device, and the live view screen is
displayed.
 Loading...