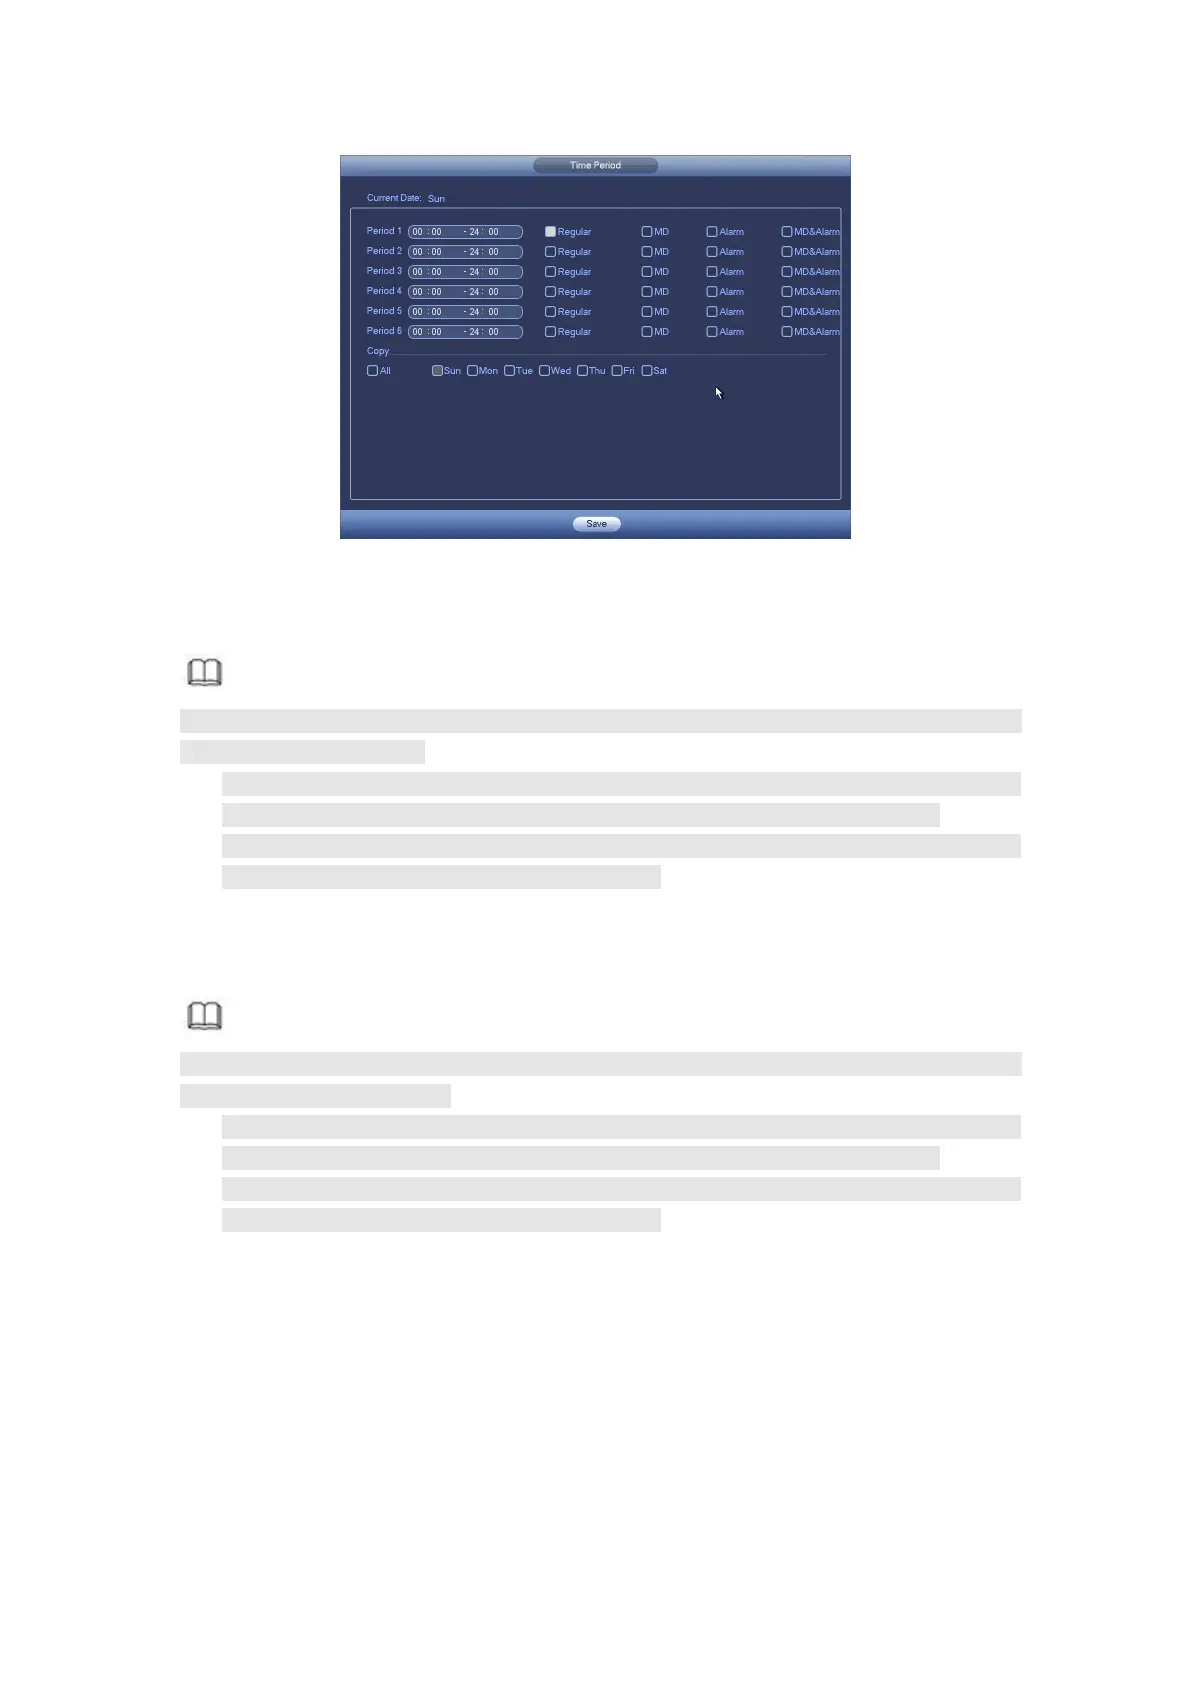
Figure 4- 44
Step 3 Click Apply to exit.
Note
After setting in the Schedule interface, please refer to the following contents to enable
schedule record function.
From main menu->Setting->Event, select corresponding event and then enable
record function. Refer to chapter 4.9.3 Alarm events for detailed information.
From main menu->Setting->Storage->Record, set record mode as auto. Refer to
chapter 4.9.4.5 Record for detailed information.
Device snapshots images as you set here.
Refer to chapter 4.1.4.7.1 Record for detailed information.
Note
After setting in the Schedule interface, please refer to the following contents to enable
schedule snapshot function.
From main menu->Setting->Event, select corresponding event and then enable
record function. Refer to chapter 4.9.3 Alarm events for detailed information.
From main menu->Setting->Storage->Record, set record mode as auto. Refer to
chapter 4.9.4.5 Record for detailed information.
Quick Setup
Copy function allows you to copy one channel setup to another. After setting in channel 1,
click Copy button, you can go to interface Figure 4- 45. You can see current channel name
is grey such as channel 1. Now you can select the channel you want to paste such as
channel 5/6/7. If you want to save current setup of channel 1 to all channels, you can click
the first box “ALL”. Click the OK button to save current copy setup. Click the OK button in
the Encode interface, the copy function succeeded.
 Loading...